
A shelter can look solid at sunset and still fail when the wind picks up, the temperature drops, or rain starts pooling under you. Beginners often focus on walls and roofs, but small setup errors are usually what make a long night miserable. These common mistakes explain why some backcountry shelters feel secure for an hour and terrible by midnight.
Choosing Low Ground

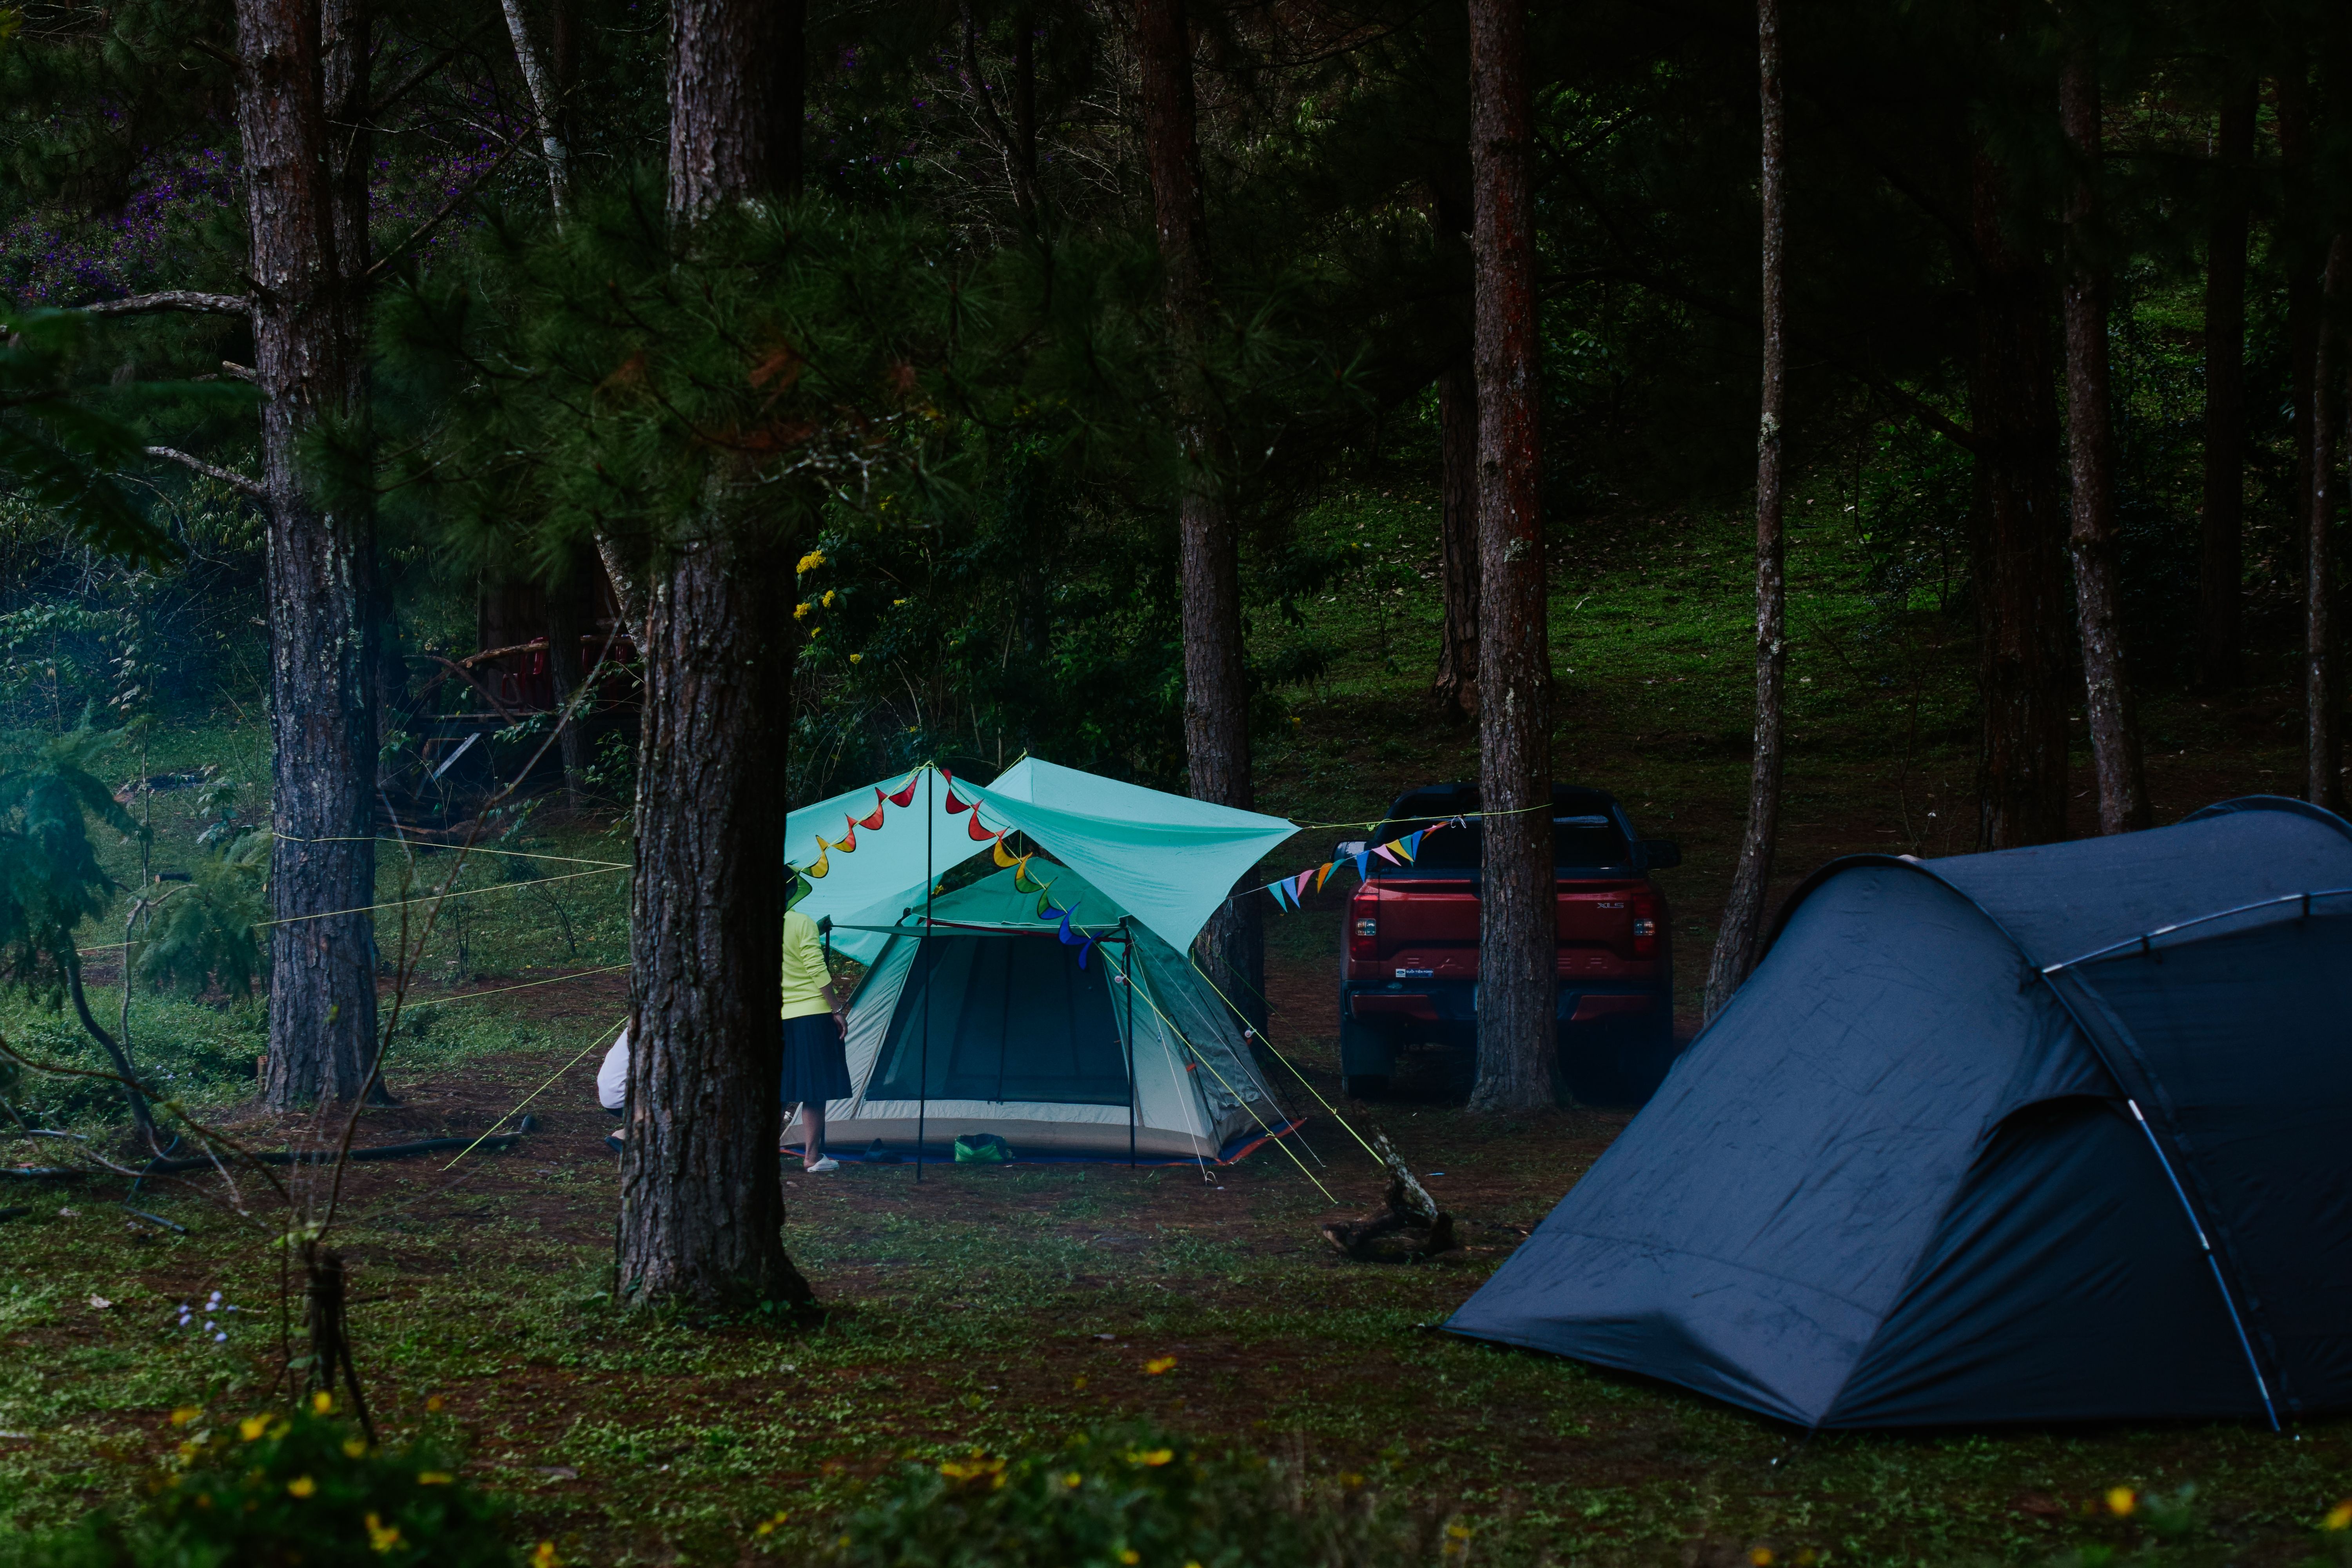
A flat spot in a dip or hollow can seem perfect when you are tired and losing daylight. It feels sheltered, easy to work on, and often has softer soil. The problem shows up later, when cold air settles there, and rainwater starts collecting exactly where you planned to sleep.
Beginners often notice the comfort of the spot before they notice the drainage. If the ground around you slopes inward, your shelter can turn into a basin after dark. A slightly higher site with natural runoff is usually less convenient to build on, but far better to spend the night in.
That one choice affects warmth, dryness, and sleep more than almost anything else.
Ignoring Wind Direction
Many first-time builders pay attention to rain but forget that wind is what really steals comfort once the sun goes down. A shelter opening aimed straight into the breeze can funnel cold air inside all night. Even a decent roof feels inadequate when gusts keep lifting edges and pushing damp air through your sleeping area.
A good shelter works with the landscape, not against it. Trees, rock outcrops, and dense brush can help break the prevailing wind if you position the structure carefully. Beginners who skip that quick check often end up shivering, adjusting lines in the dark, and wondering why a sturdy-looking shelter suddenly feels wide open.
The night always makes the wind feel stronger.
Building Too Late in the Day
Shelter mistakes multiply fast when construction begins just before sunset. In fading light, people rush decisions, skip site checks, and settle for weak knots or uneven supports simply because they want to be done. What looks finished in twilight often reveals gaps, sagging fabric, and bad positioning once darkness settles in.
Starting earlier gives you time to test the setup before you need it. You can step back, tighten lines, improve insulation, and rethink anything that feels questionable. Beginners often treat shelter as the last camp chore, but it should be one of the first. Nighttime is when every shortcut gets exposed, especially if the weather shifts after dark.
A hurried shelter usually becomes a midnight project.
Using Weak Ridge Supports
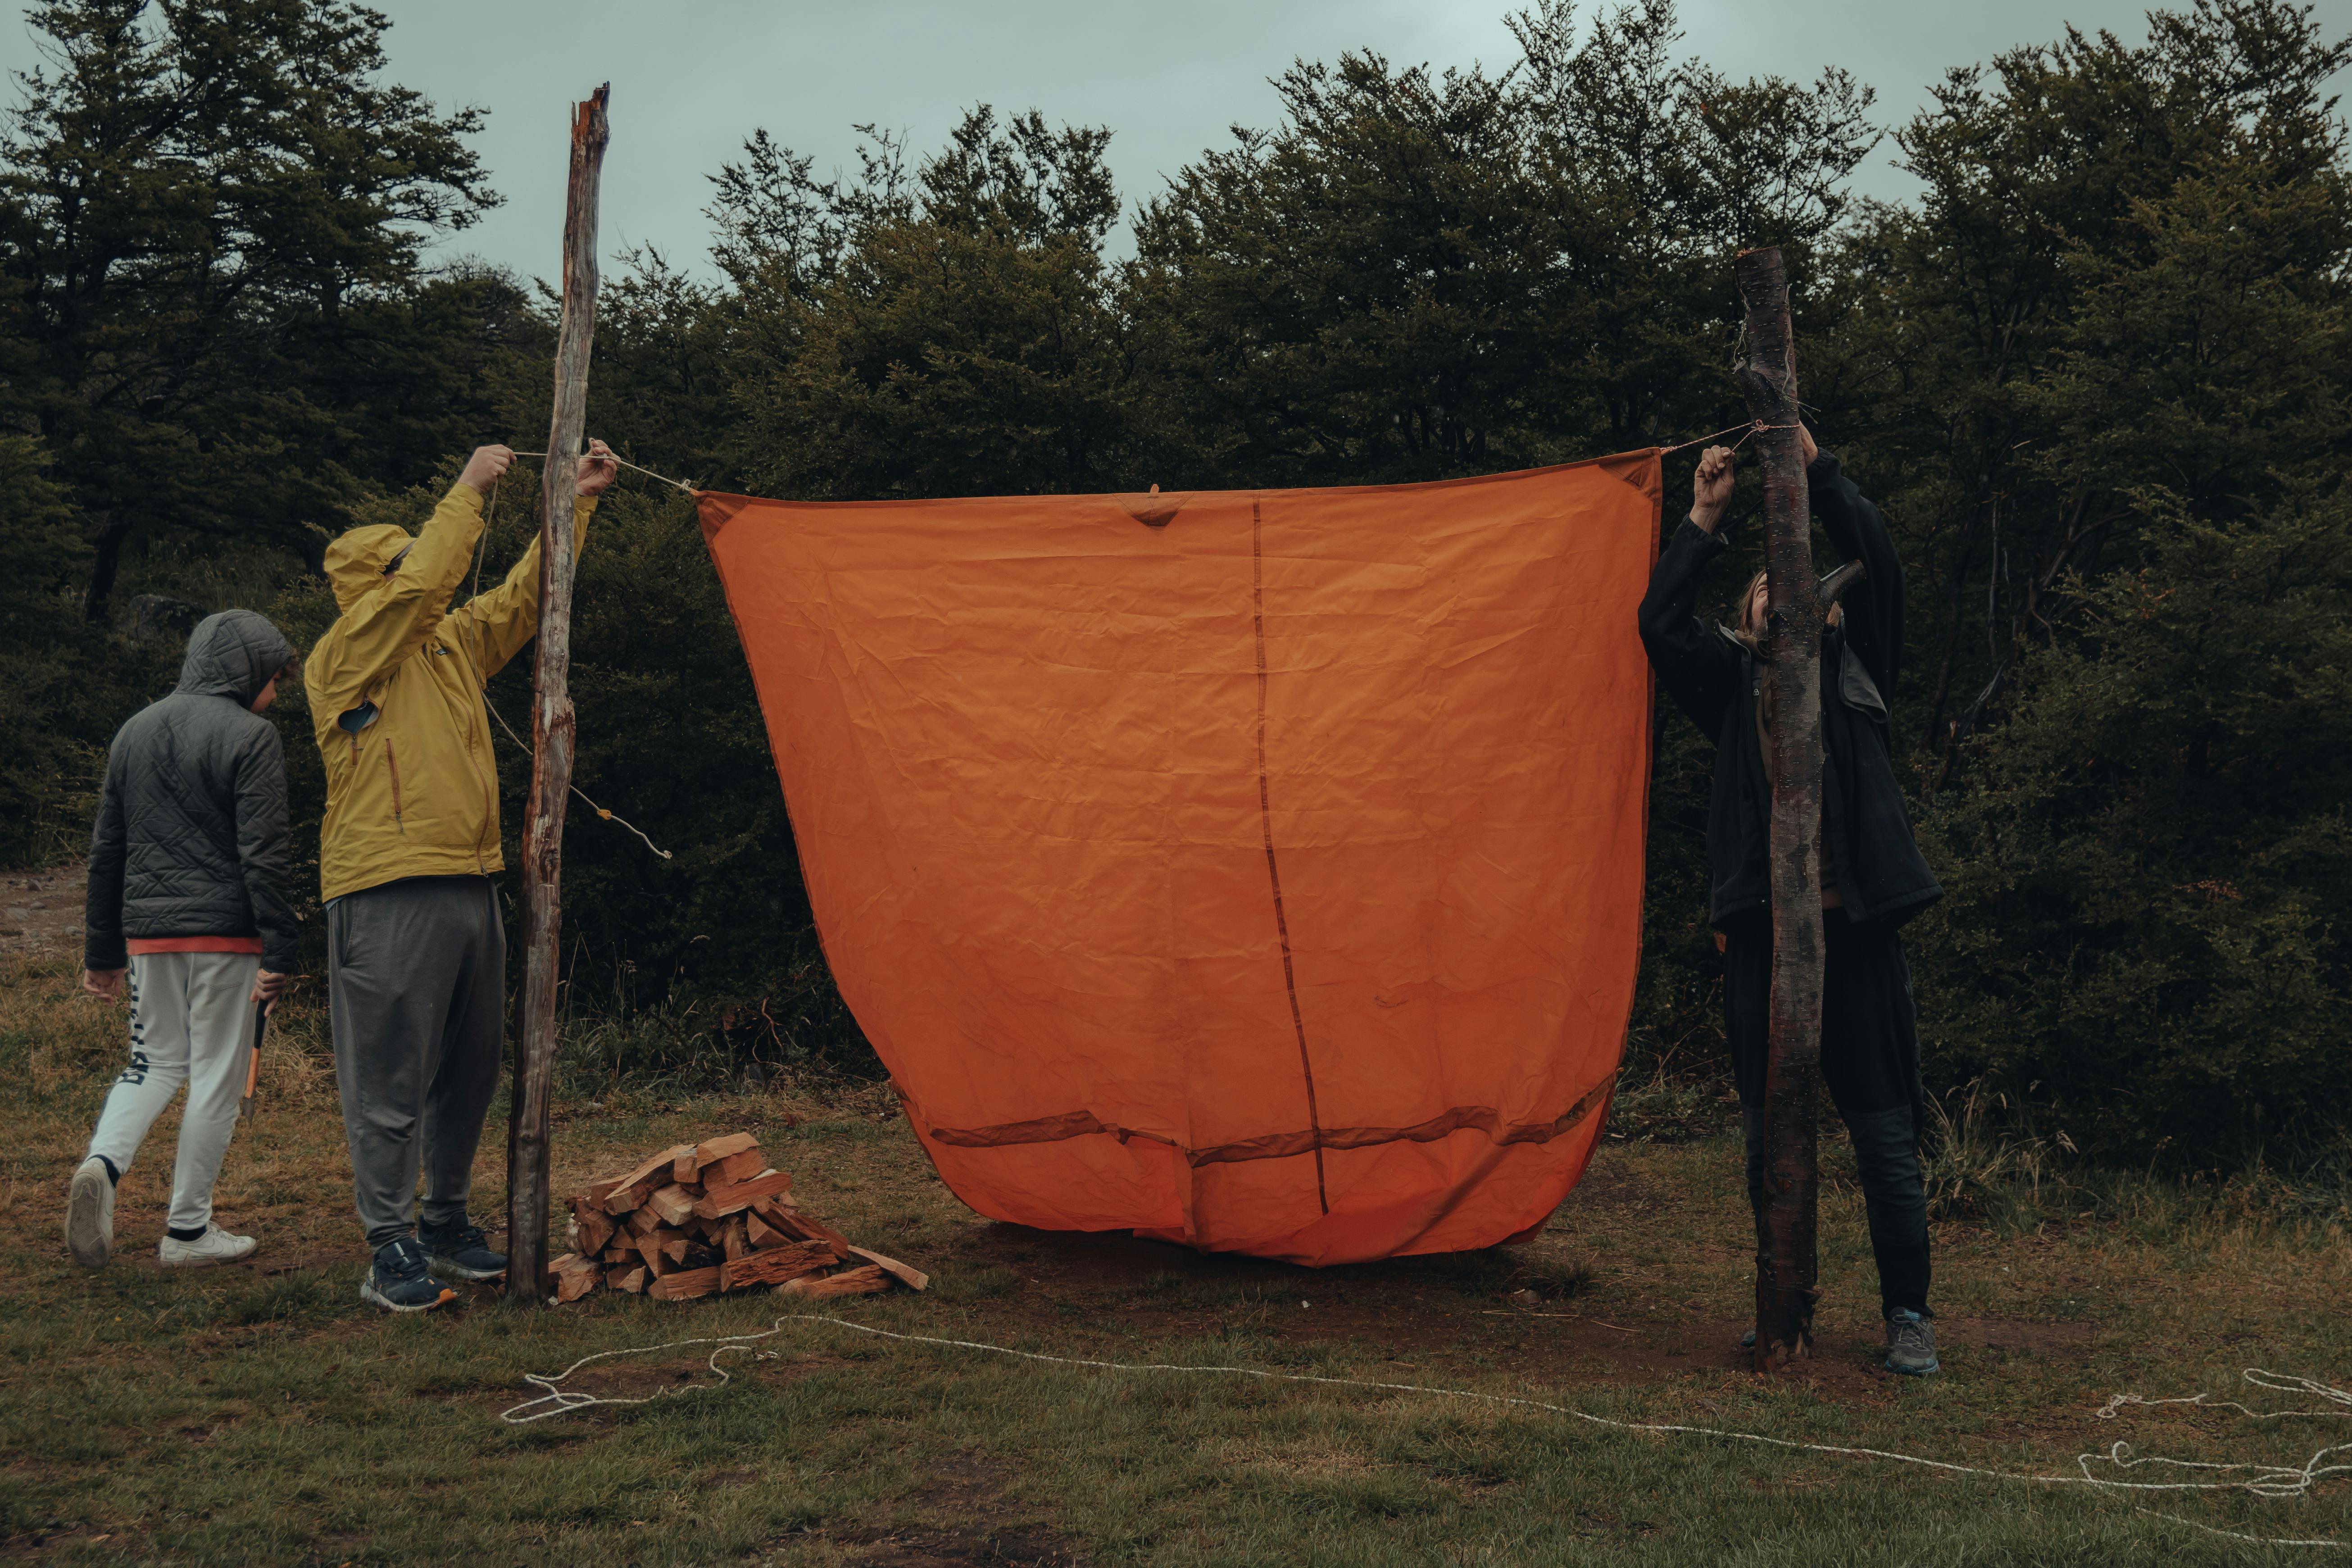
A shelter is only as dependable as the line or pole holding up its roof. Beginners sometimes lash ridgelines to dead branches, thin saplings, or loose anchor points that look serviceable for an hour. Later, with added moisture, wind, or weight from debris, those supports can bend, slip, or collapse onto the sleeping area.
This mistake often comes from judging strength by appearance alone. Wood that seems solid may be rotten, cracked, or poorly rooted. A support failure at midnight is more than annoying because once the structure sags, warmth disappears,s and rain finds every low point. Taking extra time to test anchors and choose stronger support points saves a great deal of discomfort.
If the roof fails, the whole shelter fails with it.
Making the Shelter Too Big

A roomy shelter sounds appealing, especially to someone imagining comfort rather than conditions. But oversized shelters are harder to heat with body warmth, harder to seal against drafts, and more vulnerable to wind. Beginners often build for standing room or extra storage, then discover that all that empty space turns chilly and exposed after dark.
A smaller footprint is usually more efficient for a single night. It is easier to roof, easier to reinforce, and much easier to keep warm. This does not mean cramped to the point of misery, but it does mean matching the structure to the real need. In rough conditions, compact shelters consistently outperform ambitious ones.
More space can mean less protection.
Leaving Gaps at Ground Level

People naturally focus on the roof because rain is easy to imagine. What they miss are the low gaps where cold air slips in and circulates around the body all night. Even a shelter with solid overhead cover can feel miserable if the base is open on the windy side or if the walls stop too high above the ground.
Those openings matter most when temperatures drop. Cold air pools low, and a steady draft near your sleeping bag or blanket will rob heat hour after hour. Beginners often notice these flaws only after lying down, which is when fixing them becomes frustrating. Closing lower gaps with better wall placement, natural materials, or tighter pitching can make the shelter feel dramatically warmer.
Comfort often leaks out from the bottom first.
Forgetting Ground Insulation

A lot of beginners think the roof is the main protection and underestimate how much heat the ground can steal. You can be dry from above and still end up cold, stiff, and wide awake because the earth beneath you is conducting warmth away for hours. This is one of the most common reasons a shelter feels ineffective.
Leaves, pine boughs where allowed, pads, extra clothing, or natural debris can create a buffer between you and the soil. Without that layer, even a well-built shelter loses much of its value. People often blame the air temperature, but the real problem is underneath. A decent bed of insulation can change the entire night from punishing to manageable.
Warmth is not only about what covers you. It is also about what separates you from the ground.
Pitching a Flat Roof

A roof that looks neat and level in calm weather can become a problem as soon as rain begins. Water needs a path off the shelter, and a flat pitch invites pooling, sagging, and eventual leaks. Beginners often stretch material wide for coverage without giving enough thought to runoff, which is why the roof starts drooping in the middle of the night.
Once water collects, the whole structure gets stressed. Fabric stretches, knots slip, and drips appear over the exact place you hoped to sleep. A steeper angle may reduce headroom a little, but it works much better in real conditions. Shelter design always involves trade-offs, and drainage should almost always win.
A dry roof is usually an angled roof.
Trusting Dead Branches Overhead
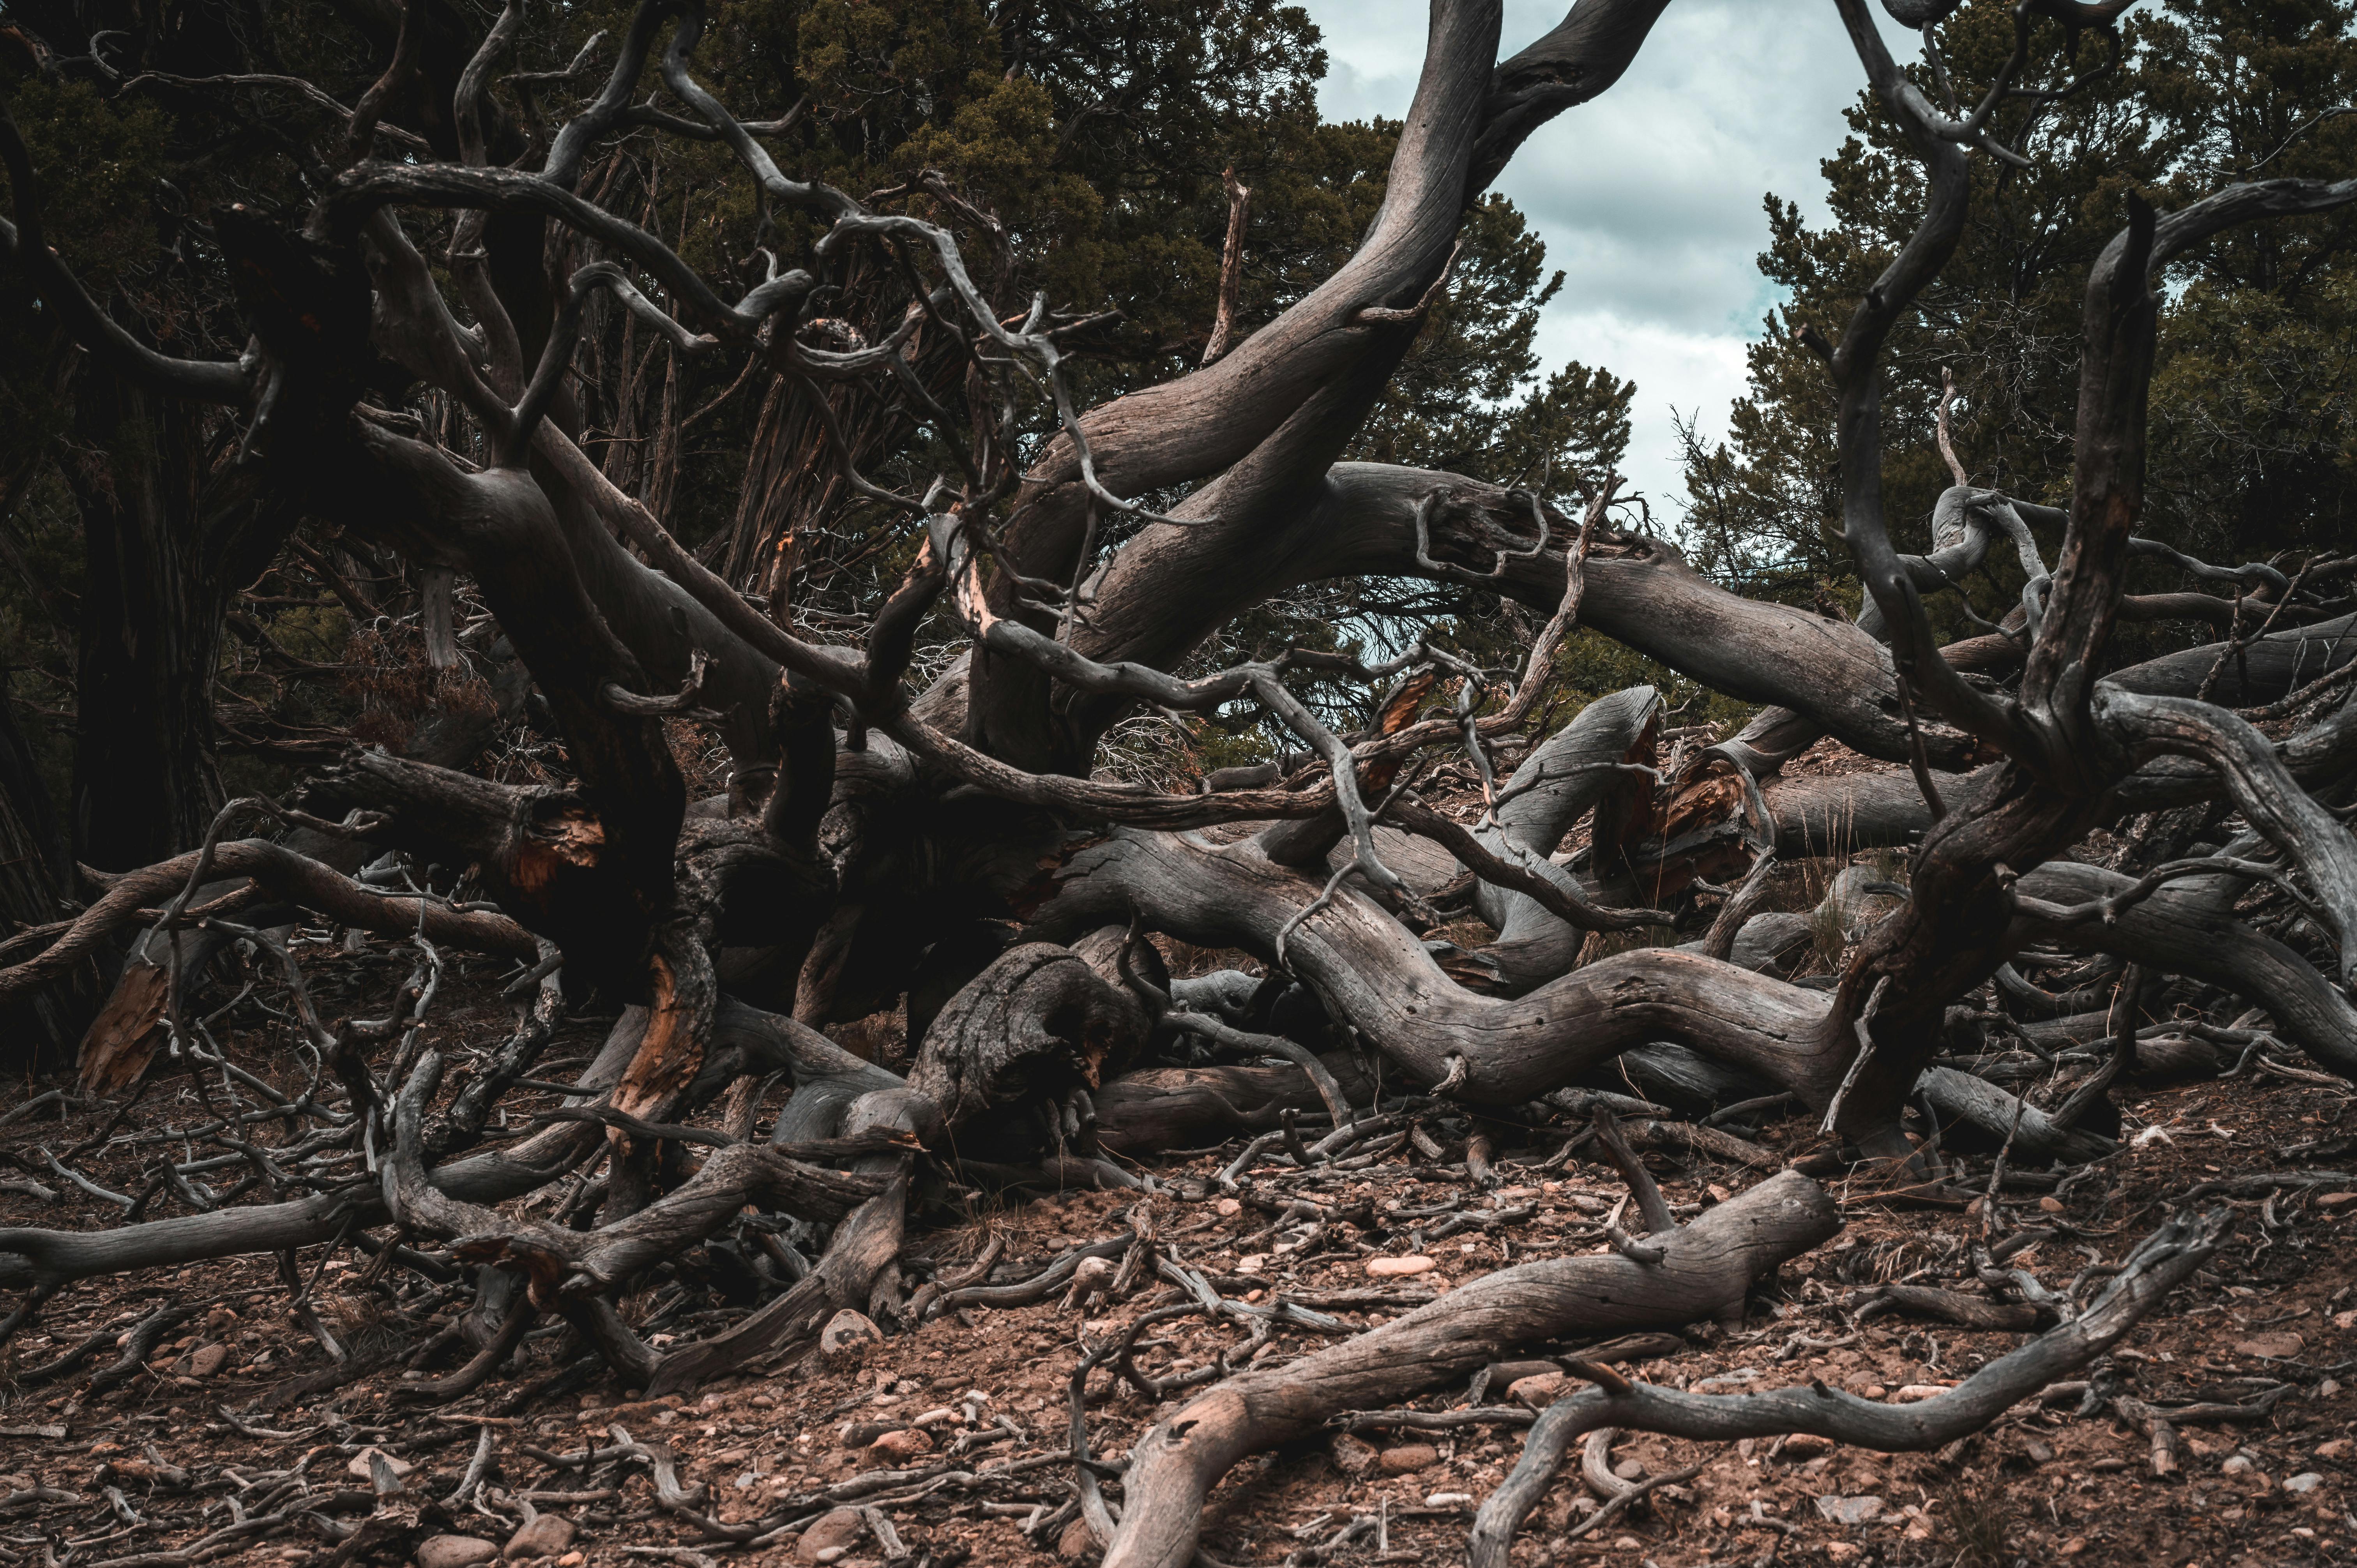
One of the easiest mistakes to make is focusing on the shelter itself while ignoring what hangs above it. Dead limbs, cracked branches, and leaning snags may not look dramatic in daylight, but wind and overnight moisture can bring them down. A perfectly built shelter is no protection if the canopy above is unstable.
Beginners often seek large trees for cover without inspecting them closely. The shade feels reassuring, and the trunks look strong, but hazards are usually higher up and less obvious. A quick scan for deadwood, split limbs, and trees under tension can prevent a dangerous night. Site safety begins before the first knot is tied.
The worst failure may come from something you never built at all.
Using Poor Knots and Loose Lines

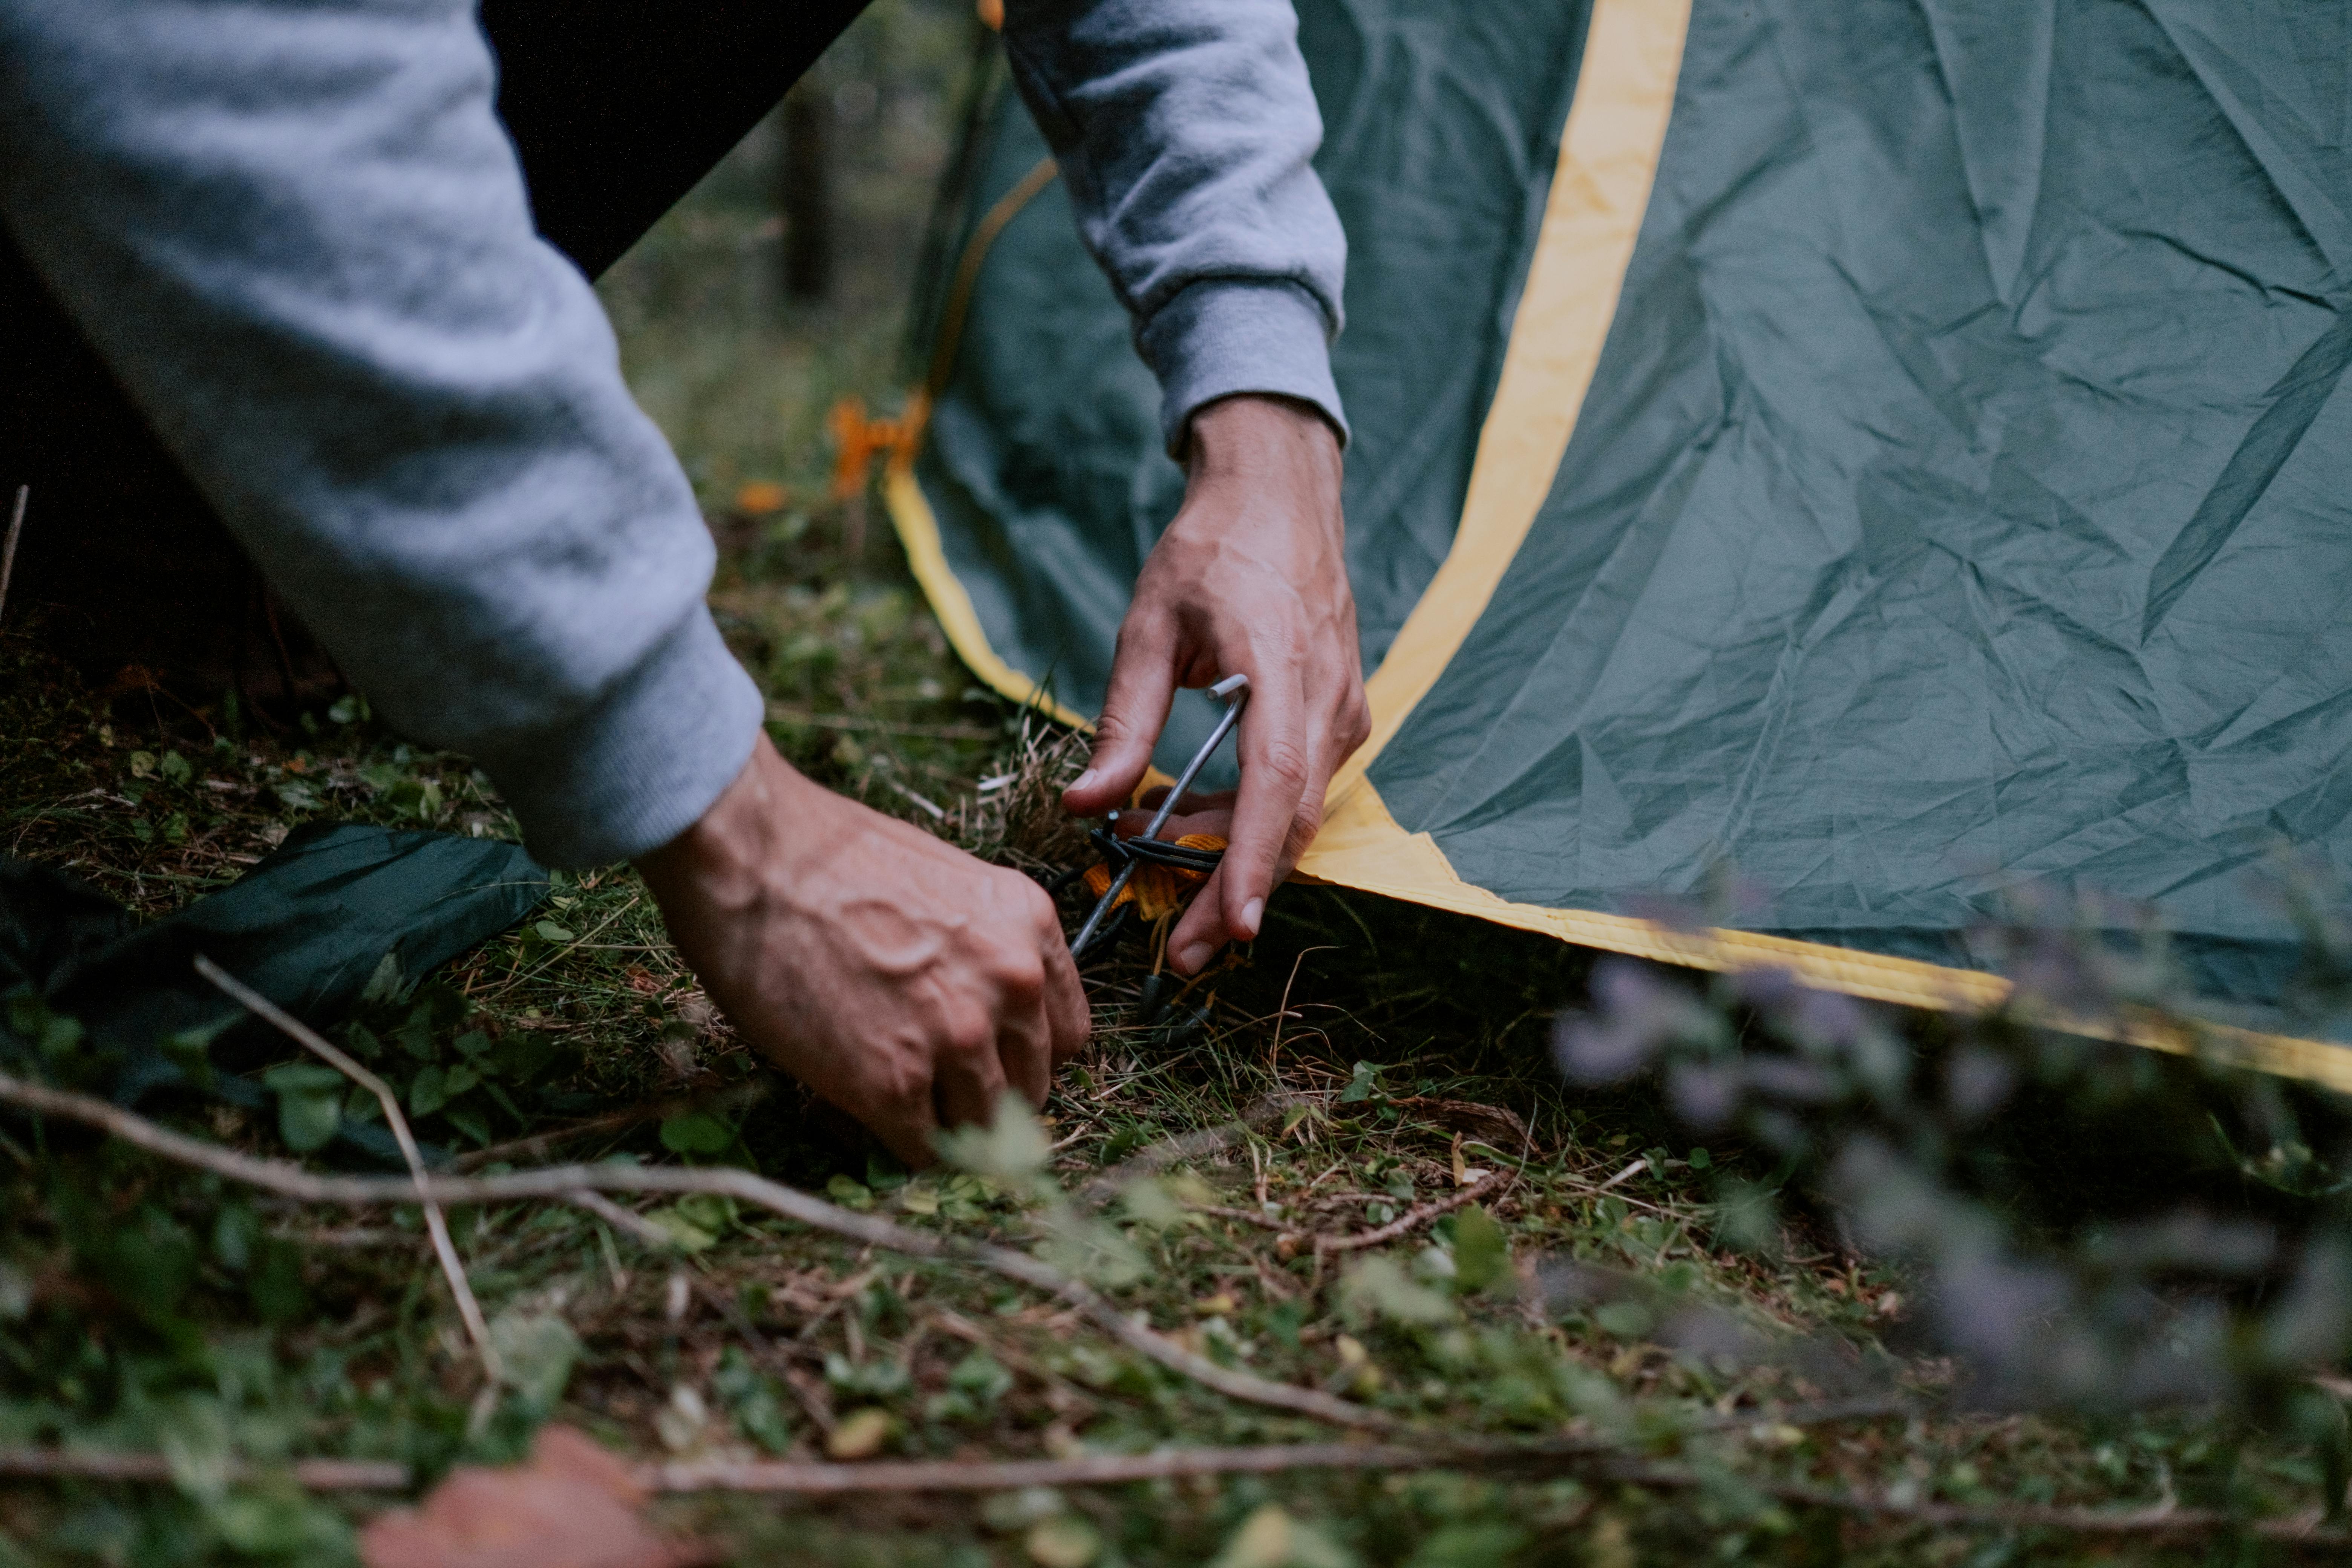
A shelter can look finished while still being only one weak knot away from trouble. Beginners often tie whatever seems fast, then move on without really tensioning the lines. Hours later, cordage slips, corners sag, and the roof starts flapping or collapsing just enough to let weather inside.
This issue gets worse after dark because moisture and wind expose every lazy setup choice. A line that felt snug at dusk can loosen as fabric stretches and anchors shift. You do not need expert-level rigging, but you do need reliable knots and deliberate tension. Practicing a few dependable ties before relying on them outside makes a major difference.
Shelters rarely fail all at once. They usually fail one slipping line at a time.
Blocking Ventilation Completely
Inexperienced builders sometimes seal a shelter too tightly in an effort to trap heat. That can backfire when condensation begins collecting inside, dampening gear, walls, and bedding. By the middle of the night, the shelter may feel clammy and colder, even though it seemed well-protected at first.
Ventilation is a balancing act, especially in cool or wet weather. You want to reduce drafts without creating a damp box that holds moisture from breath and body heat. Small openings placed thoughtfully can help air move without making the structure feel exposed. Beginners often learn this lesson when they wake to a dripping interior instead of rain outside.
Dry air matters almost as much as warm air.
Skipping a Midnight Weather Margin

A shelter that works in current conditions may fail when the weather changes a few hours later. Beginners often build for the moment they are standing in rather than for the colder, wetter, windier version of the night that might arrive after midnight. That is how a shelter goes from acceptable to miserable without anything dramatic seeming to happen.
Adding a weather margin means tightening things more than you think you need to, reinforcing weak spots, and preparing for a shift in rain or wind direction. It is a mindset as much as a technique. Experienced campers assume conditions can worsen and build accordingly. Newer ones often trust the evening forecast written in the sky.
The smartest shelter is the one that anticipates the night, not just the sunset.


