

The Winchester Model 70 has earned a strong reputation among big-game hunters for its traditional bolt-action design, dependable handling, and long history in the field. However, even an established hunting rifle deserves a careful inspection before elk season begins. Changes in weather, storage, transportation,n and regular use can affect its condition. From identifying the correct Model 70 generation to checking ammunition compatibility, optics, magazine condition, and safety features, several details deserve attention. A thorough pre-season review also helps hunters identify problems that need professional attention before heading into the mountains.
1. Confirm the Exact Model 70 Version
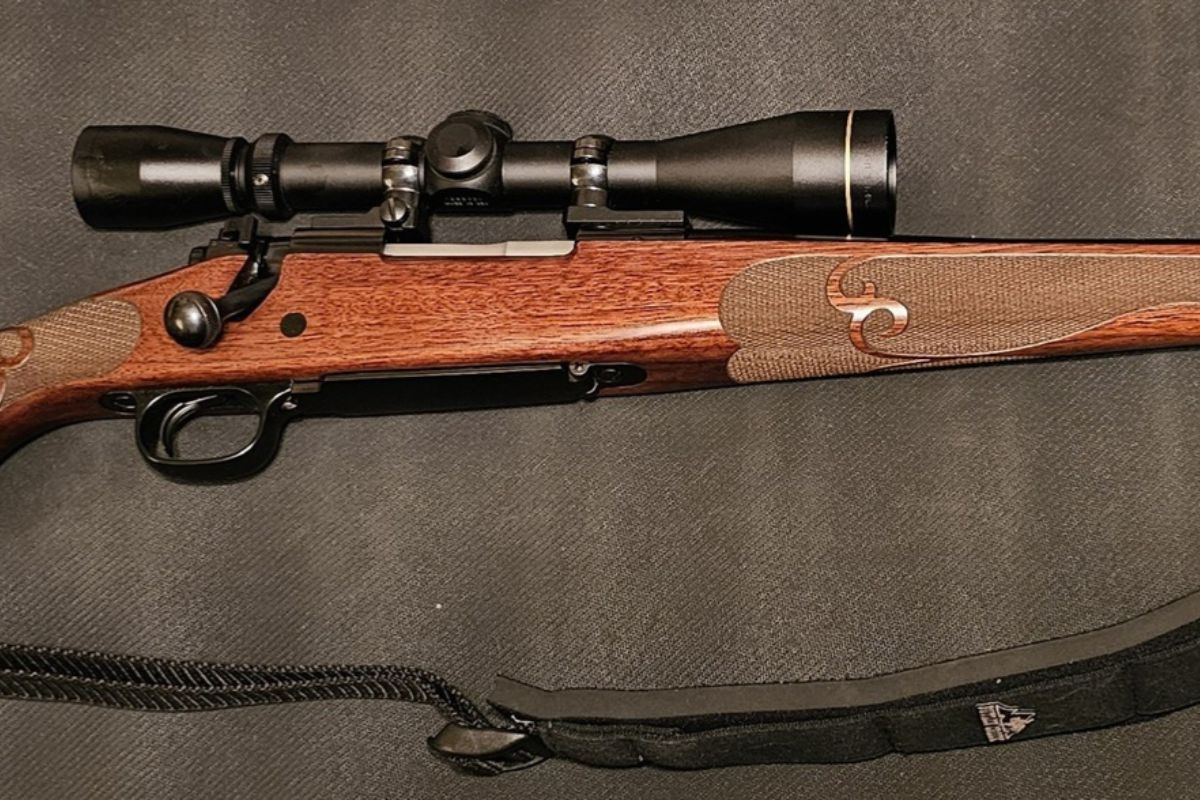
Model 70 rifles have changed across generations, and not every example has identical features. Winchester’s current manual covers rifles made from 1992 onward and notes that they may have controlled-round-feed or push-feed bolts. Older rifles can require different instructions, so identify the production era and exact model before relying on a generic checklist. Record its serial number, then compare the rifle with the correct owner’s manual. This matters because safety details, magazine arrangements,nts and parts can vary. If anything looks unfamiliar or appears altered, have a qualified gunsmith inspect it before the season.
2. Verify the Chambering and Ammunition

Read the cartridge designation stamped on the barrel and match it exactly to the ammunition box. Never assume similar cartridge names mean two rounds are interchangeable, and do not rely on a previous owner’s description. Winchester warns against using ammunition other than the marking on the barrel. Check each cartridge for corrosion, dents, damaged primers,mers or other visible defects, and keep ammunition dry during travel. Elk hunters may choose different chamberings according to local rules, rifle fit, and experience, but the safe choice is always ammunition approved for that exact rifle. If the marking is unclear, stop and ask a gunsmith.
3. Inspect the Barrel and Bore
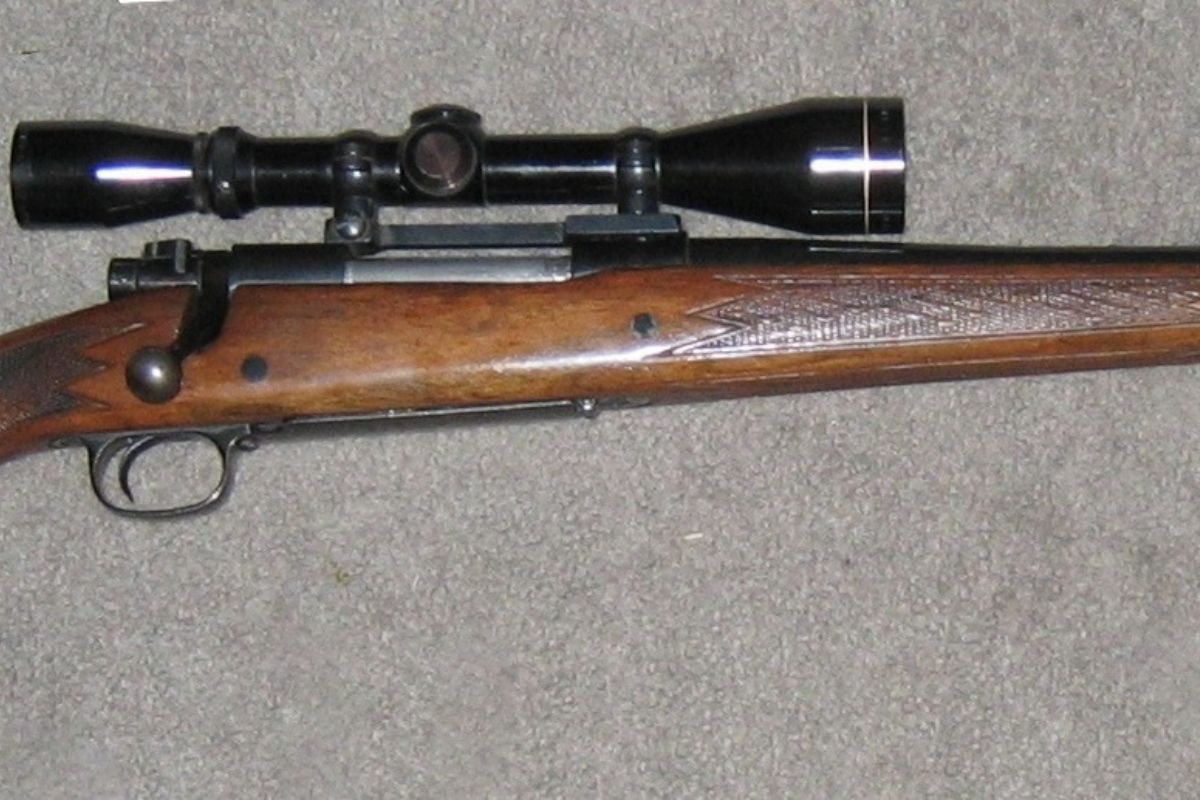
A clear, unobstructed bore is essential before any range session or hunt. With the rifle pointed in a safe direction and confirmed completely unloaded, inspect for obvious debris, moisture, rust, or damage. Pay attention after crossing dusty ground, travelling in wet weather,r or carrying the rifle through snow. Even one bore obstruction can create dangerous pressure, so do not fire if you suspect one. Use the cleaning and maintenance guidance for your particular Model 70 rather than improvising with tools or chemicals. If you see pitting, a bulge, unusual residue,ue or damage, leave the rifle unused and arrange a professional inspection.
4. Check the Three-Position Safety
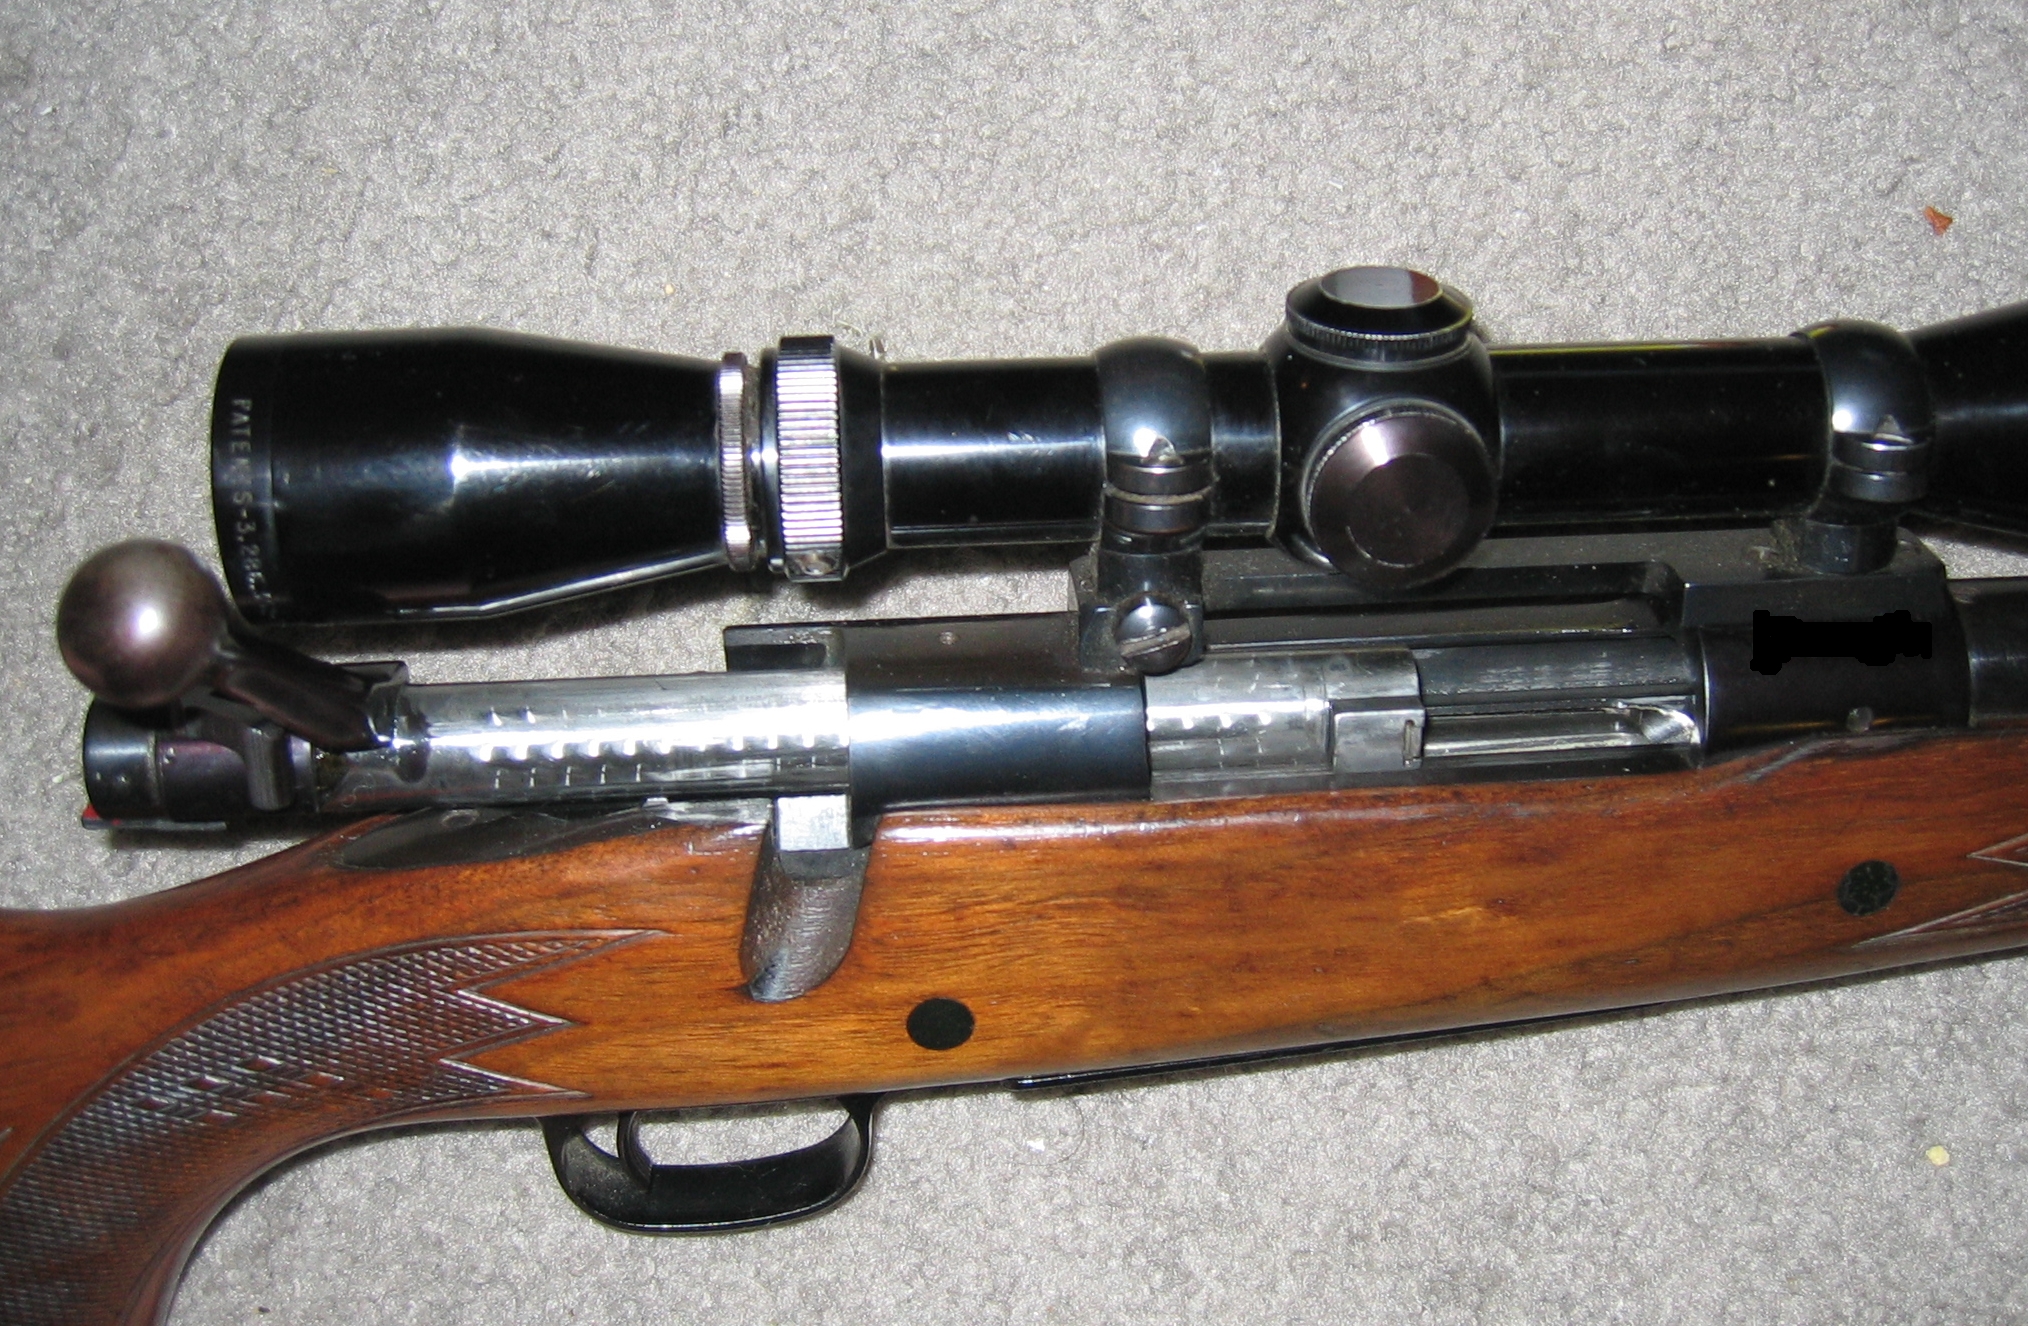
Many Model 70 versions are known for a three-position safety, but hunters should learn the arrangement on their own rifle instead of assuming every generation is identical. Winchester describes rear, middle,dle and forward positions on the models covered by its current manual. The middle setting permits the bolt to be opened while the firing pin remains blocked; the rear setting is the designated safe position. Practise identifying the controls only with the rifle unloaded, muzzle directed safely and ammunition kept elsewhere. Never treat a mechanical safety as a substitute for safe muzzle direction, trigger discipline, or the owner’s manual.
5. Understand the Bolt and Feed System
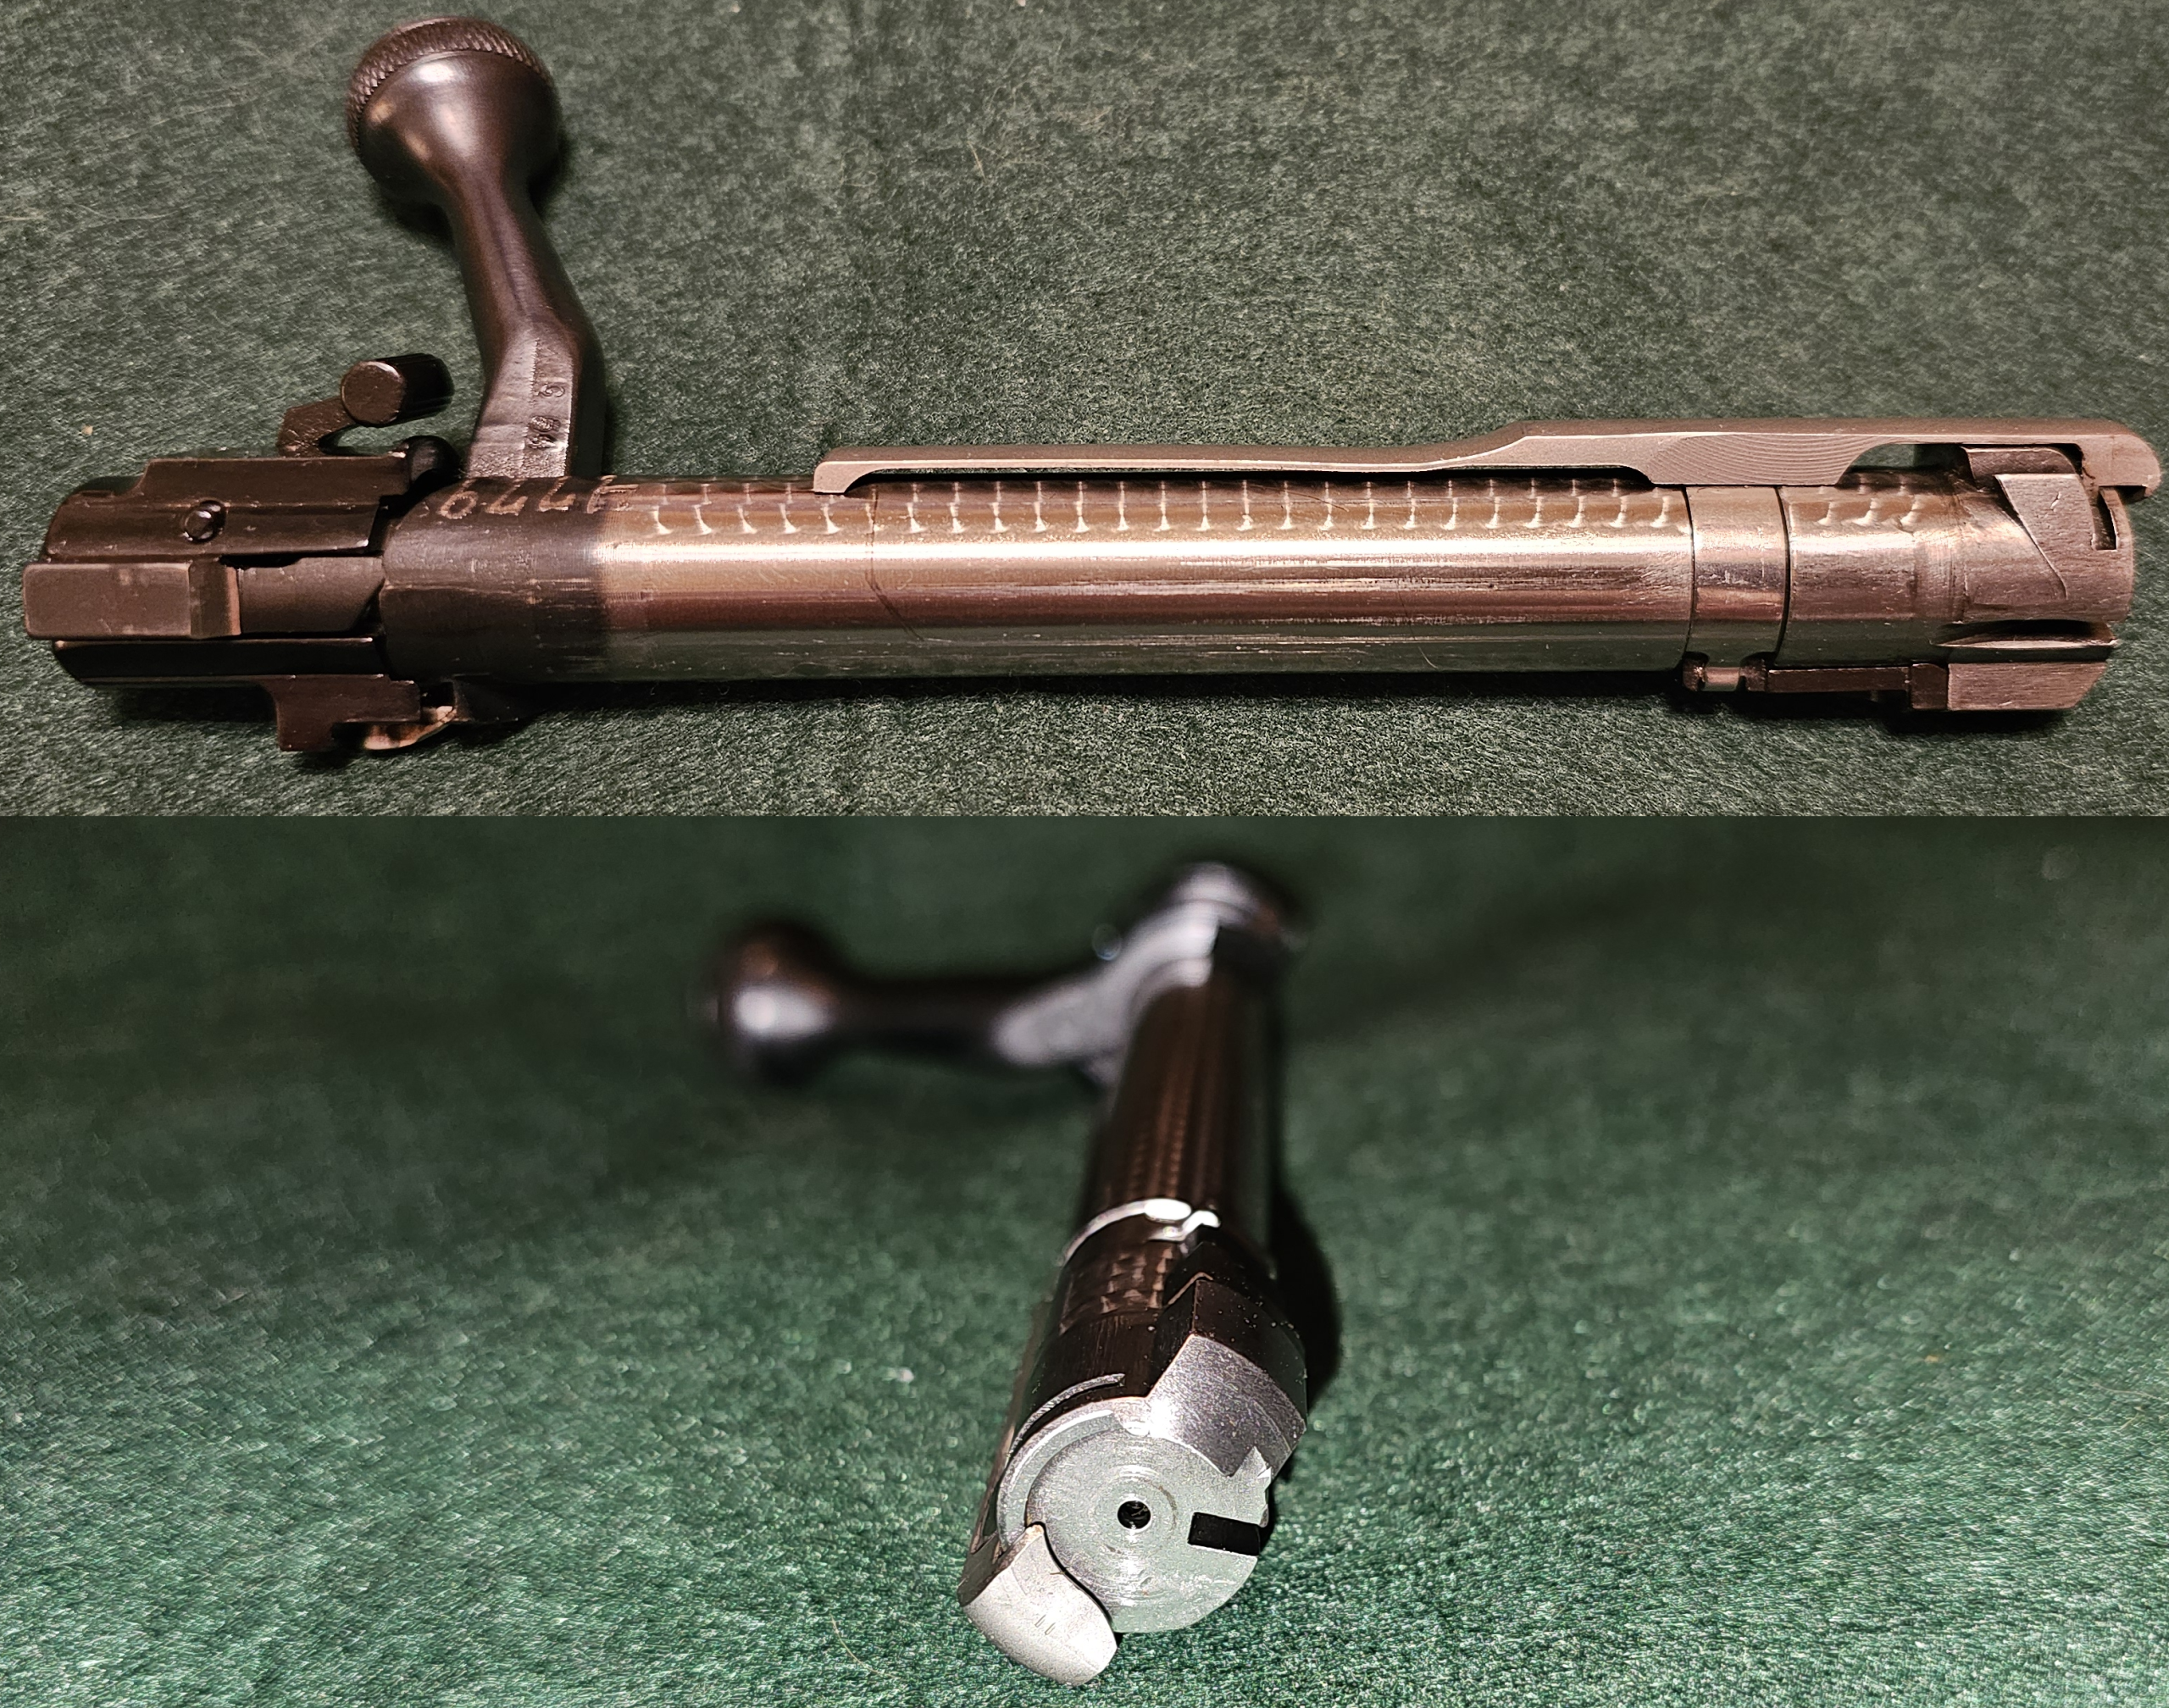
The Model 70 name covers more than one bolt arrangement. Winchester identifies controlled-round-feed and push-feed versions, while its controlled-round-feed design uses a large claw extractor to retain control of a cartridge as it moves toward the chamber. Do not assume the action on a newer rifle is identical to a Pre-’64 example. Before opening day, check for damage, unusual resistance, or unreliable operation during an unloaded inspection, following the correct manual. Never force a stiff bolt or attempt an improvised repair. A gunsmith should investigate any repeated feeding, extraction, or locking concern before the rifle is taken afield.
6. Examine the Stock, Sling and Exterior
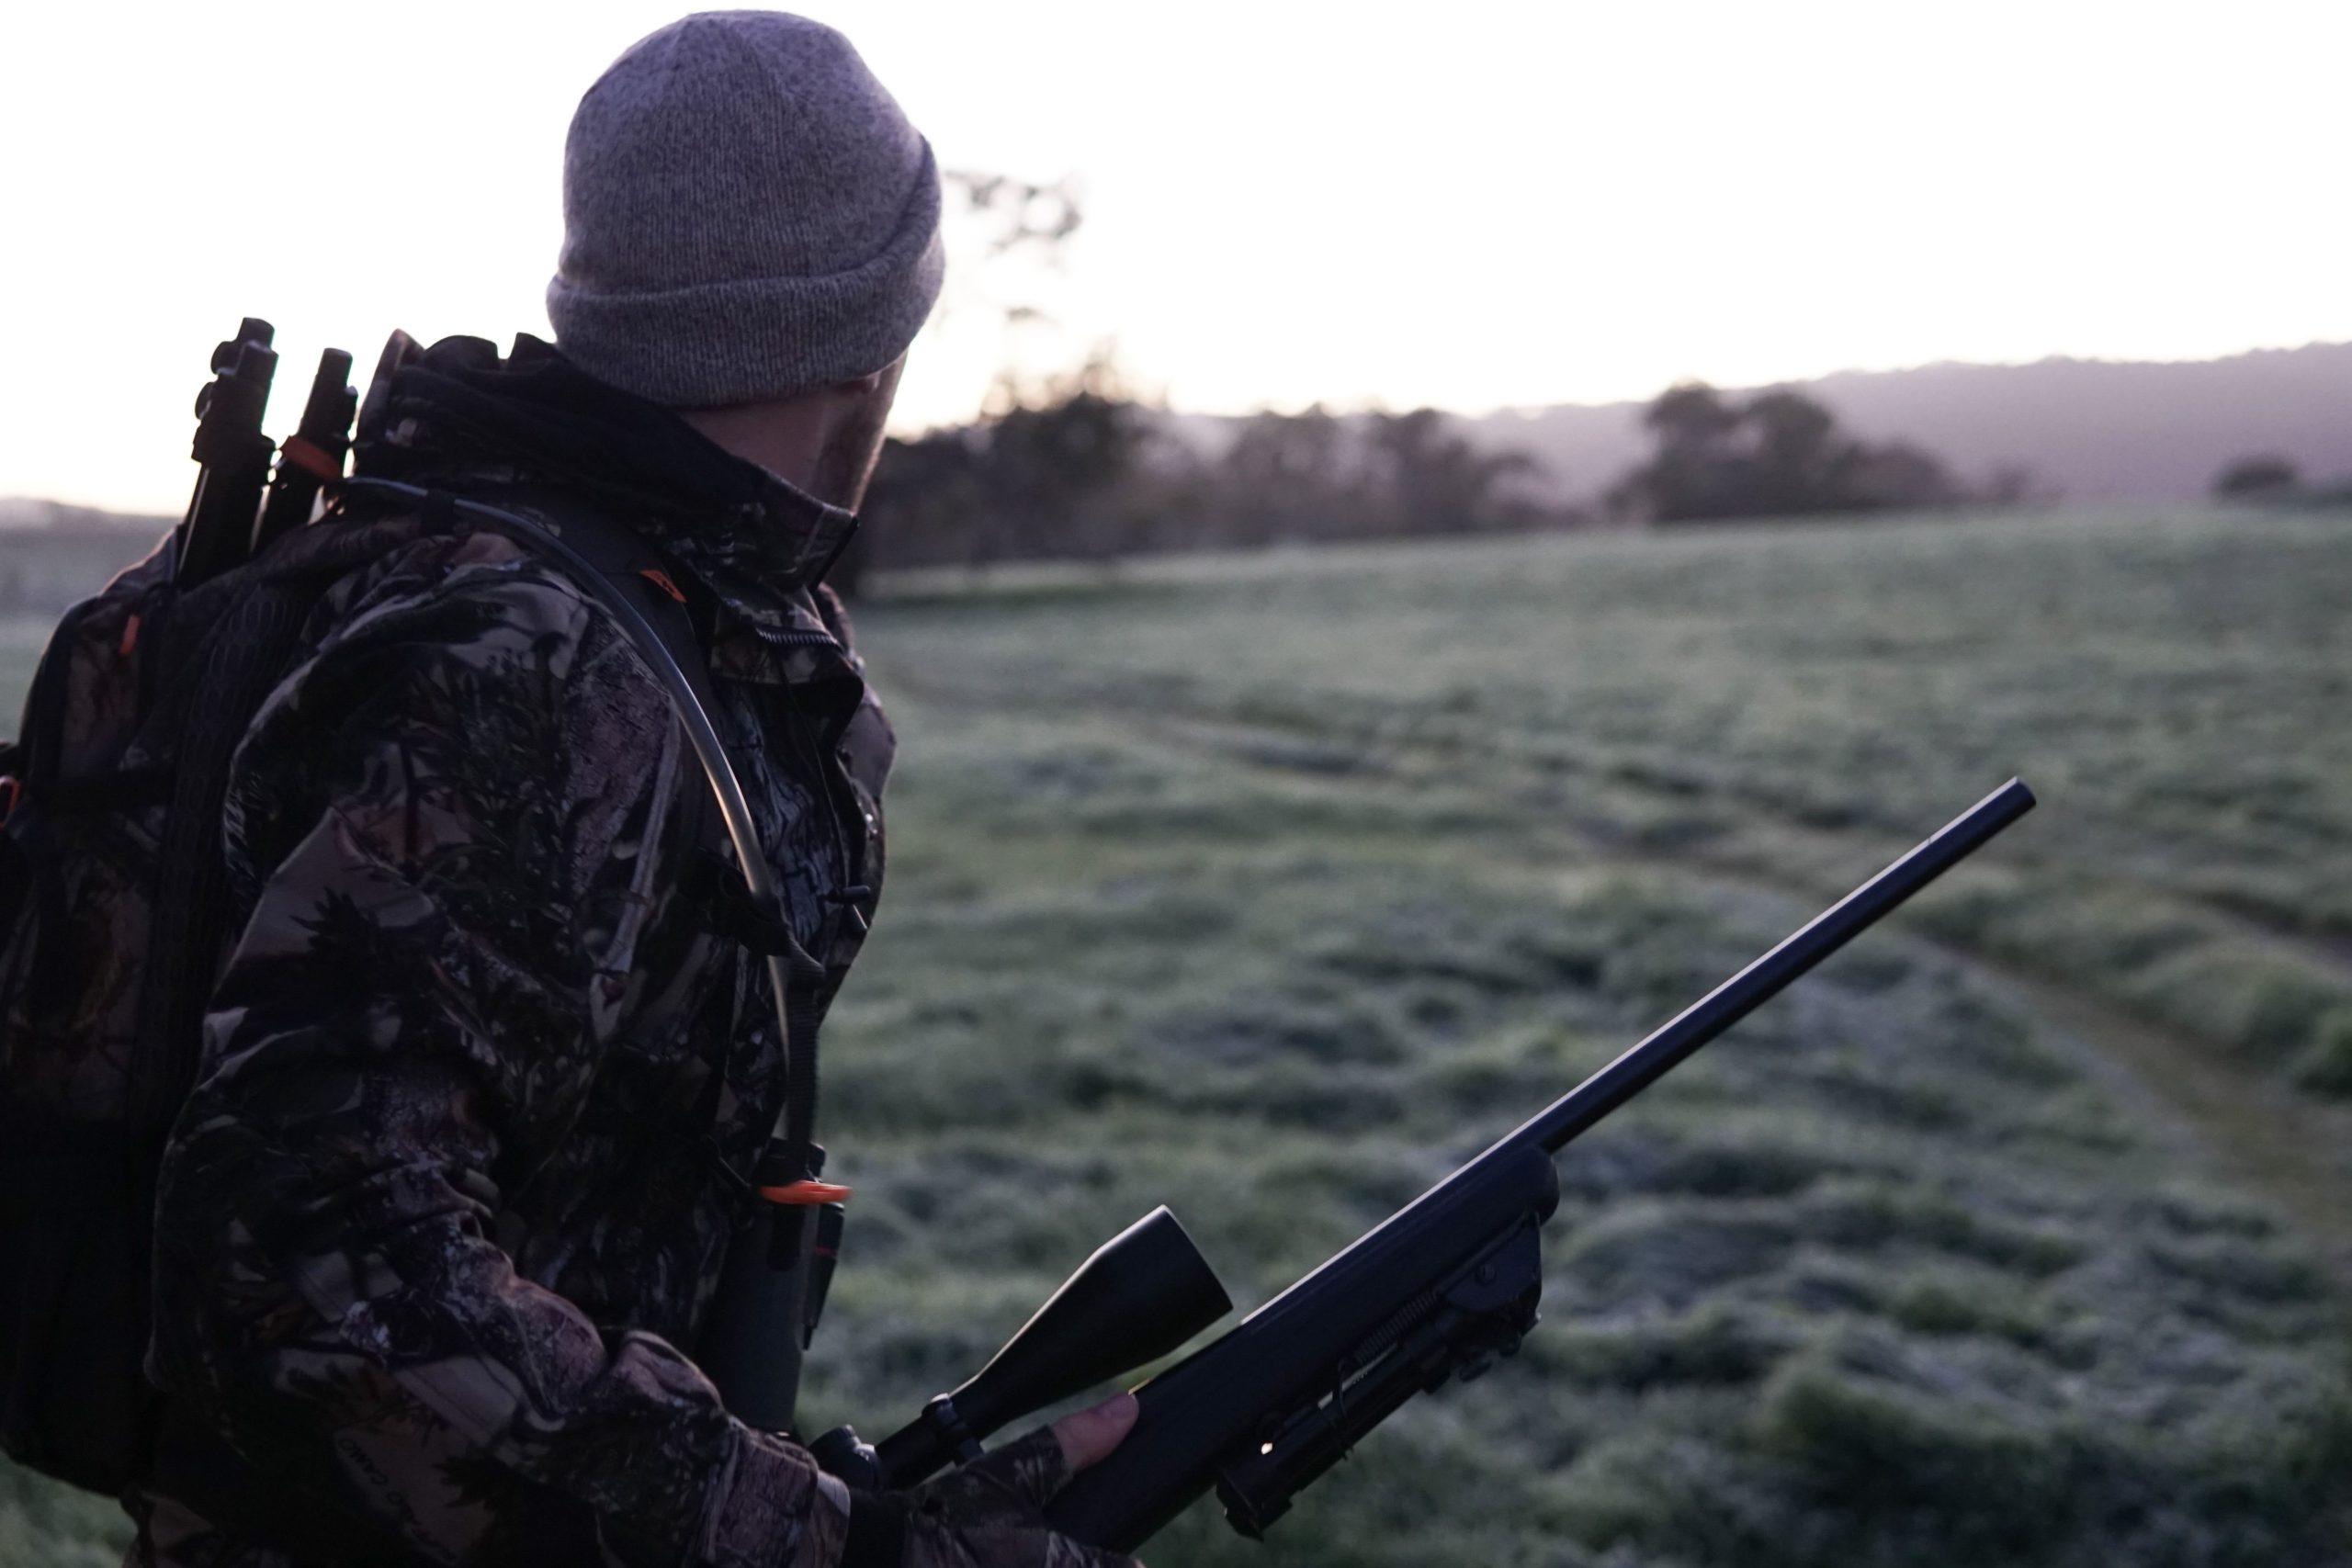
A season in the field can expose a rifle to rain, grit, knocks and changing temperatures. Look over the stock for cracks, loose fittings, deep impact marks or signs that the action has shifted. Check both sling attachment points and the sling itself, since a failed connection can cause a fall or leave the rifle uncontrolled. Inspect the metalwork for rust and wipe away moisture after exposure. Do not overlook the recoil pad, grip area,s or stock edges, which may show damage after repeated use. Check it before each trip. If a crack reaches a critical area or a fitting feels loose, seek a gunsmith’s assessment.
7. Review the Scope and Mounting Hardware

A scope that shifted during transport can undermine confidence at the range and in the field. Check the glass for cracks, fogging, loose controls,ls or damaged adjustment caps, and make sure the sight picture remains clear at the settings you normally use. Winchester notes that the Model 70 receiver is drilled and tapped for scope bases, and each scope base uses two screws. The correct base and screw length matter. Do not guess at replacement hardware or tighten fasteners by feel alone. Have questionable mounts checked by a competent gunsmith, then confirm the rifle’s point of impact at a lawful range before hunting. Keep the muzzle safely directed throughout.
8. Confirm Magazine Type and Capacity
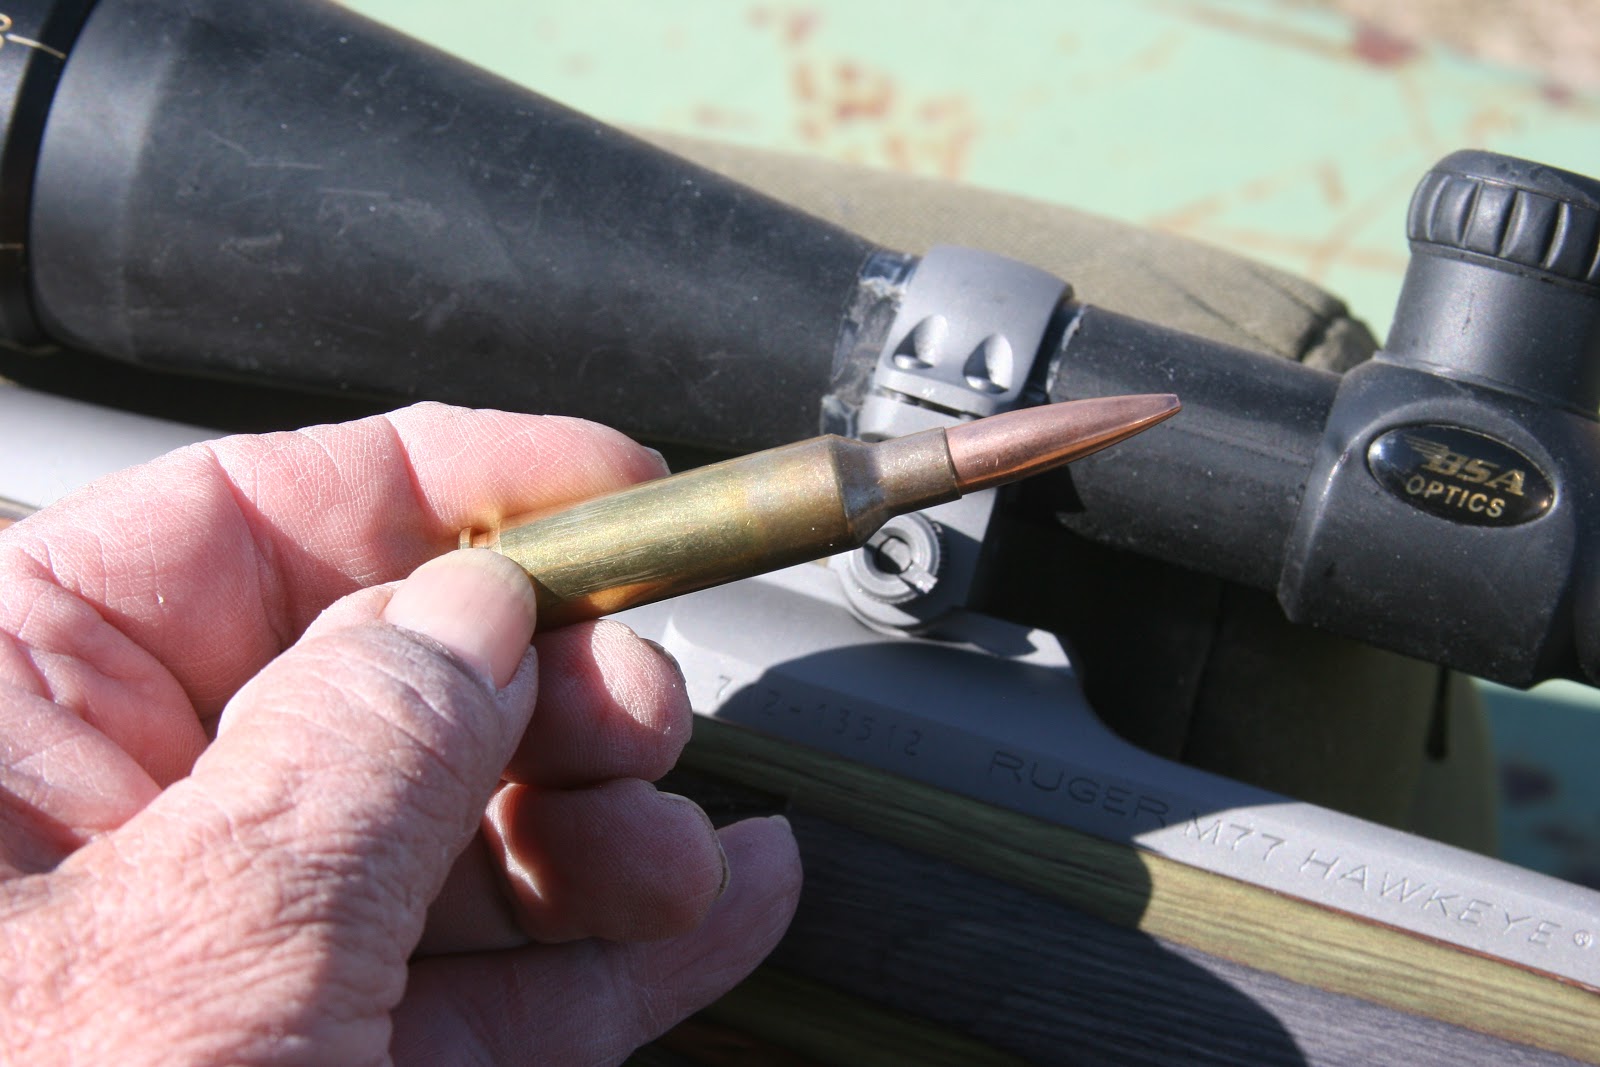
Model 70 rifles may have a hinged floorplate, an enclosed magazine,ine or a detachable box magazine, depending on the configuration. Capacity also varies by chambering: Winchester’s current manual lists five rounds for standard calibres, four for 6.5 Creedmoor and three for magnum and WSM calibres. Those figures are not a substitute for checking the exact rifle and applicable hunting regulations. Learn which magazine system your rifle has and look for visible damage, corrosion, or a poorly fitting component. Remember that removing a detachable magazine does not prove the chamber is empty; always verify the chamber separately.
9. Check the Trigger Without Making Changes

A predictable, undamaged trigger is part of a responsible pre-season inspection, but it is not something to experiment with casually. Winchester says rifles made in 2008 and later use its M.O.A. Trigger System, with a factory setting described in the manual. That does not mean every Model 70 has the same trigger or adjustment range. With the rifle completely unloaded, look for obvious damage, dirt, or signs of unauthorised alteration. Do not attempt a home adjustment to make the trigger lighter. If the trigger feels inconsistent, sticks,s or has been modified, have a qualified gunsmith examine it before live firing.
10. Confirm Zero and Practise Safely

A rifle should not be taken elk hunting on the strength of last season’s range session. After transport, maintenance,ce or any change to the optic or rifle setup, confirm one reliable point of impact at a managed range using the exact ammunition intended for the hunt. Follow range rules, wear eye and hearing protection, and use a stable, safe firing position under suitable supervision. Check current hunting regulations for legal equipment, season dates, and any ammunition restrictions in your area. Finish by reviewing safe carry and unloading procedures from the correct manual. If results are inconsistent, pause and get professional help.