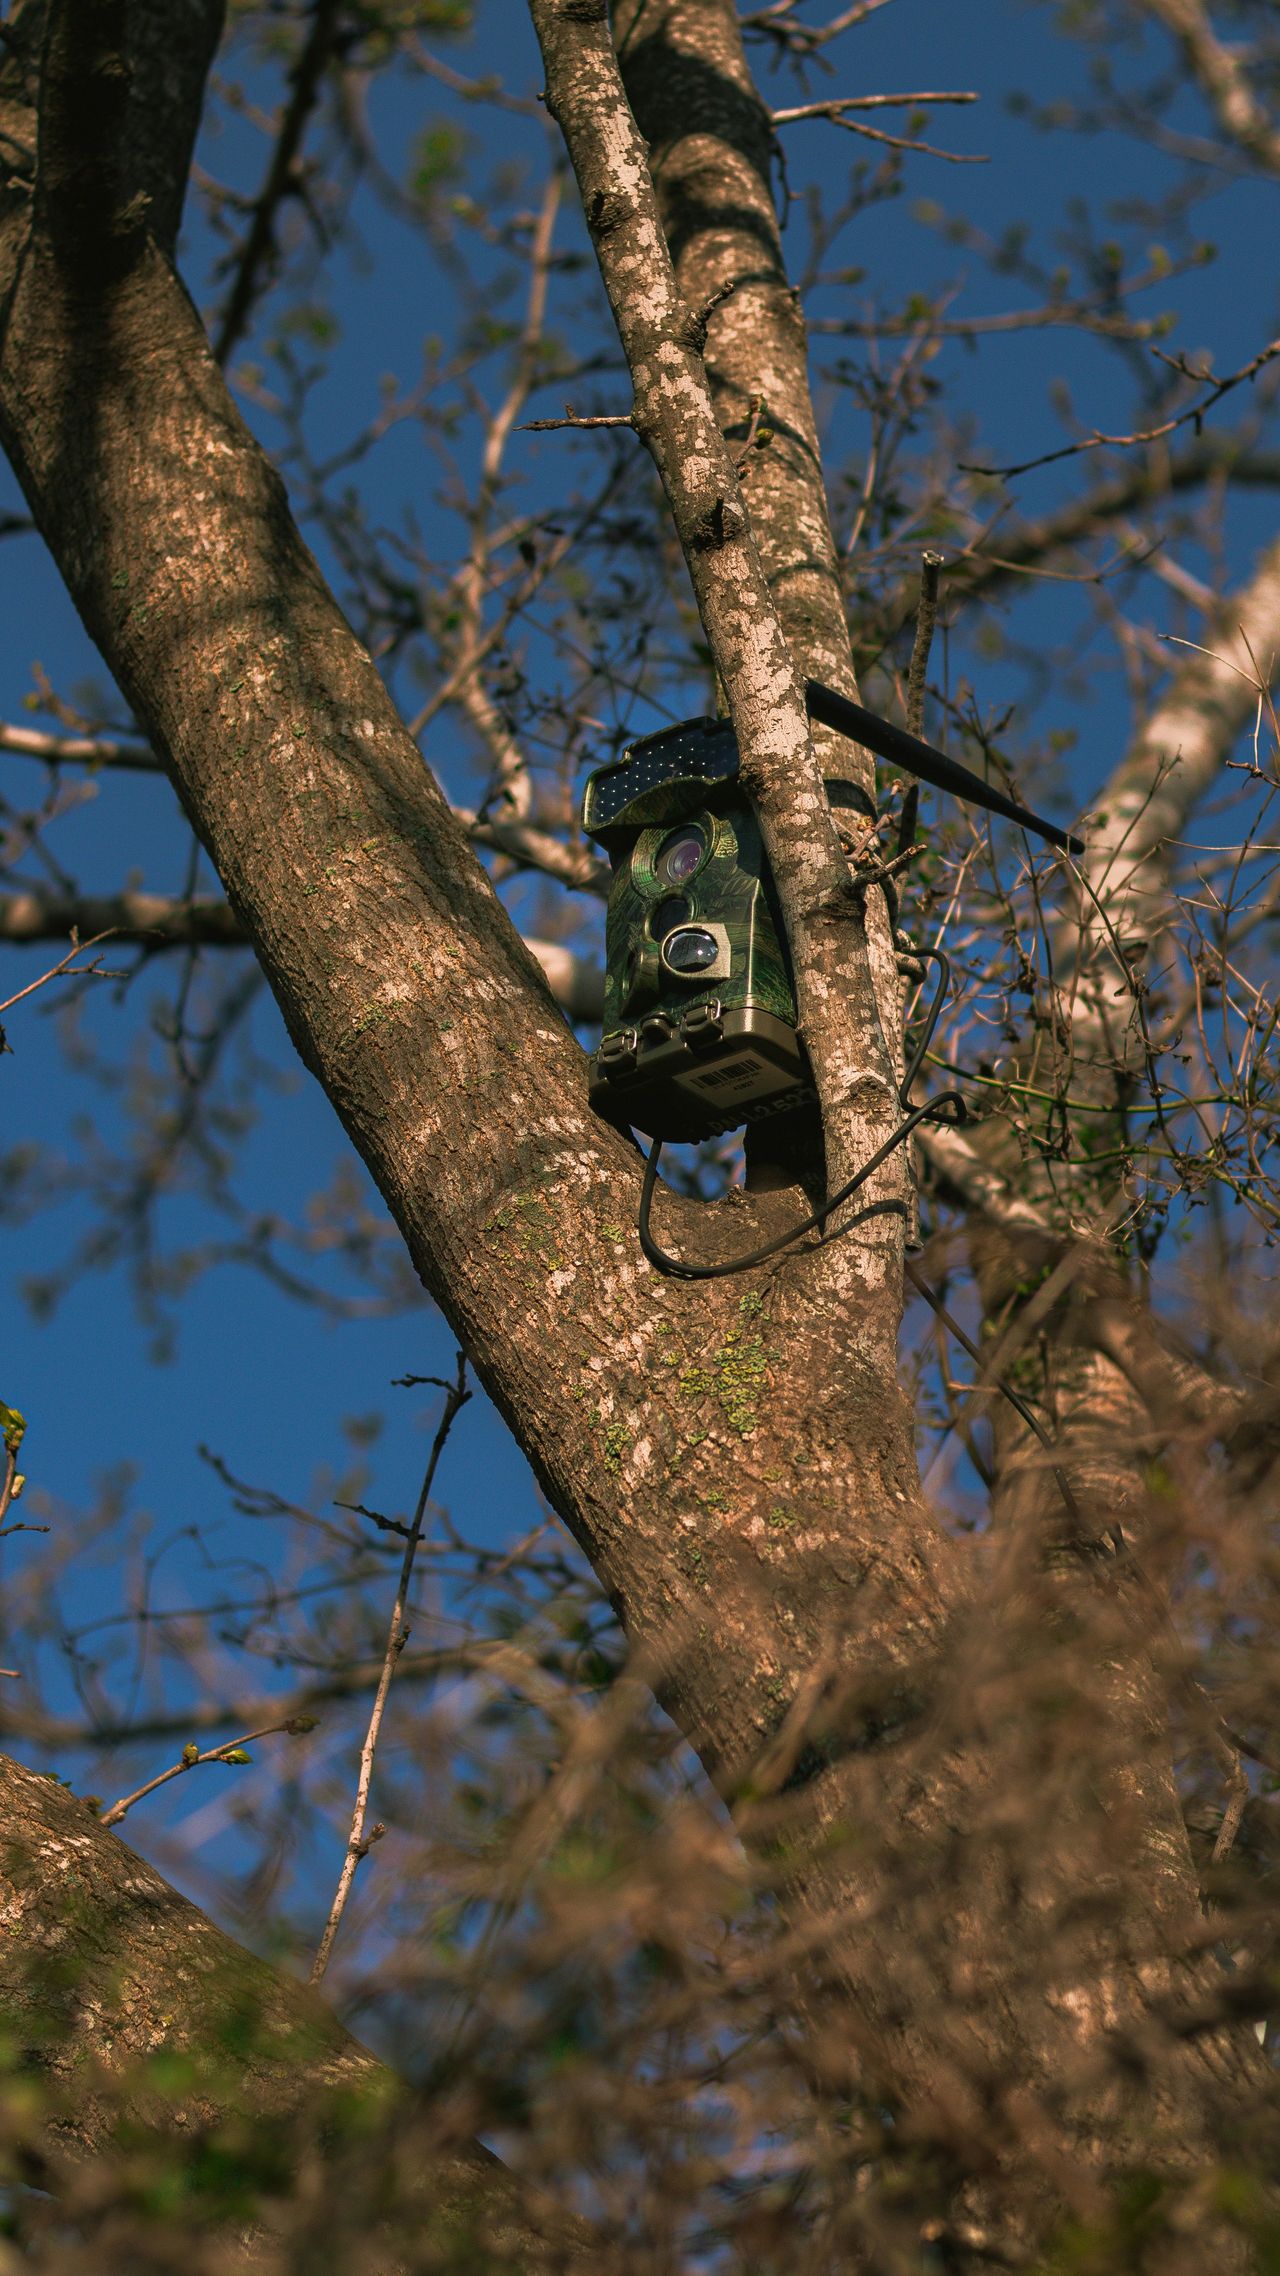
Trail cameras promise easy intel, but small setup errors can quietly turn expensive gear into a poor lookout. A camera that is technically working can still miss the very movement, timing, and patterns hunters care about most. These common mistakes are often fixable in minutes, and correcting them can make every card pull and app alert far more useful.
Mounting the Camera Too High or Too Low
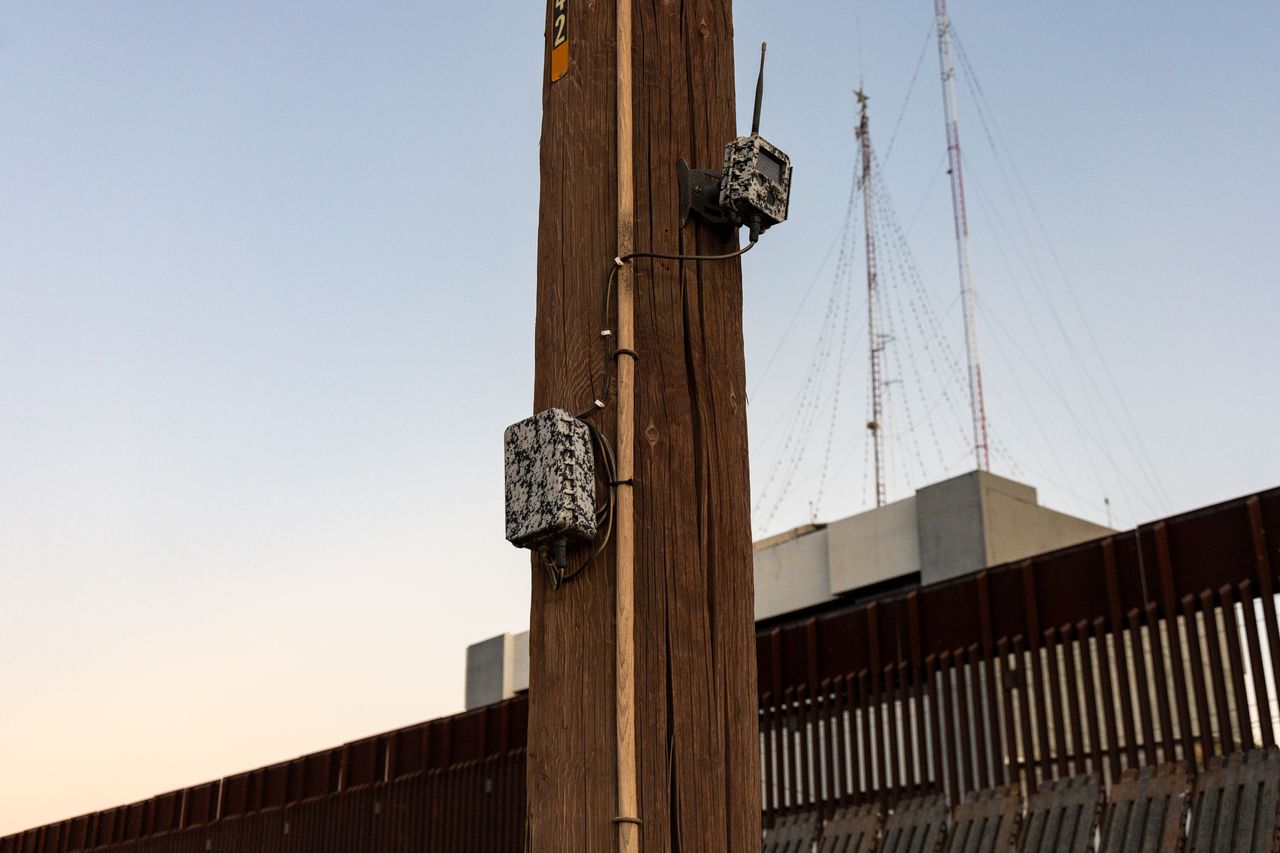
Height changes everything. A camera set too high often shoots over a deer’s body and gives you antlers, backs, or empty frames. Too low, and grass, leaves, and terrain clutter can block the sensor or dominate the image before the animal even reaches center frame.
A good setup matches the trail and the target species. On a flat deer trail, chest-height placement usually gives a cleaner angle and better trigger coverage. You are not just trying to take a picture. You are trying to capture useful body position, direction of travel, and enough detail to make the image worth studying later.
Aiming Straight Down the Trail
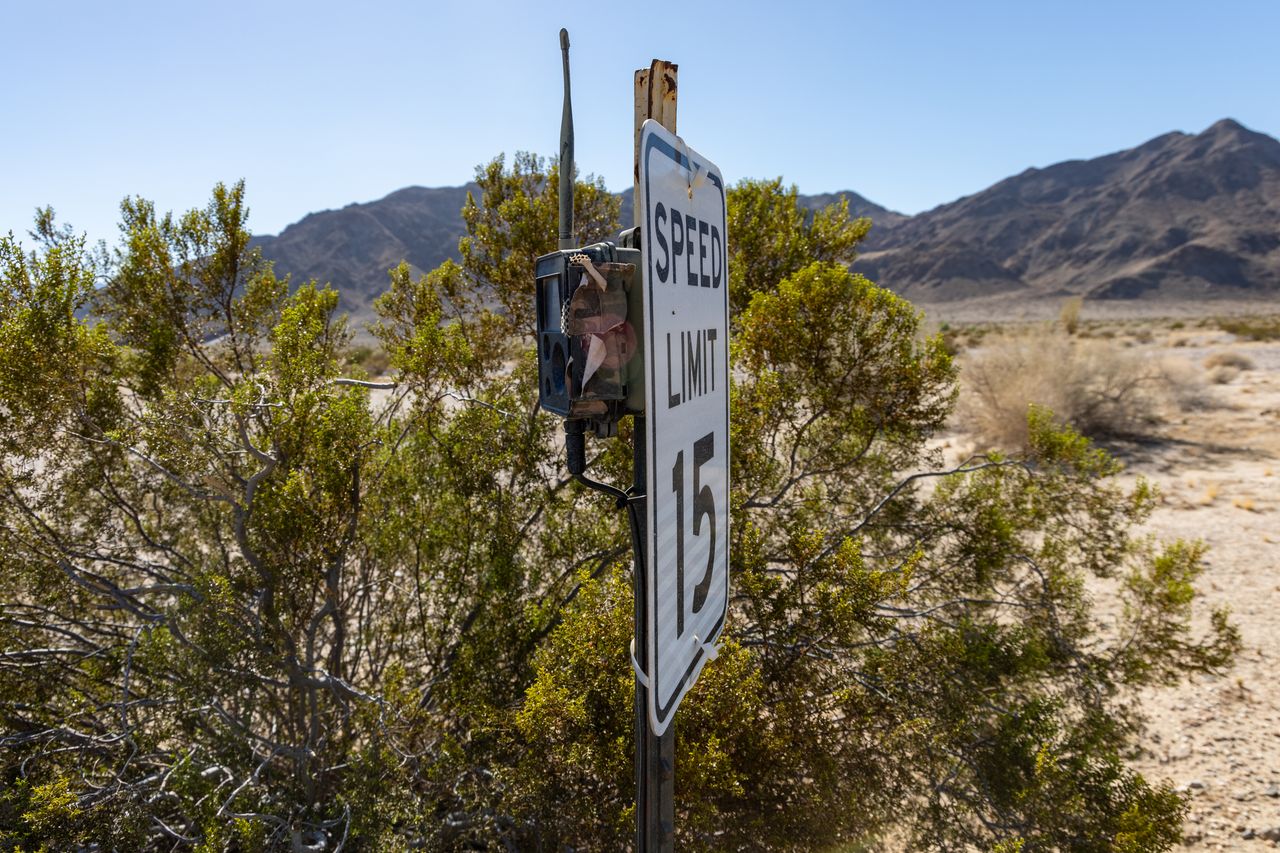
Pointing a camera straight down a trail seems logical, but it often reduces your reaction window. Animals moving directly toward or away from the lens can pass through the detection zone too quickly, especially if the camera has a slower trigger speed or recovery time.
A better approach is usually to angle the camera across the trail. That gives the sensor more time to detect movement and capture the animal broadside, which is almost always the most informative view. You get clearer body detail, a stronger sense of size, and fewer frustrating shots of tails disappearing out of frame.
Ignoring the Sun

Sun position can quietly ruin a productive location. If your camera faces east or west on an open lane, you may get washed-out morning shots, harsh evening glare, and false triggers caused by changing light. The spot may have deer, but the images can still be inconsistent and hard to read.
Whenever possible, think about where the sunlight will hit the lens during the hours you expect movement. A north- or south-facing setup often produces steadier results. Even slight changes in angle can cut glare and improve image quality, especially at field edges, power lines, logging roads, and other places where direct light has room to flood the frame.
Leaving Brush and Grass in Front of the Lens

A few stems in front of a camera can cause outsized problems. Wind-blown grass, saplings, and leaves are notorious for triggering bursts of empty photos and draining batteries long before you expect it. In colder months, even a single branch moving in a steady breeze can fill a card with junk.
Clear the immediate shooting lane, but do it carefully enough that the area still looks natural. The goal is not to create a suspicious opening. It is to remove the little things that interrupt the sensor and clutter the frame. A cleaner foreground means fewer false alarms and a much better chance of seeing exactly how an animal used the spot.
Setting It on a Loose or Crooked Tree
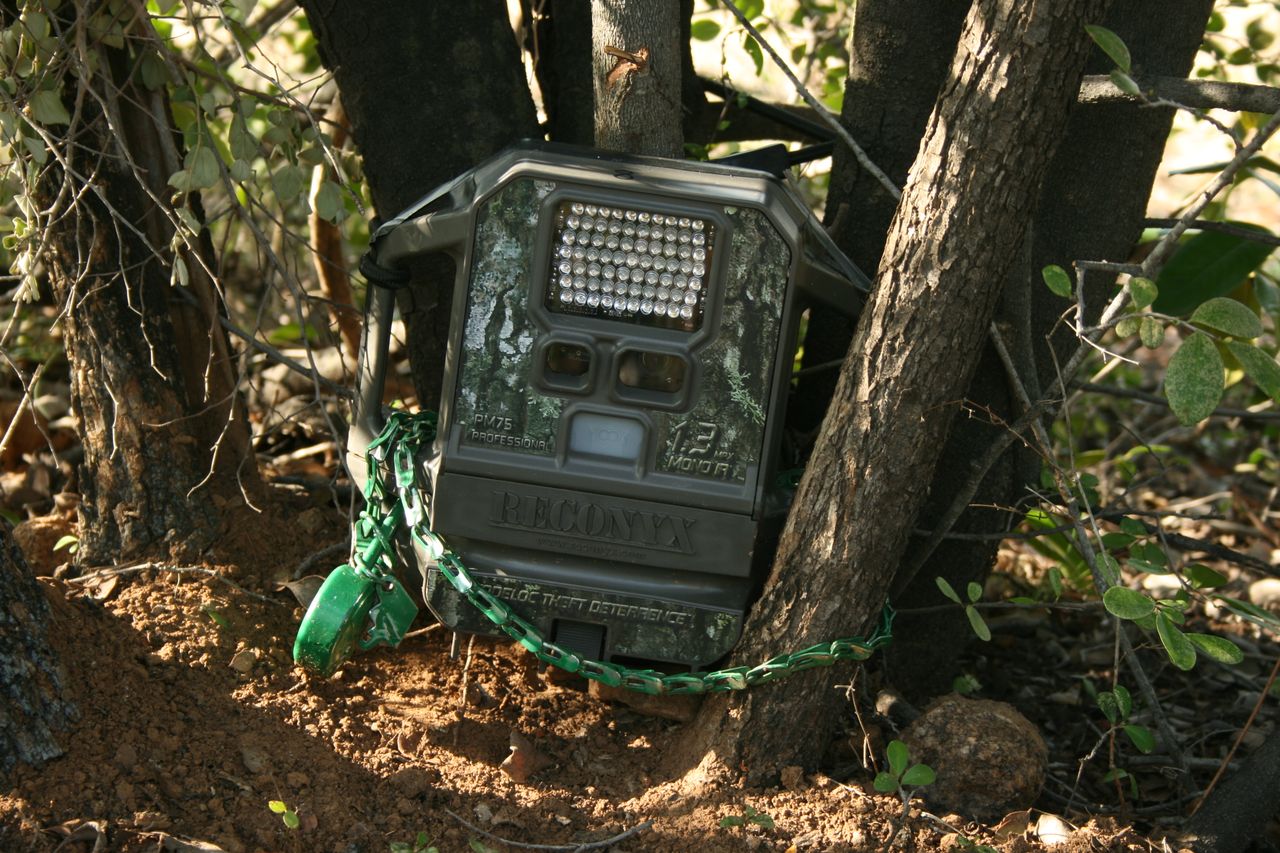
Even a well-aimed camera can drift off target if the tree is unstable. Thin trunks sway, dead trees shift, and rough bark can make a strap slip after a hard rain or temperature swing. What looked perfect on setup day may be pointing at the sky or six feet off the trail a week later.
Pick a solid tree or post and check the frame before you leave. If the mount allows fine adjustment, use it instead of forcing the strap to do all the work. Stability matters more than many hunters realize because a slight rotation changes both the detection zone and the composition, turning a promising funnel into a collection of nearly useless near-misses.
Using the Wrong Sensitivity for the Location
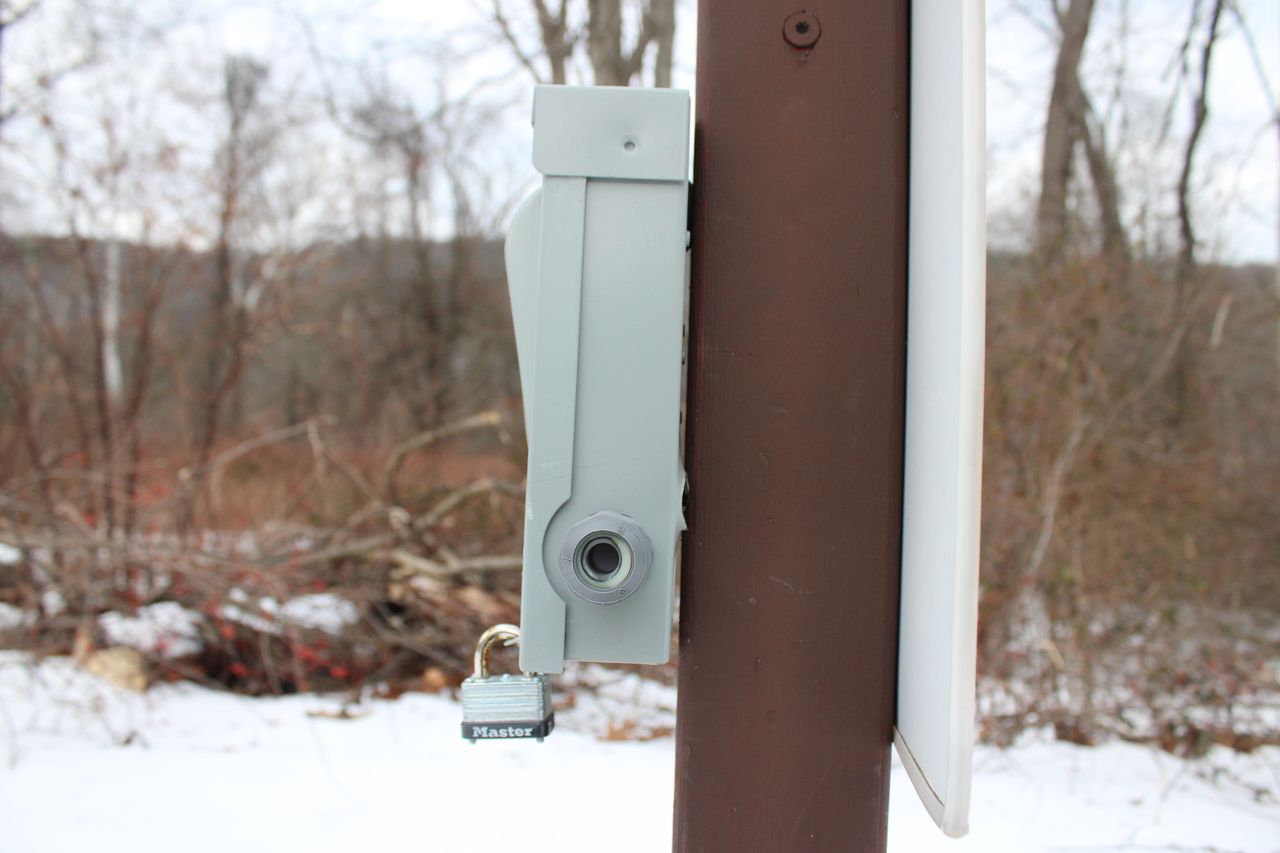
Sensitivity is not a set-it-and-forget-it feature. A camera watching a tight timber trail behaves differently than one monitoring a windy field edge or open food source. If sensitivity is too high, you may collect hundreds of empty frames. If it is too low, smaller-bodied deer or quick movement at the edge of the zone may never register.
The best setting depends on distance, temperature, vegetation, and what you want to monitor. Open areas often need more restraint, while shaded travel corridors can tolerate a more responsive setup. Dialing this in is one of the easiest ways to improve both battery life and image quality without buying a single new piece of gear.
Relying on Default Photo and Video Settings

Factory settings are convenient, not magical. Many cameras arrive programmed for broad average use, which can mean short clips, delayed recovery, or low-resolution images that do not match the way you scout. You may be collecting proof an animal was there, but not enough detail to understand when, how, and why it passed.
Take time to tailor the setup to the location. A scrape can benefit from a quick burst mode, while a crossing may need a shorter delay between triggers. Video length, image size, and capture interval all shape the quality of your intel. Small setting changes often produce a big jump in the usefulness of what comes back.
Checking Cameras Too Often

More checks do not always mean better scouting. Frequent visits add scent, noise, and pressure to the exact places you are trying to monitor honestly. In areas with mature deer, repeated disturbance can shift movement patterns enough that the camera starts telling the story of your intrusion instead of the animals’ natural behavior.
This is where discipline matters. Let the spot work, especially on primary trails, bedding edges, and limited access funnels. If you do need to check a camera, use low-impact timing and approach routes that make sense for the wind and terrain. The goal is to gather information without becoming the main event in the woods.
Forgetting About Seasonal Changes in Sign and Cover

A camera that was perfect in September can be mediocre by late October. Crops disappear, acorns drop, leaves thin out, water changes, and rut activity reshapes movement. Meanwhile, the cover around the camera can open up or grow in enough to change both visibility and trigger behavior.
Hunters sometimes blame the camera when the real issue is that the landscape has shifted. Reassess travel routes, feed sources, and screening cover as the season evolves. The best trail camera setups are not static. They move with the food, the pressure, and the phase of the season, which is exactly how useful scouting intel stays current.
Treating Every Spot Like a Good Camera Spot
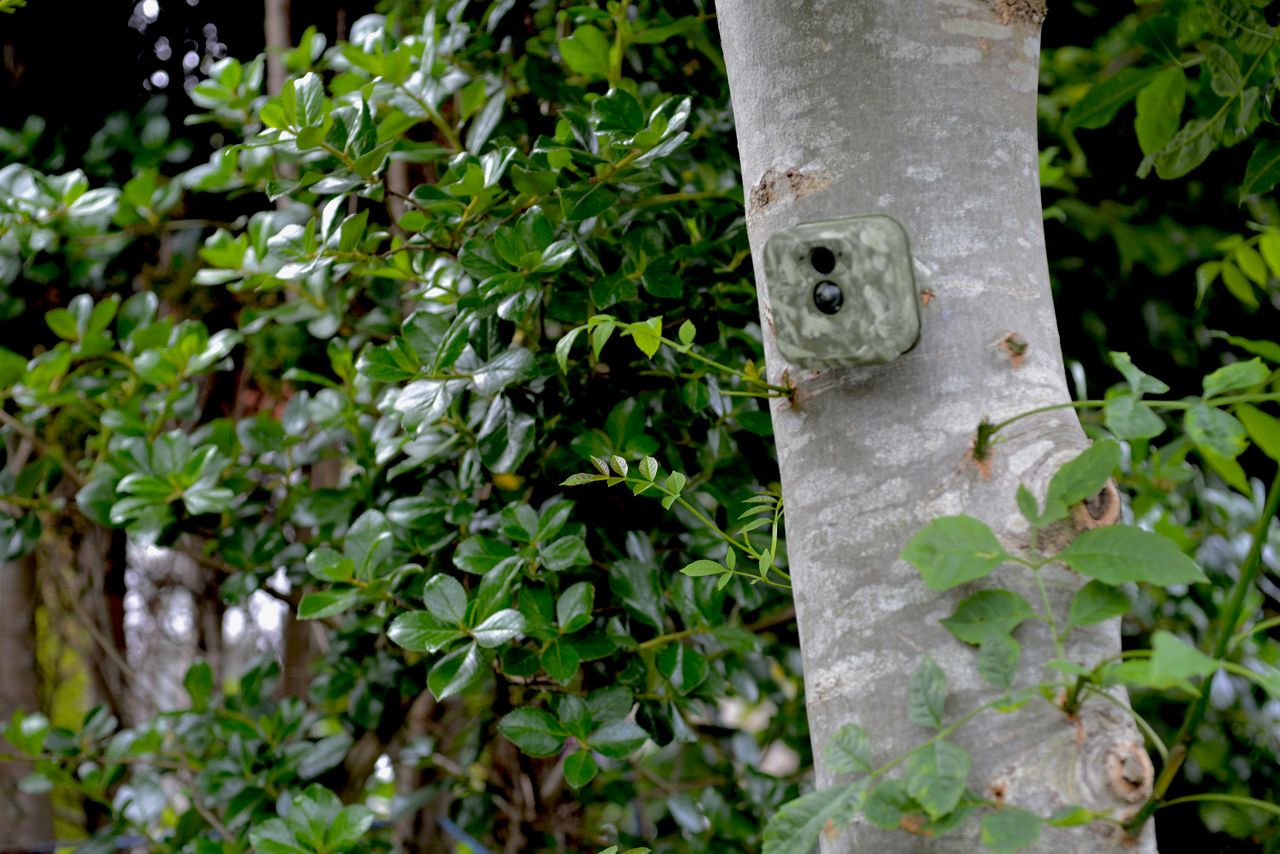
Not every place with tracks deserves a camera. Some spots look active but create poor images because movement is too fast, too far, too cluttered, or too unpredictable. A random opening in the woods may produce occasional sightings, but not the kind of repeatable, readable movement that helps a hunter make decisions.
The best camera locations combine sign with structure. Think pinches, crossings, inside corners, scrape lines, and trail bends that naturally slow or position animals in frame. A camera works best when the location itself helps tell the story. If the spot does not concentrate movement, the camera may be recording activity without delivering meaningful intel.