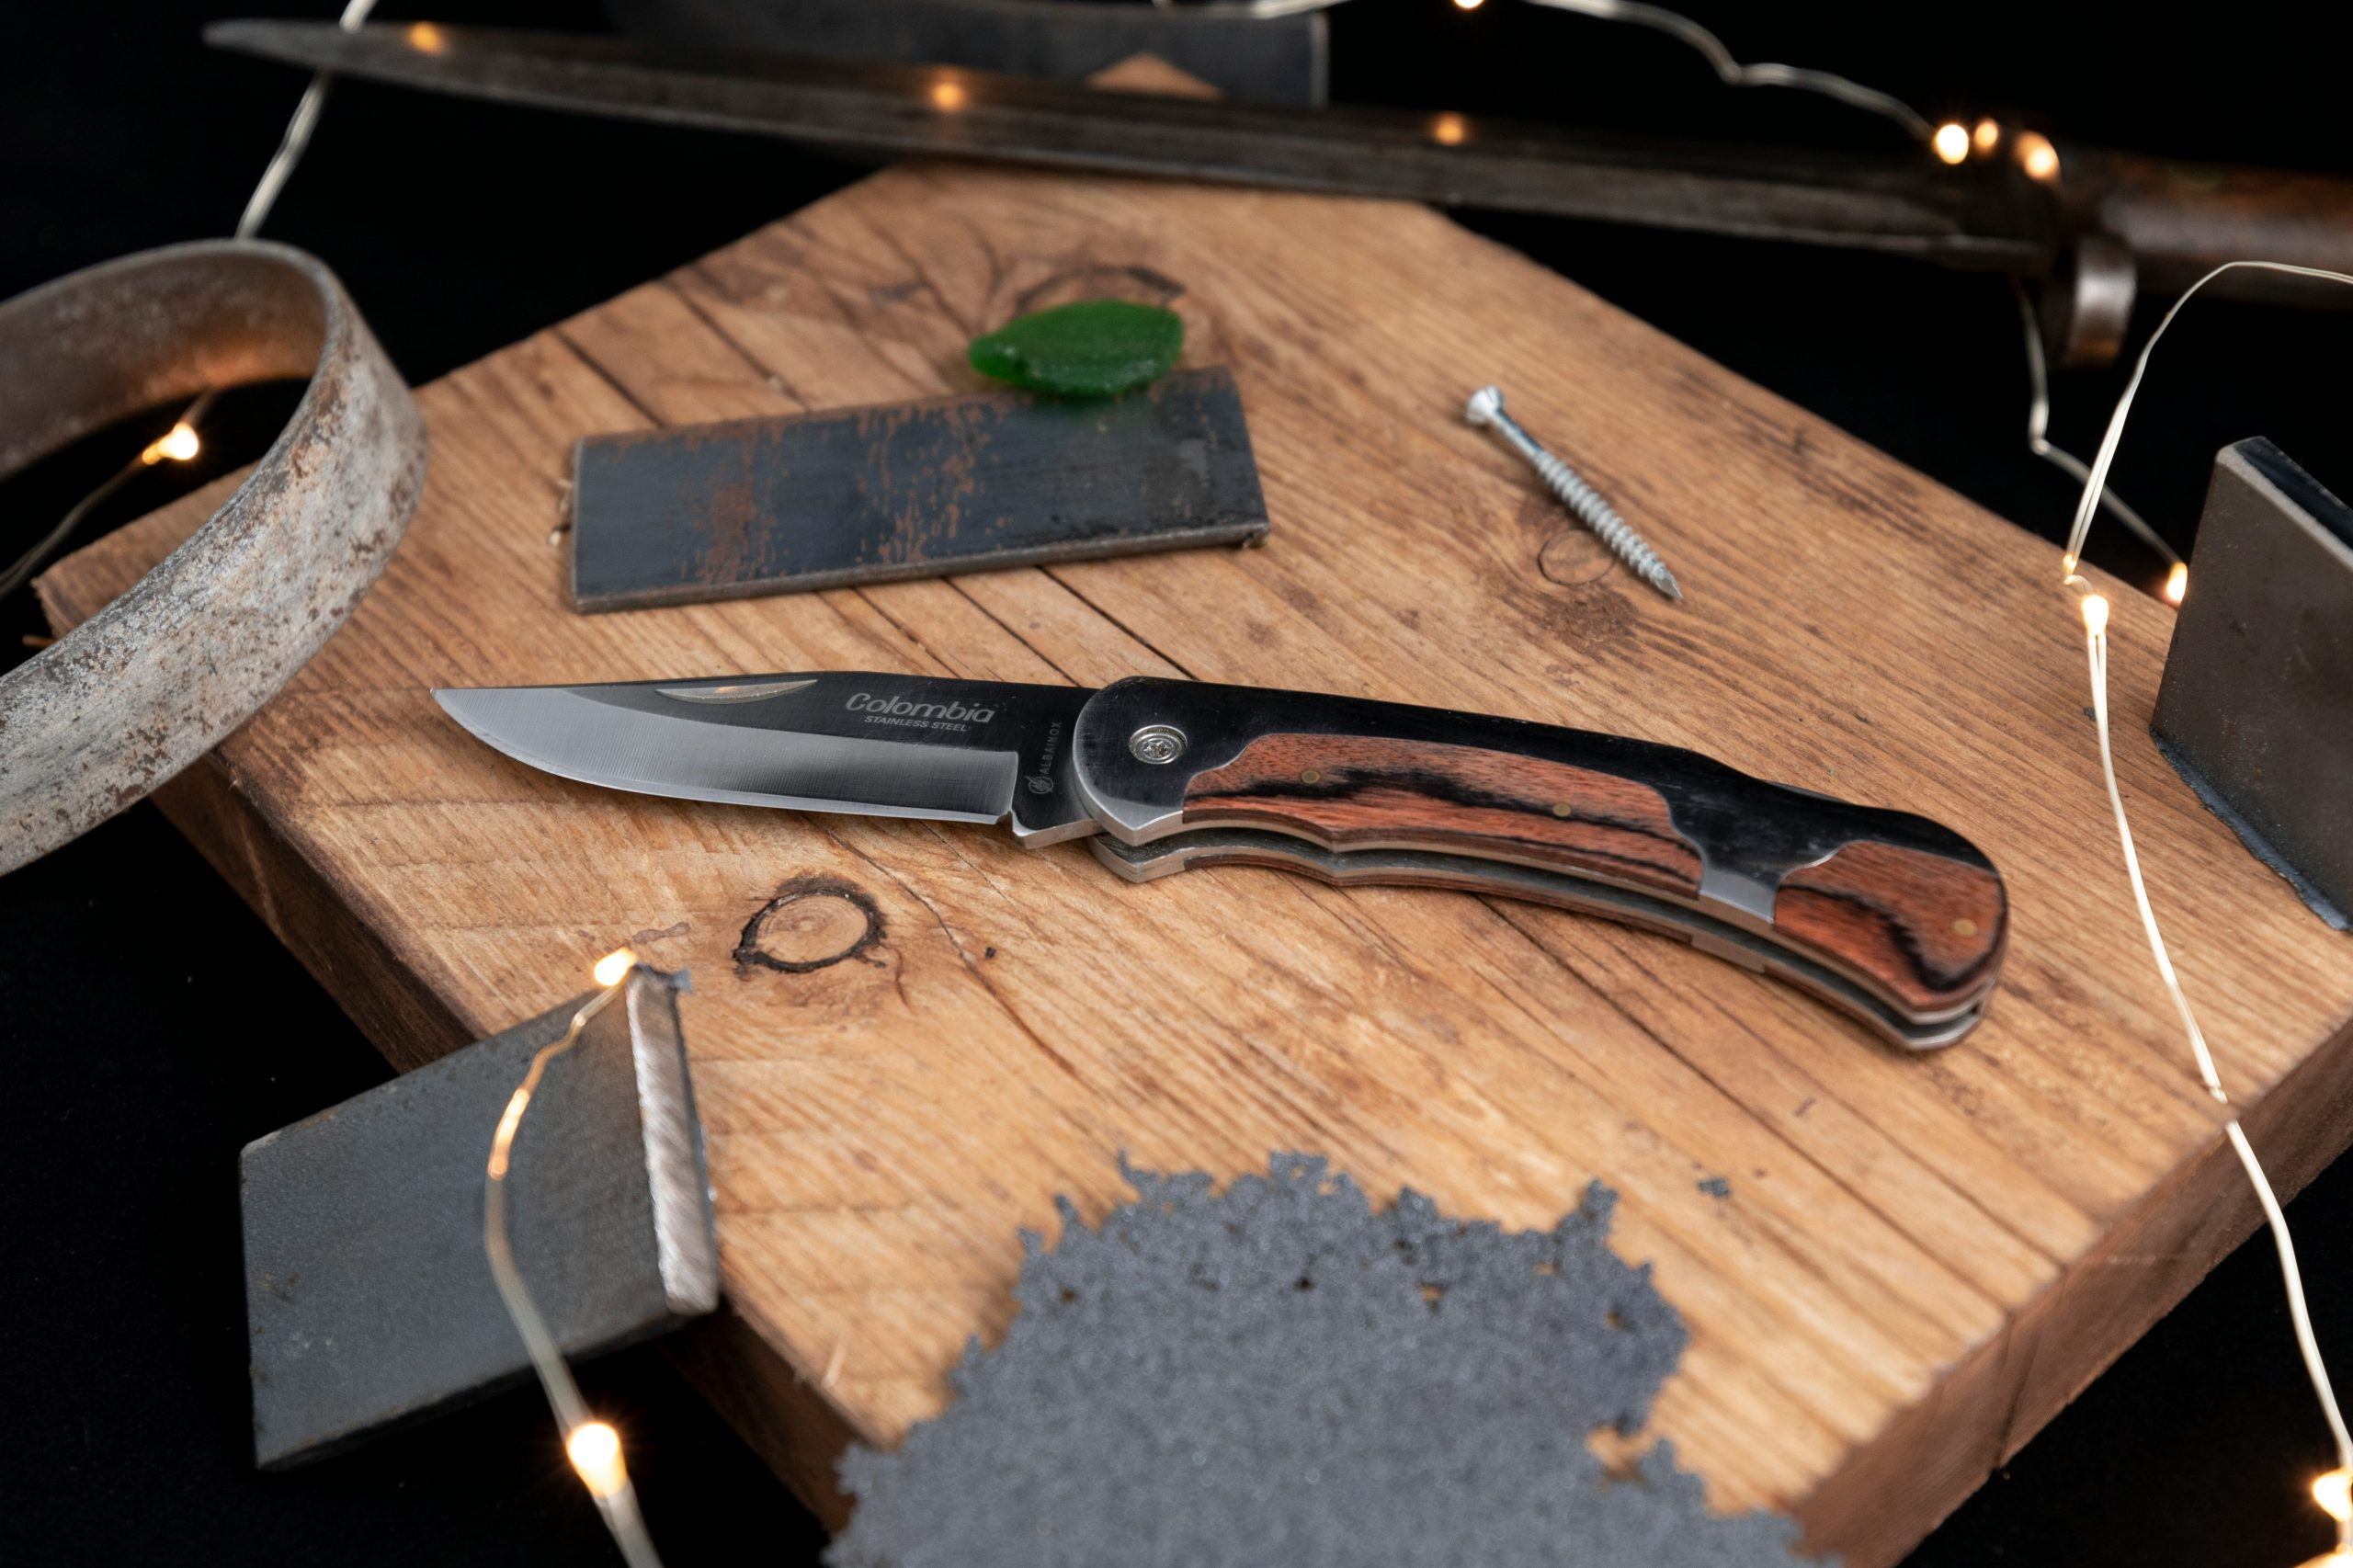
A good knife can last a lifetime, yet most of the damage it takes comes from habits rather than hard use. A snapped tip, a rusted edge or a nasty slip usually traces back to a small decision made in a hurry. Out in the woods, those little errors cost you far more than money, because the blade is often the tool that feeds your fire and builds your shelter. Here are ten of the most common mistakes, with the numbers you need to avoid each one.
1. Batoning Through Knotty or Oversized Wood
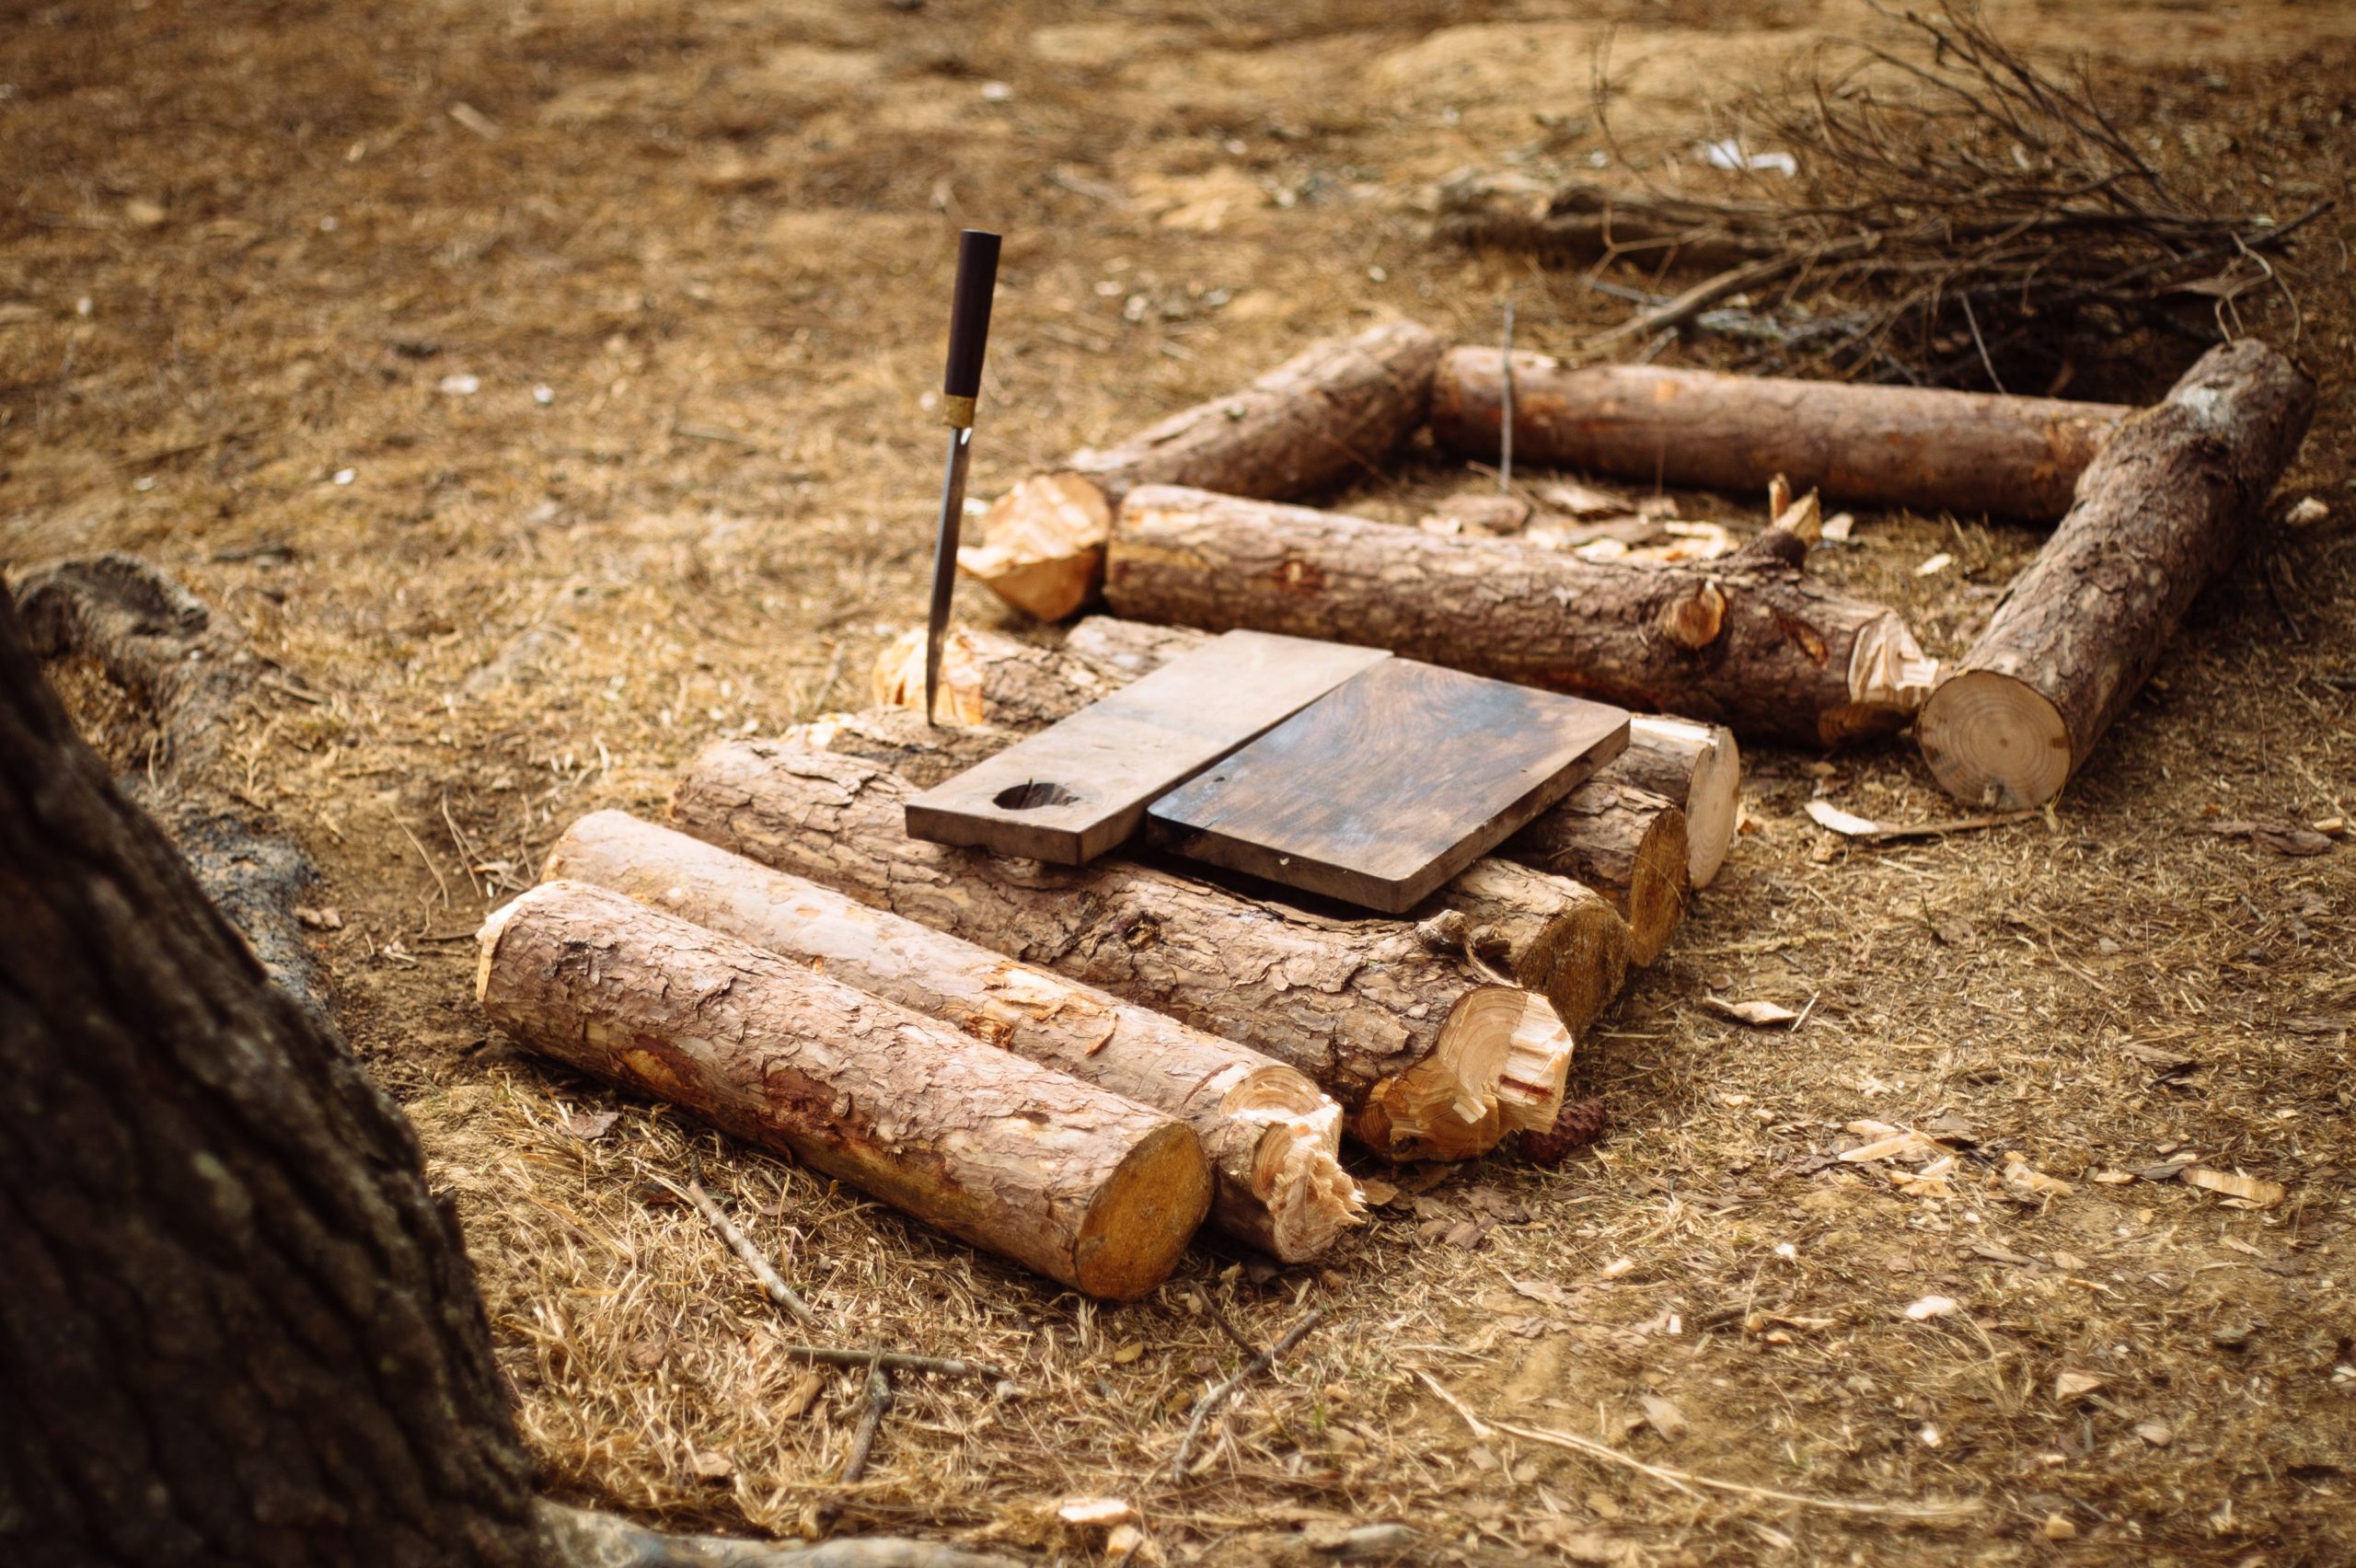
Batoning is a handy trick, but it has limits that plenty of people ignore. Splitting a log thicker than about 10 cm, or one riddled with knots, sends shock straight through the spine and can chip the edge or crack the handle. Stick to straight-grained pieces under 8 cm wide, and use a wooden baton roughly 30 cm long and 5 cm thick instead of a rock. Tap the blade through with steady, controlled blows, and stop the moment the steel binds. A full-tang knife with a 4 mm spine copes far better than a 2 mm hollow-ground blade. If a split needs more than about 15 taps, reach for a saw or hatchet, because forcing it is how blades snap. Dry, seasoned wood also splits far more cleanly.
2. Using the Blade as a Pry Bar
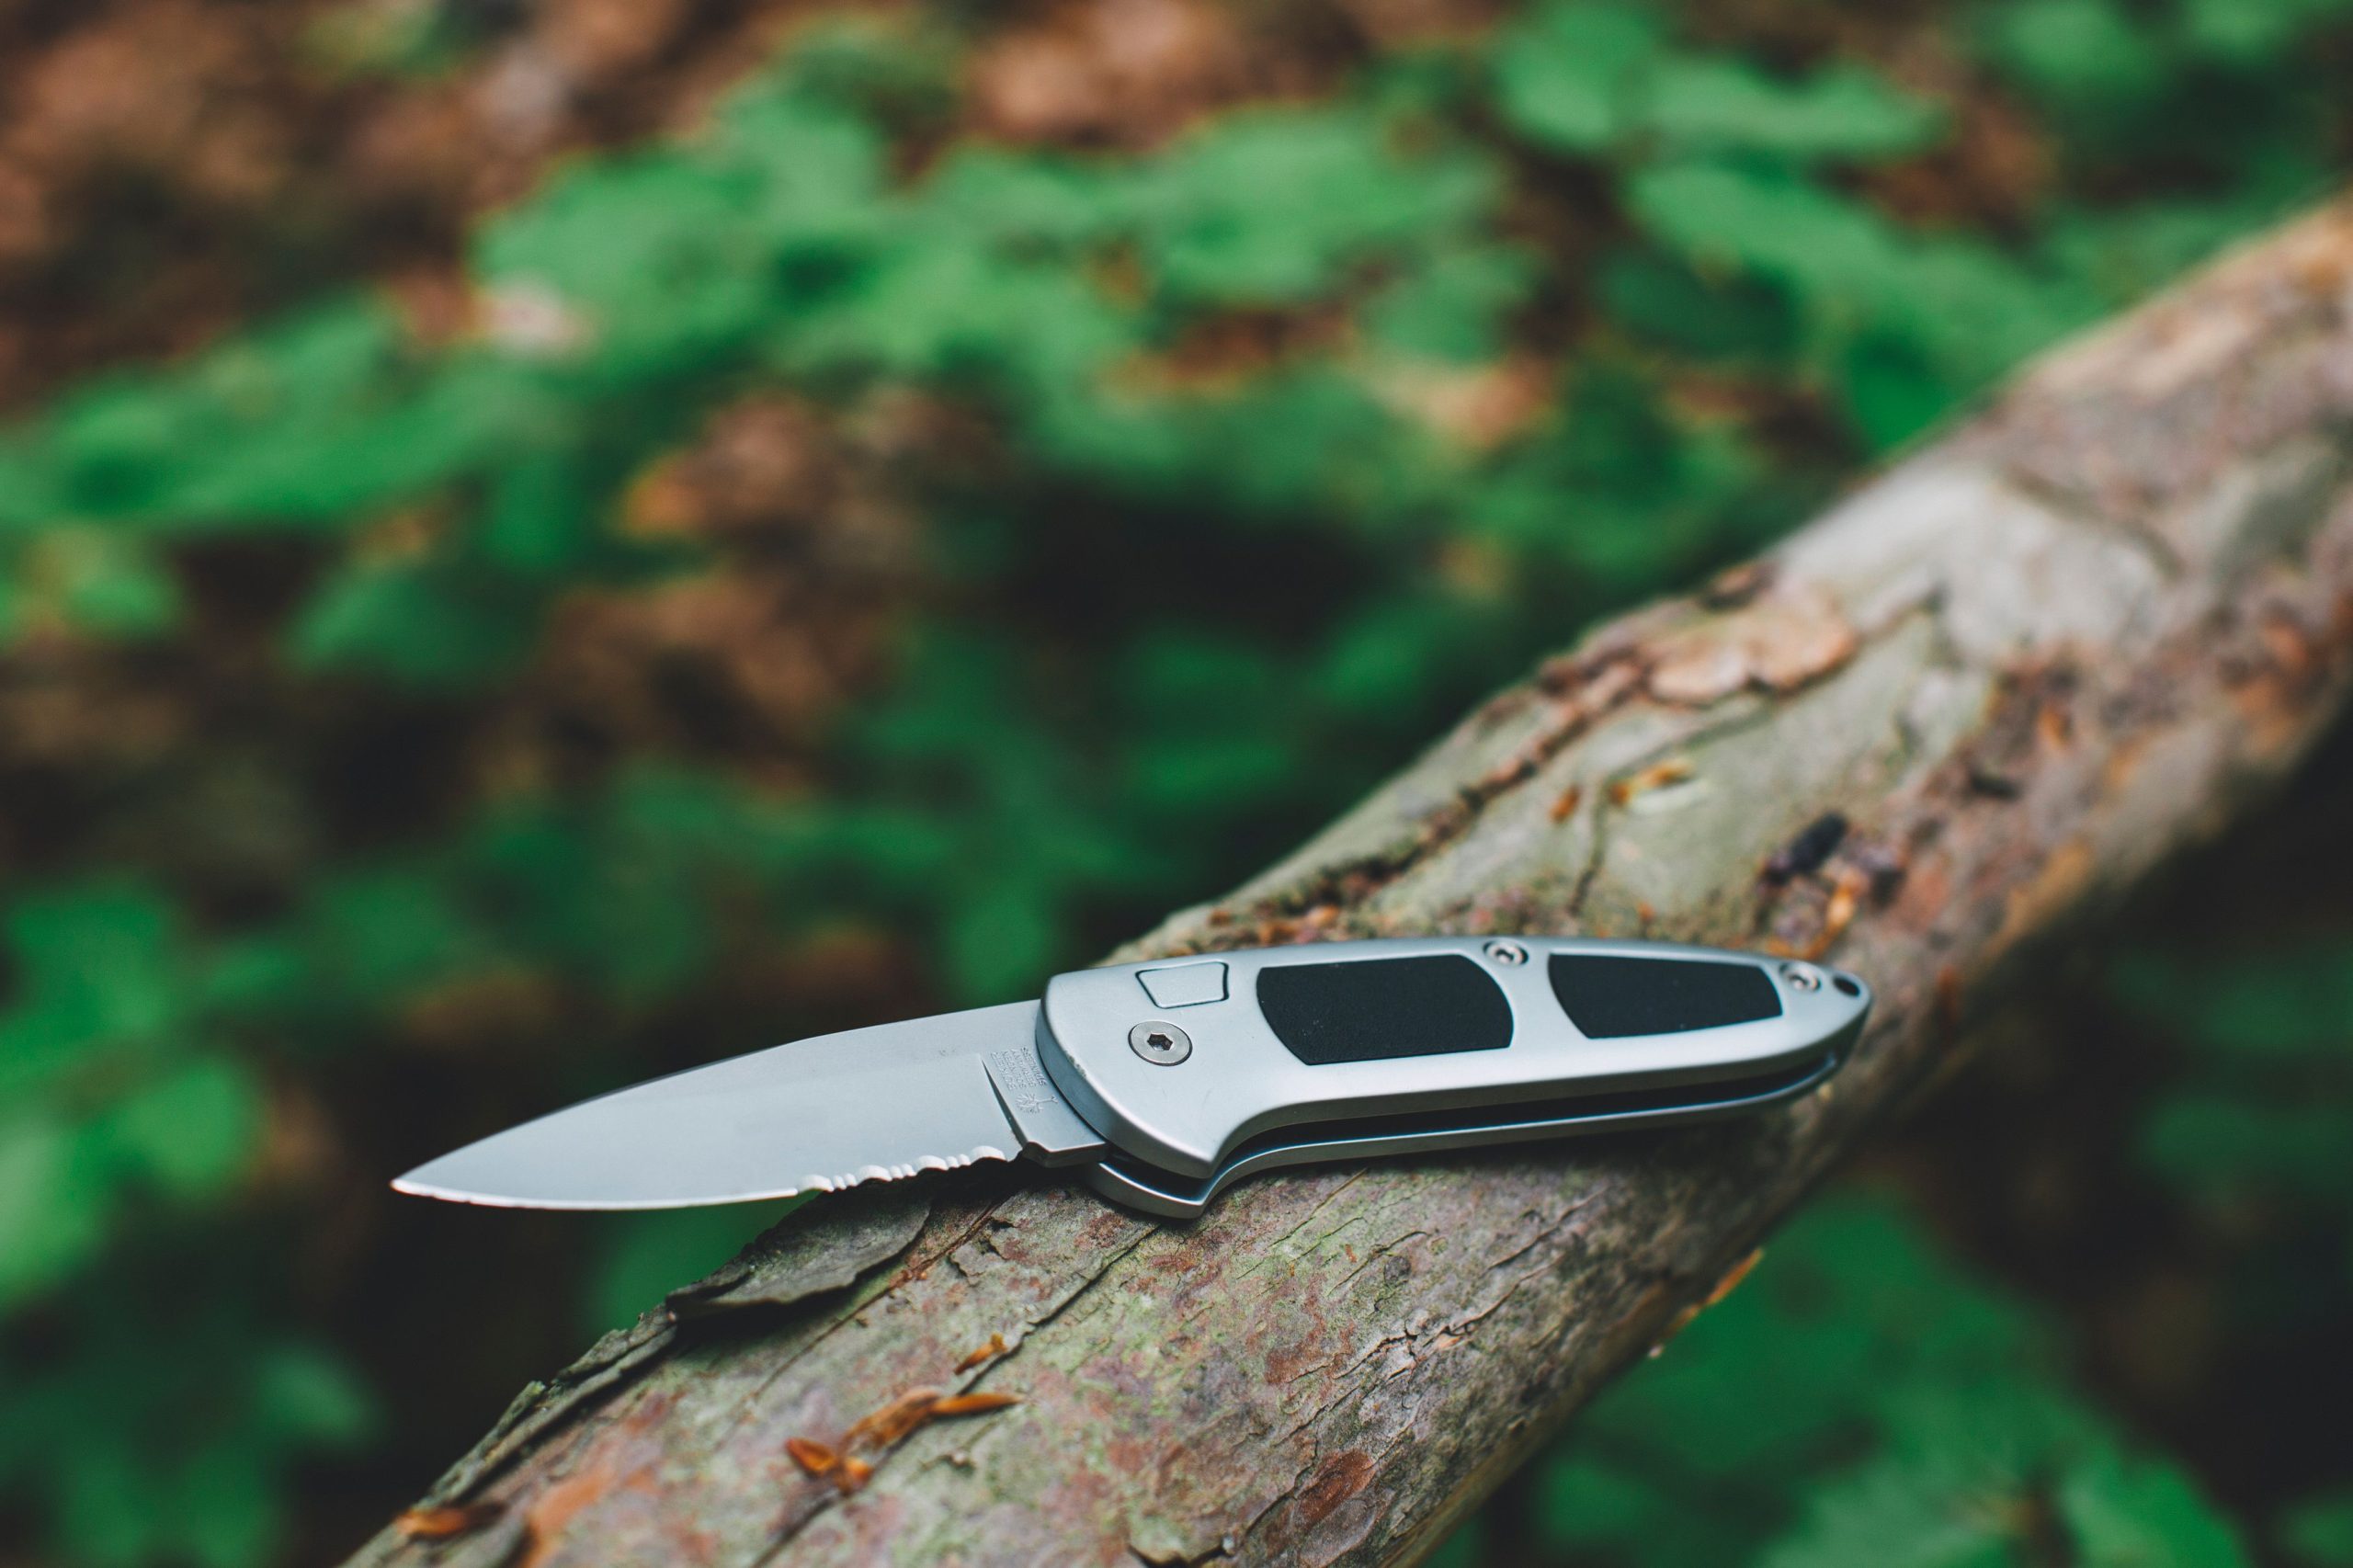
Levering open a tin, popping a stubborn tent stake or peeling bark off a trunk feels harmless until the tip gives way. Most bushcraft steel is hardened to 56 to 60 HRC, which is tough along the edge but brittle sideways, and a tip just 2 mm wide can snap under roughly 15 kg of lateral force. A broken point leaves you with a stubby blade and no way to drill notches or carve fine detail. Pack a 20 cm steel peg or a flat screwdriver for prying instead; together they weigh under 40 g. When something needs scraping, use the spine, never the point. Treat the knife as a cutting tool only, and it will serve you for a decade. Replacing a ruined knife can cost 30 dollars or more.
3. Skipping the Sharpening Routine
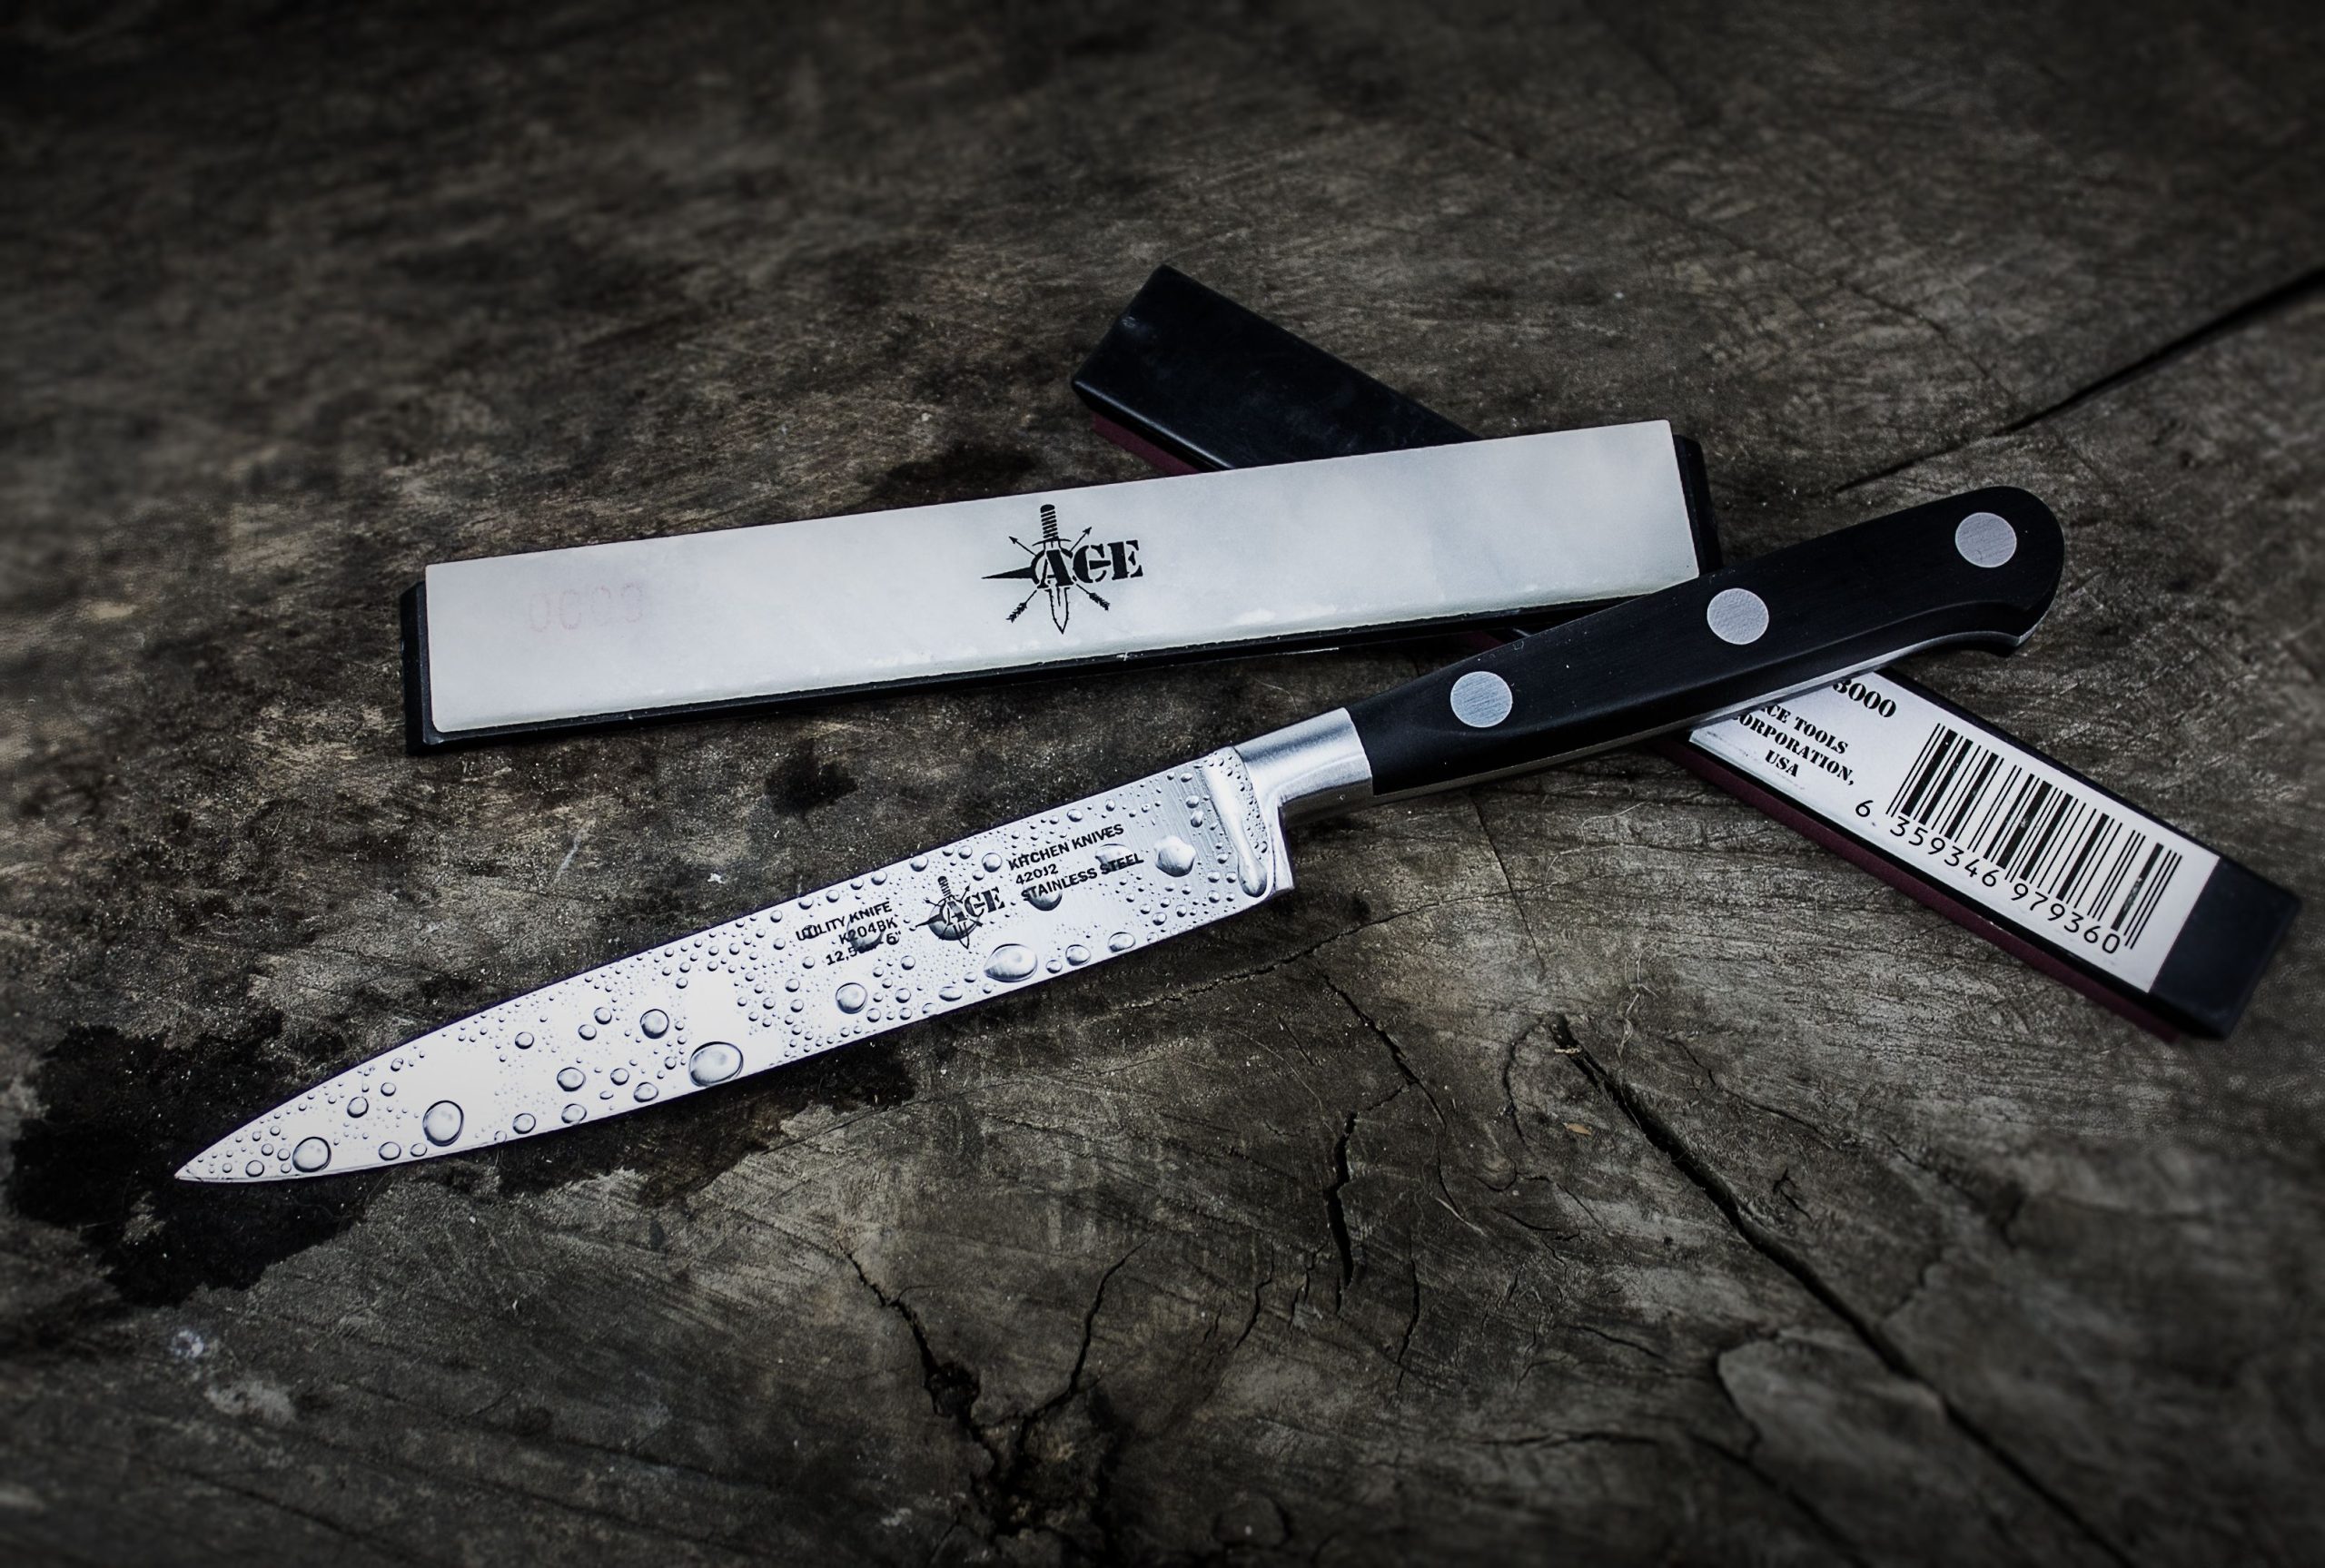
A dull knife is more dangerous than a sharp one, because it demands extra pressure and slips without warning. Most bushcraft edges are ground at about 20 degrees per side and need a touch-up every 3 to 4 hours of hard carving. Carry a pocket stone with 400 and 1,000 grit faces, which weighs around 60 g, and make 10 to 15 strokes per side while holding a steady angle. Finish with 20 passes on a leather belt or scrap. You will know the edge is ready when it slices a sheet of paper cleanly. Five minutes of upkeep each evening spares you an hour of mangled sticks and bruised knuckles the next morning, and it costs nothing. A drop of oil on the stone keeps metal dust from clogging it.
4. Putting the Knife Away Wet or Dirty

Moisture is the quiet enemy of carbon steel, which can show surface rust within 24 hours of damp storage. Sap from green wood turns mildly acidic, and food residue can pit a blade in just a few days. Wipe the steel with a dry cloth after every session, then rub on 2 or 3 drops of food-safe oil along the whole edge. Avoid leaving the knife inside a leather sheath for weeks, since leather holds water and draws it toward the metal. Stainless steels such as 12C27 resist rust better but still stain. A 30-second wipe-down at day’s end can add years of life to a blade that cost anywhere from 25 to 100 dollars. Dry the sheath overnight beside the fire, never on it.
5. Cutting Toward Your Own Body
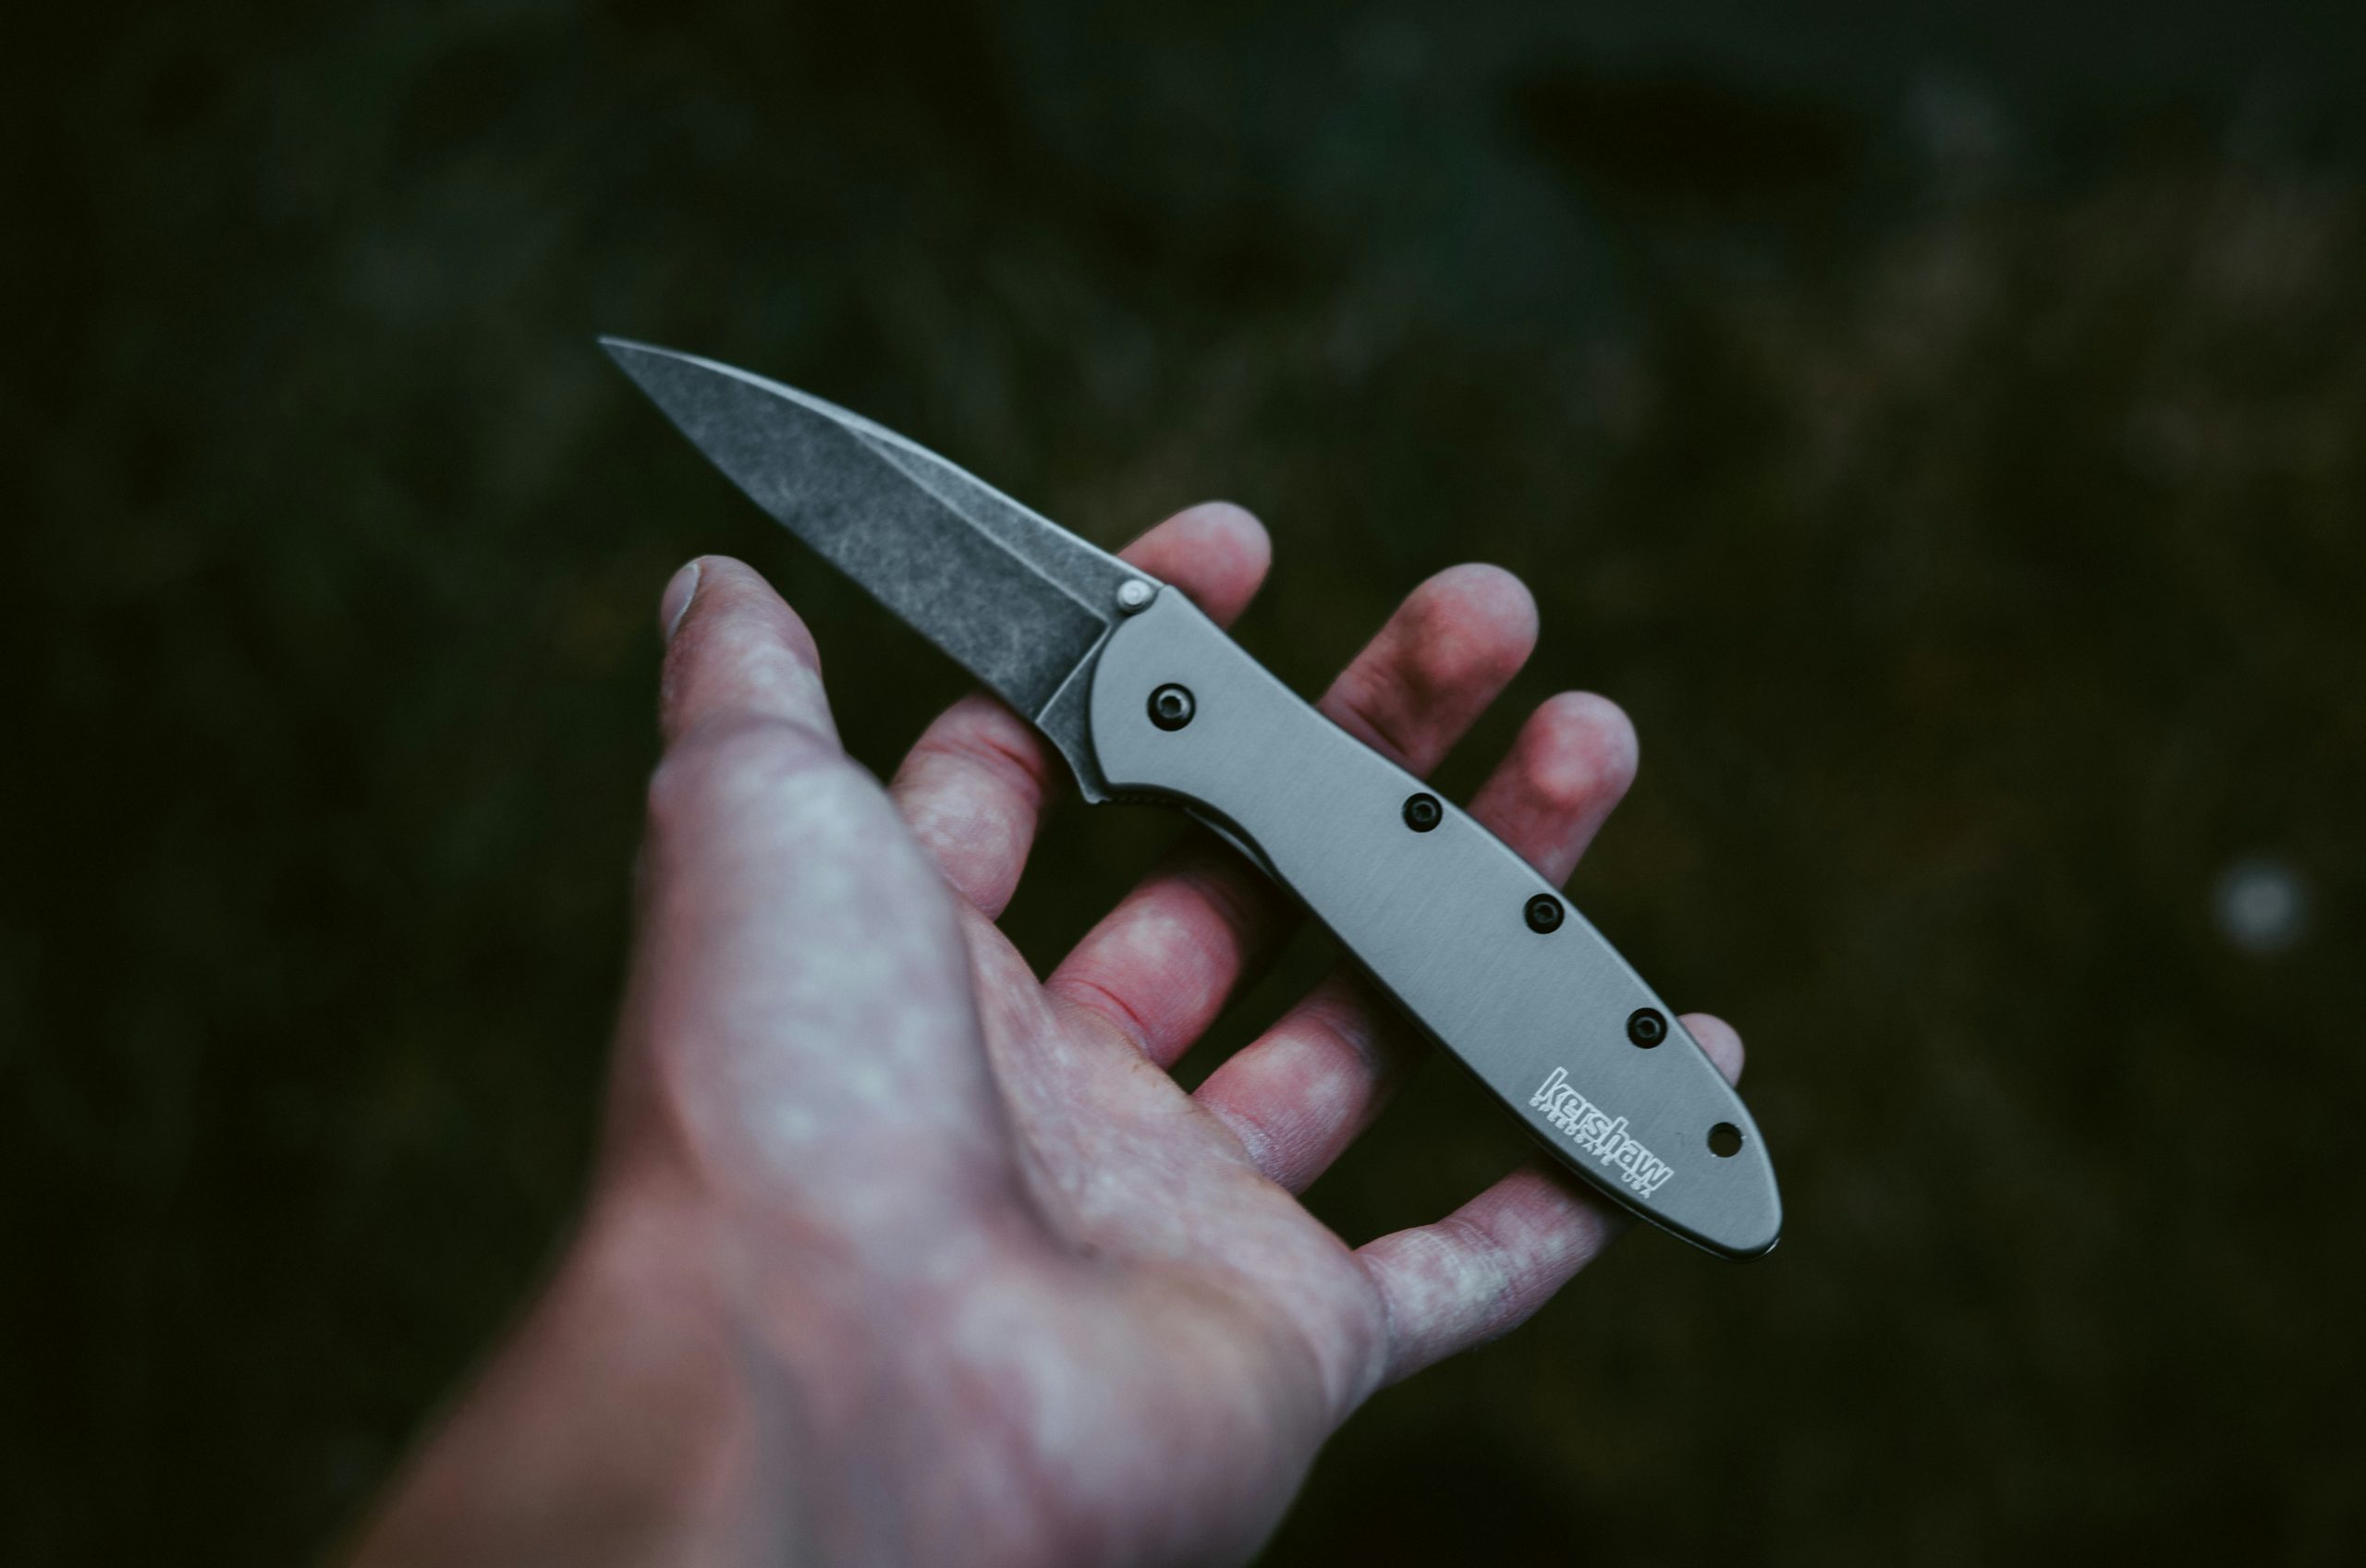
Hand and thigh cuts rank among the most common outdoor injuries, and most happen when someone carves toward themselves. Keep every stroke aimed away from your legs, and clear a safety circle about 1.5 m wide, roughly an arm’s length in every direction, so no one stands within reach. Brace the stick against your chest or a stump and take short strokes of about 3 cm. Sit or kneel on both knees instead of standing, since a slip from a standing carve often lands on the thigh. Tuck gauze, tape and two pressure pads into your kit. Pause whenever your grip tires, because fatigue causes most slips. Practise the grip at home on a dowel until the motion feels calm and automatic.
6. Choosing a Blade That Doesn’t Fit the Work
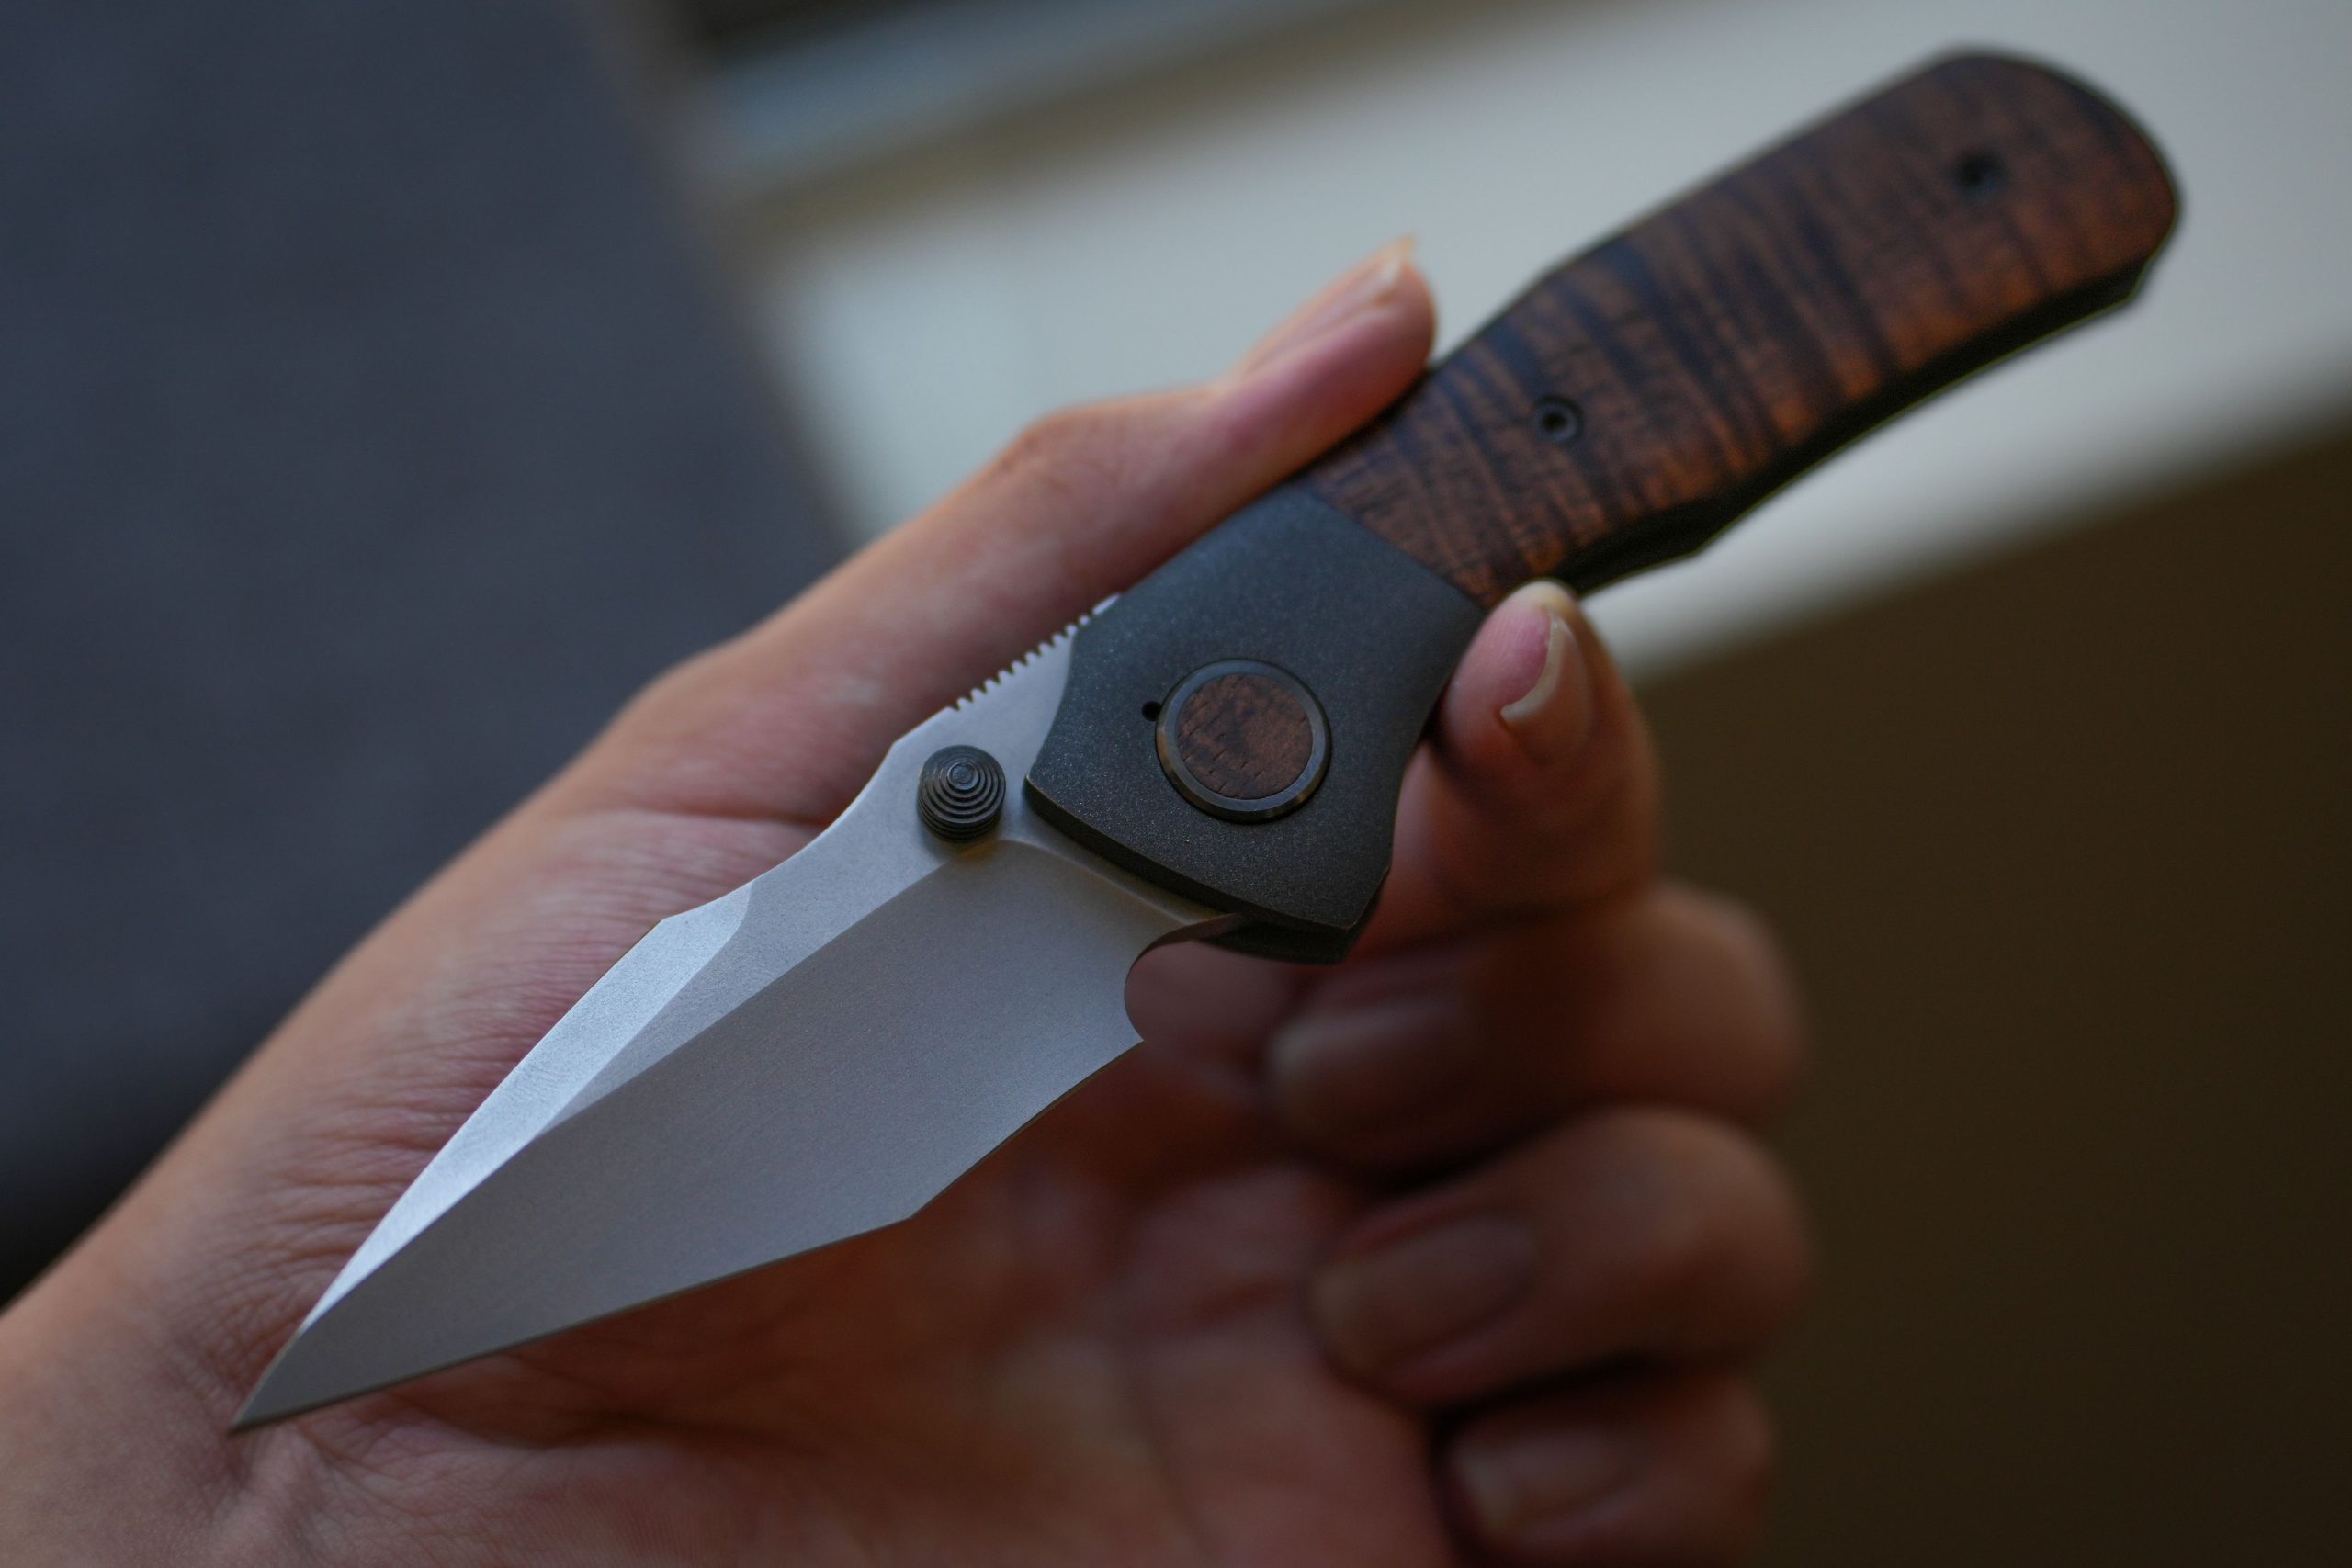
A giant 25 cm survival knife looks heroic but feels clumsy when you try to carve a trigger notch, while a 6 cm pocket blade bogs down in thick wood. Most experienced woodsmen settle on 9 to 12 cm for general bushcraft, which balances control and chopping bite. A spine between 3 and 4 mm adds strength without dead weight, and a total mass of 100 to 250 g sits comfortably on a belt. Skip serrated edges, which are hard to sharpen, and hollow handles that rattle and weaken the structure. Hold any candidate for about 5 minutes before buying. If your palm cramps or hot spots appear, the handle shape is wrong, whatever the price tag says. Fit matters more than fame.
7. Storing the Knife Carelessly
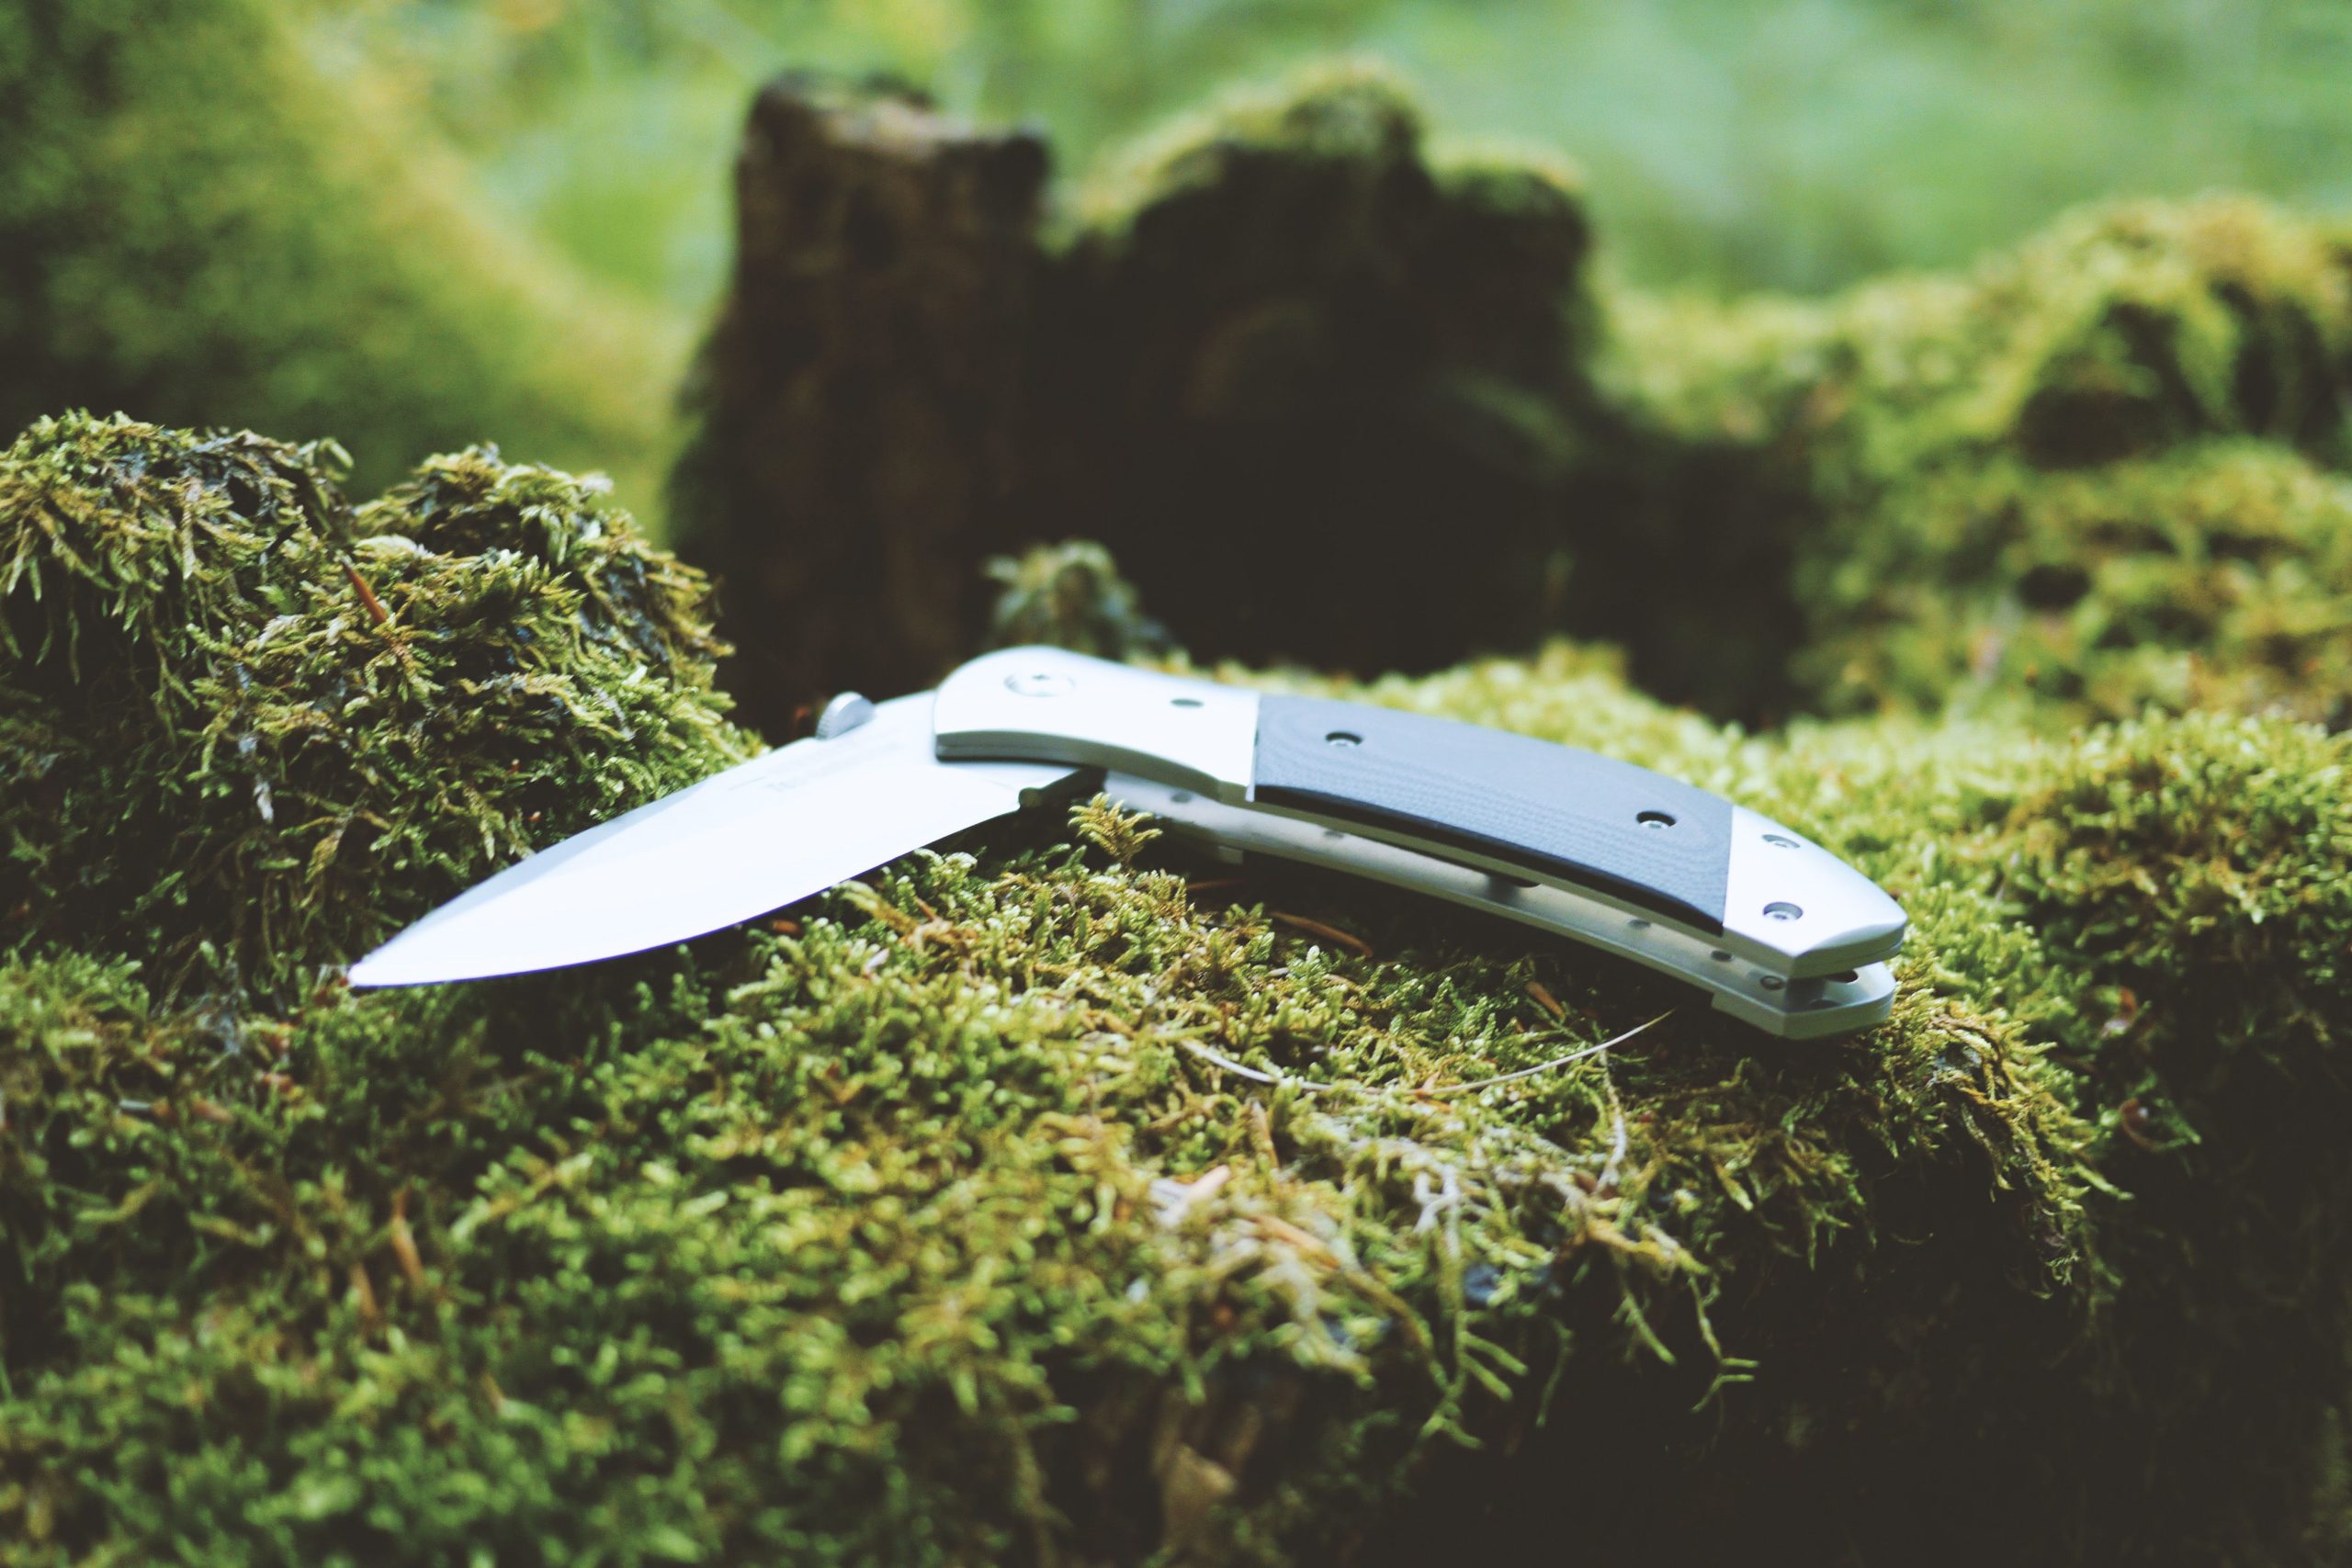
Tossing a bare blade into your pack invites trouble, from a shredded tent wall to a sliced finger when you reach in blind. A good sheath grips the knife firmly, with a clear click on retention and no more than 1 mm of wobble. Leather lasts around 10 years with a coat of wax every 6 months, whereas Kydex is waterproof and dries within minutes. Wear the knife near the 3 o’clock position on your belt so your hand finds it without looking. Never carry it in a cracked or loose sheath, and snap the retention strap shut before scrambling over rocks. A solid sheath costs 15 to 40 dollars, a small price for protecting skin and steel together. Check the stitching every spring.
8. Forgetting Local Knife Laws
Blade rules vary widely, and an innocent camp knife can become a legal headache at a border, in a city or on a plane. In England and Wales, for example, carrying a fixed blade in public without good reason is an offence, while folding knives with edges under 7.6 cm are generally allowed. Airlines require knives in checked luggage, so pack the sheath there too. Many parks and reserves also set their own limits, so spend 10 minutes reading the official page a week before you leave. Keep a note of why you carry the knife, such as camping or fishing. A little paperwork costs nothing and can save you a fine of several hundred dollars. Rules change, so recheck before every trip.
9. Forcing the Cut Instead of Using Technique
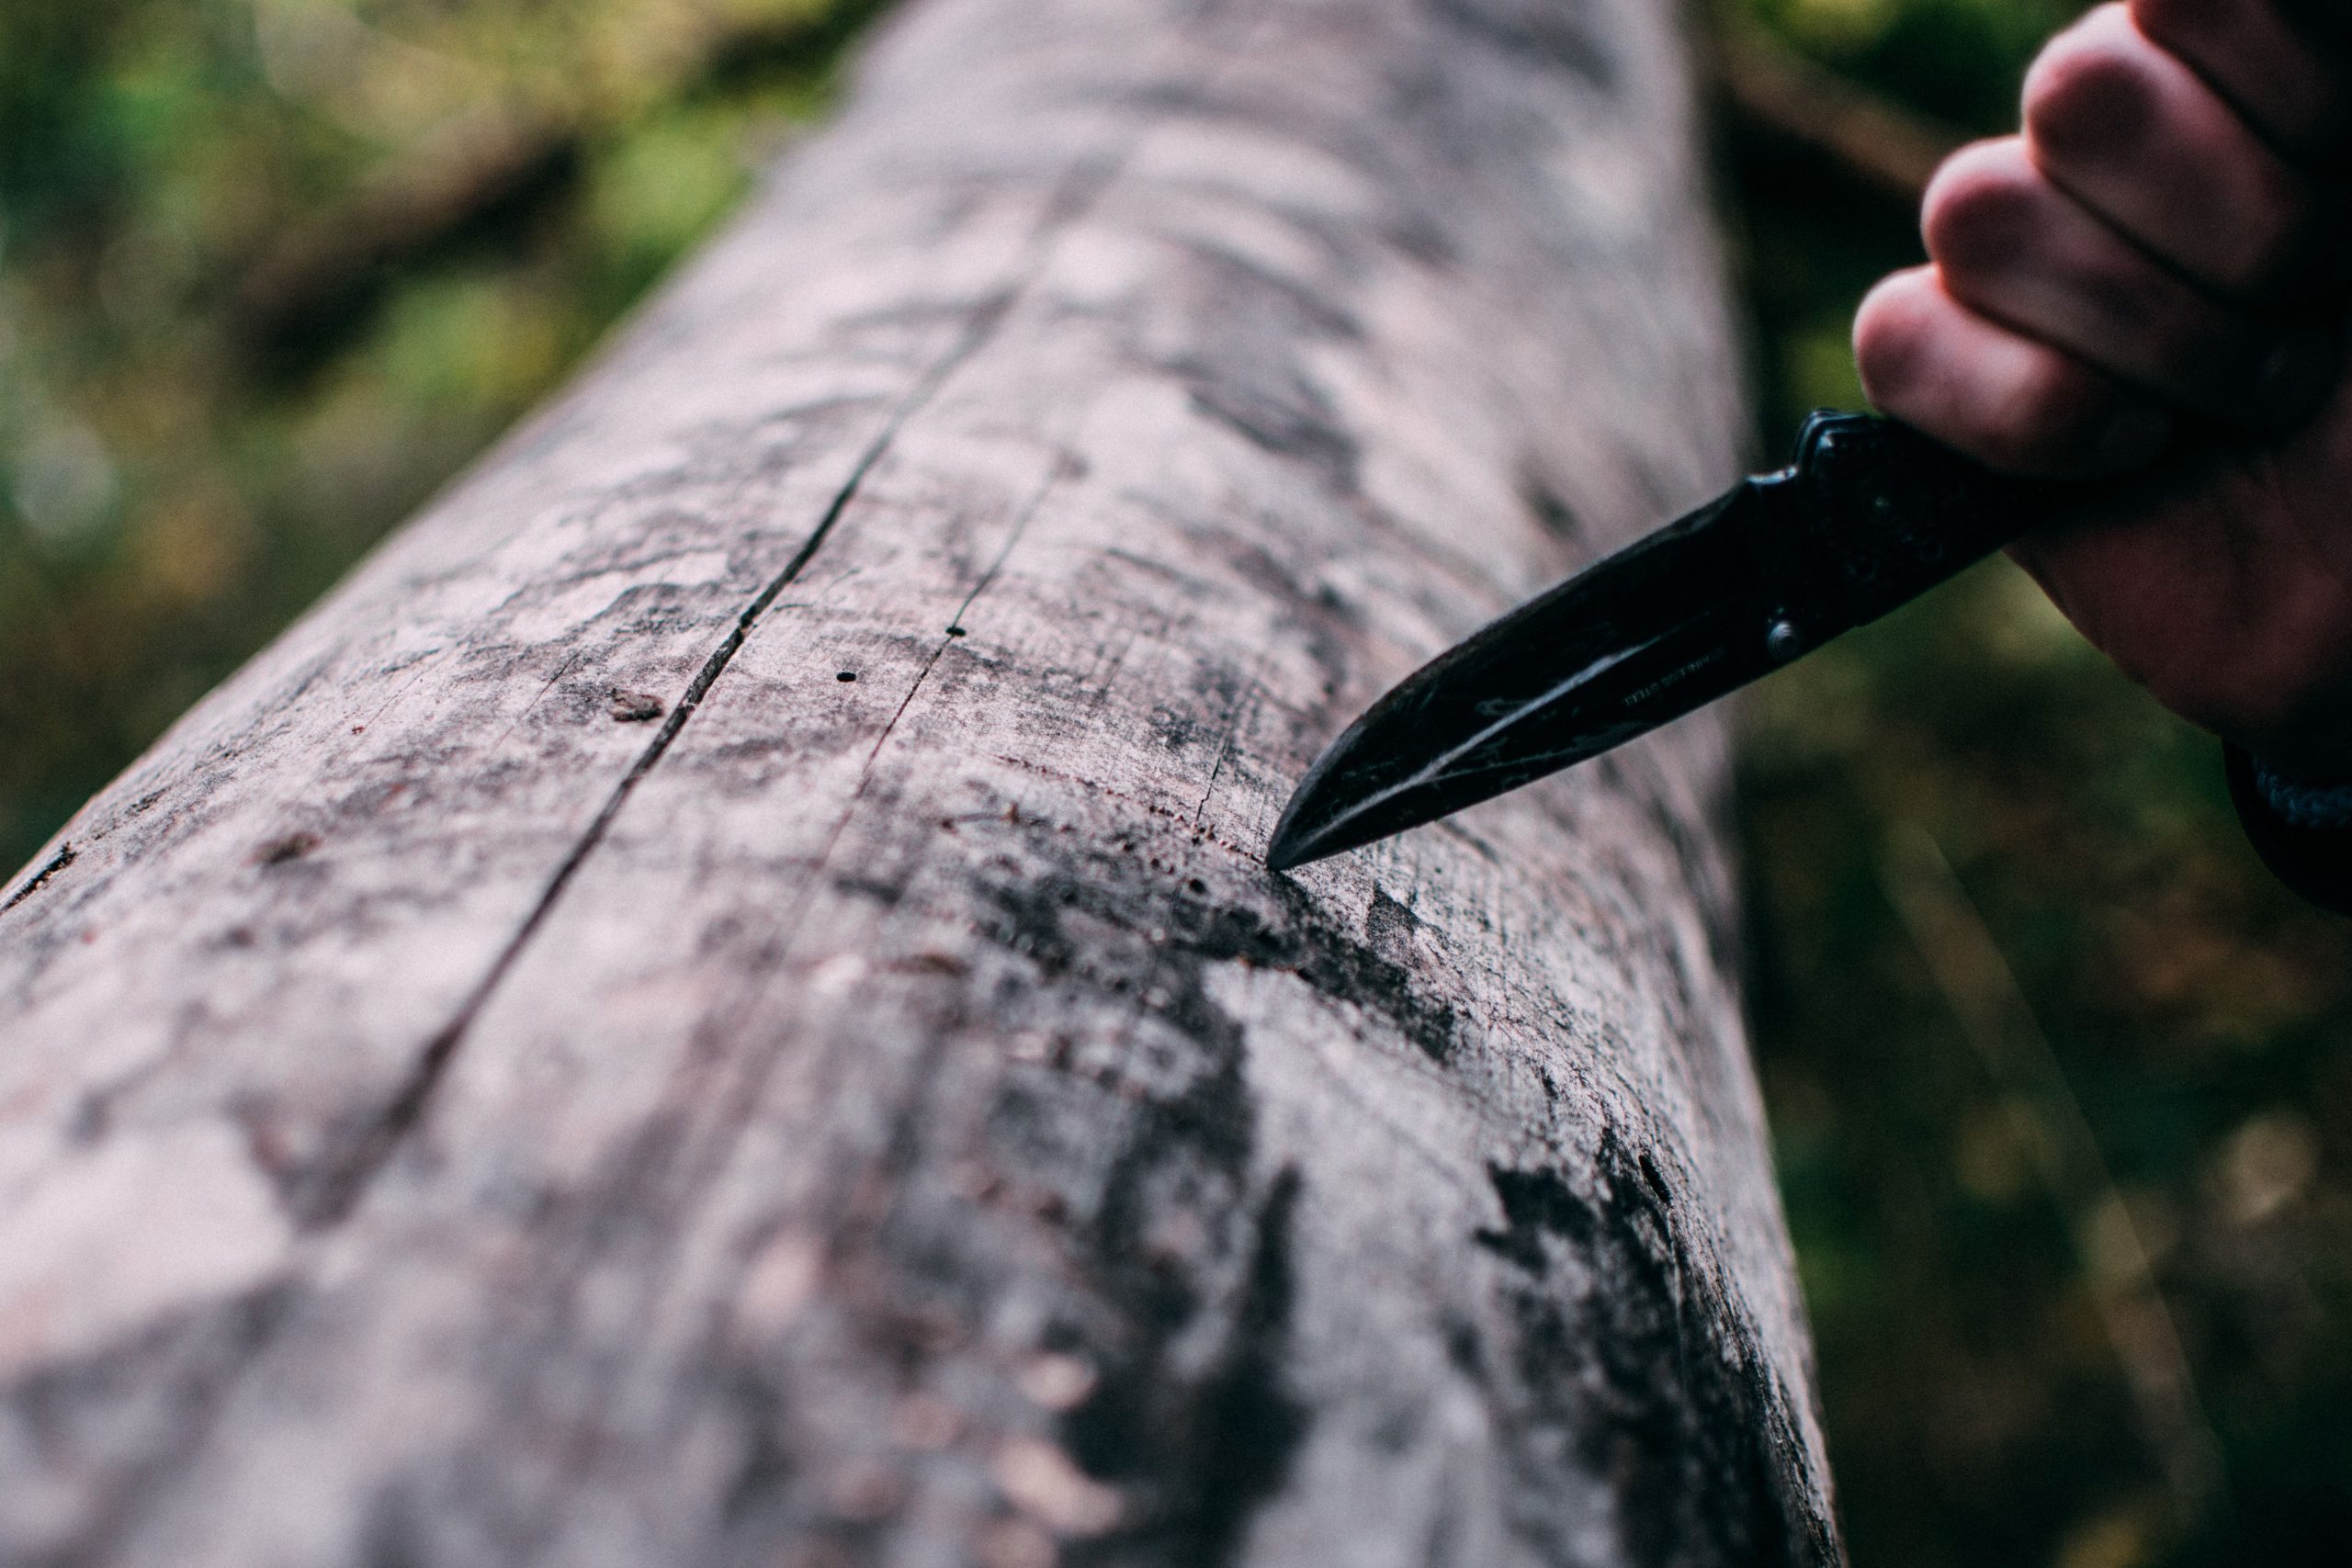
Many beginners treat carving as a strength contest, clenching the handle at full power and shoving. A relaxed grip, around 60 percent of your maximum, gives better control and delays the blisters that can form after about 30 minutes of tight carving. Let the edge do the work with a slight slicing motion and a shallow 15 to 20-degree angle to the grain. Use the chest-lever stroke for power and the thumb-push stroke for fine control. If a cut takes more than moderate effort, check the sharpness first, then the wood, since green timber holds up to 50 percent water and carves more easily than seasoned stock. Shake out your hand for 2 minutes every quarter hour.
10. Trusting a Single Knife With Everything
Even the best fixed blade can be dropped in a stream, left on a stump, or jammed in a log. Carry a small backup, such as a 6 cm folder or a 5 cm neck knife, weighing 30 to 50 g and costing 10 to 25 dollars. Tie a 1 m lanyard to the main knife and keep it on the same side every time so your hand finds it in the dark. Pair it with a saw or hatchet so the knife handles the fine work, not every job. Check your kit each night by touch and by torchlight. A bit of redundancy turns a lost knife into a minor annoyance instead of a camp emergency. Before leaving each campsite, count your tools aloud, which takes under 60 seconds and has spared countless hikers a long walk back.