
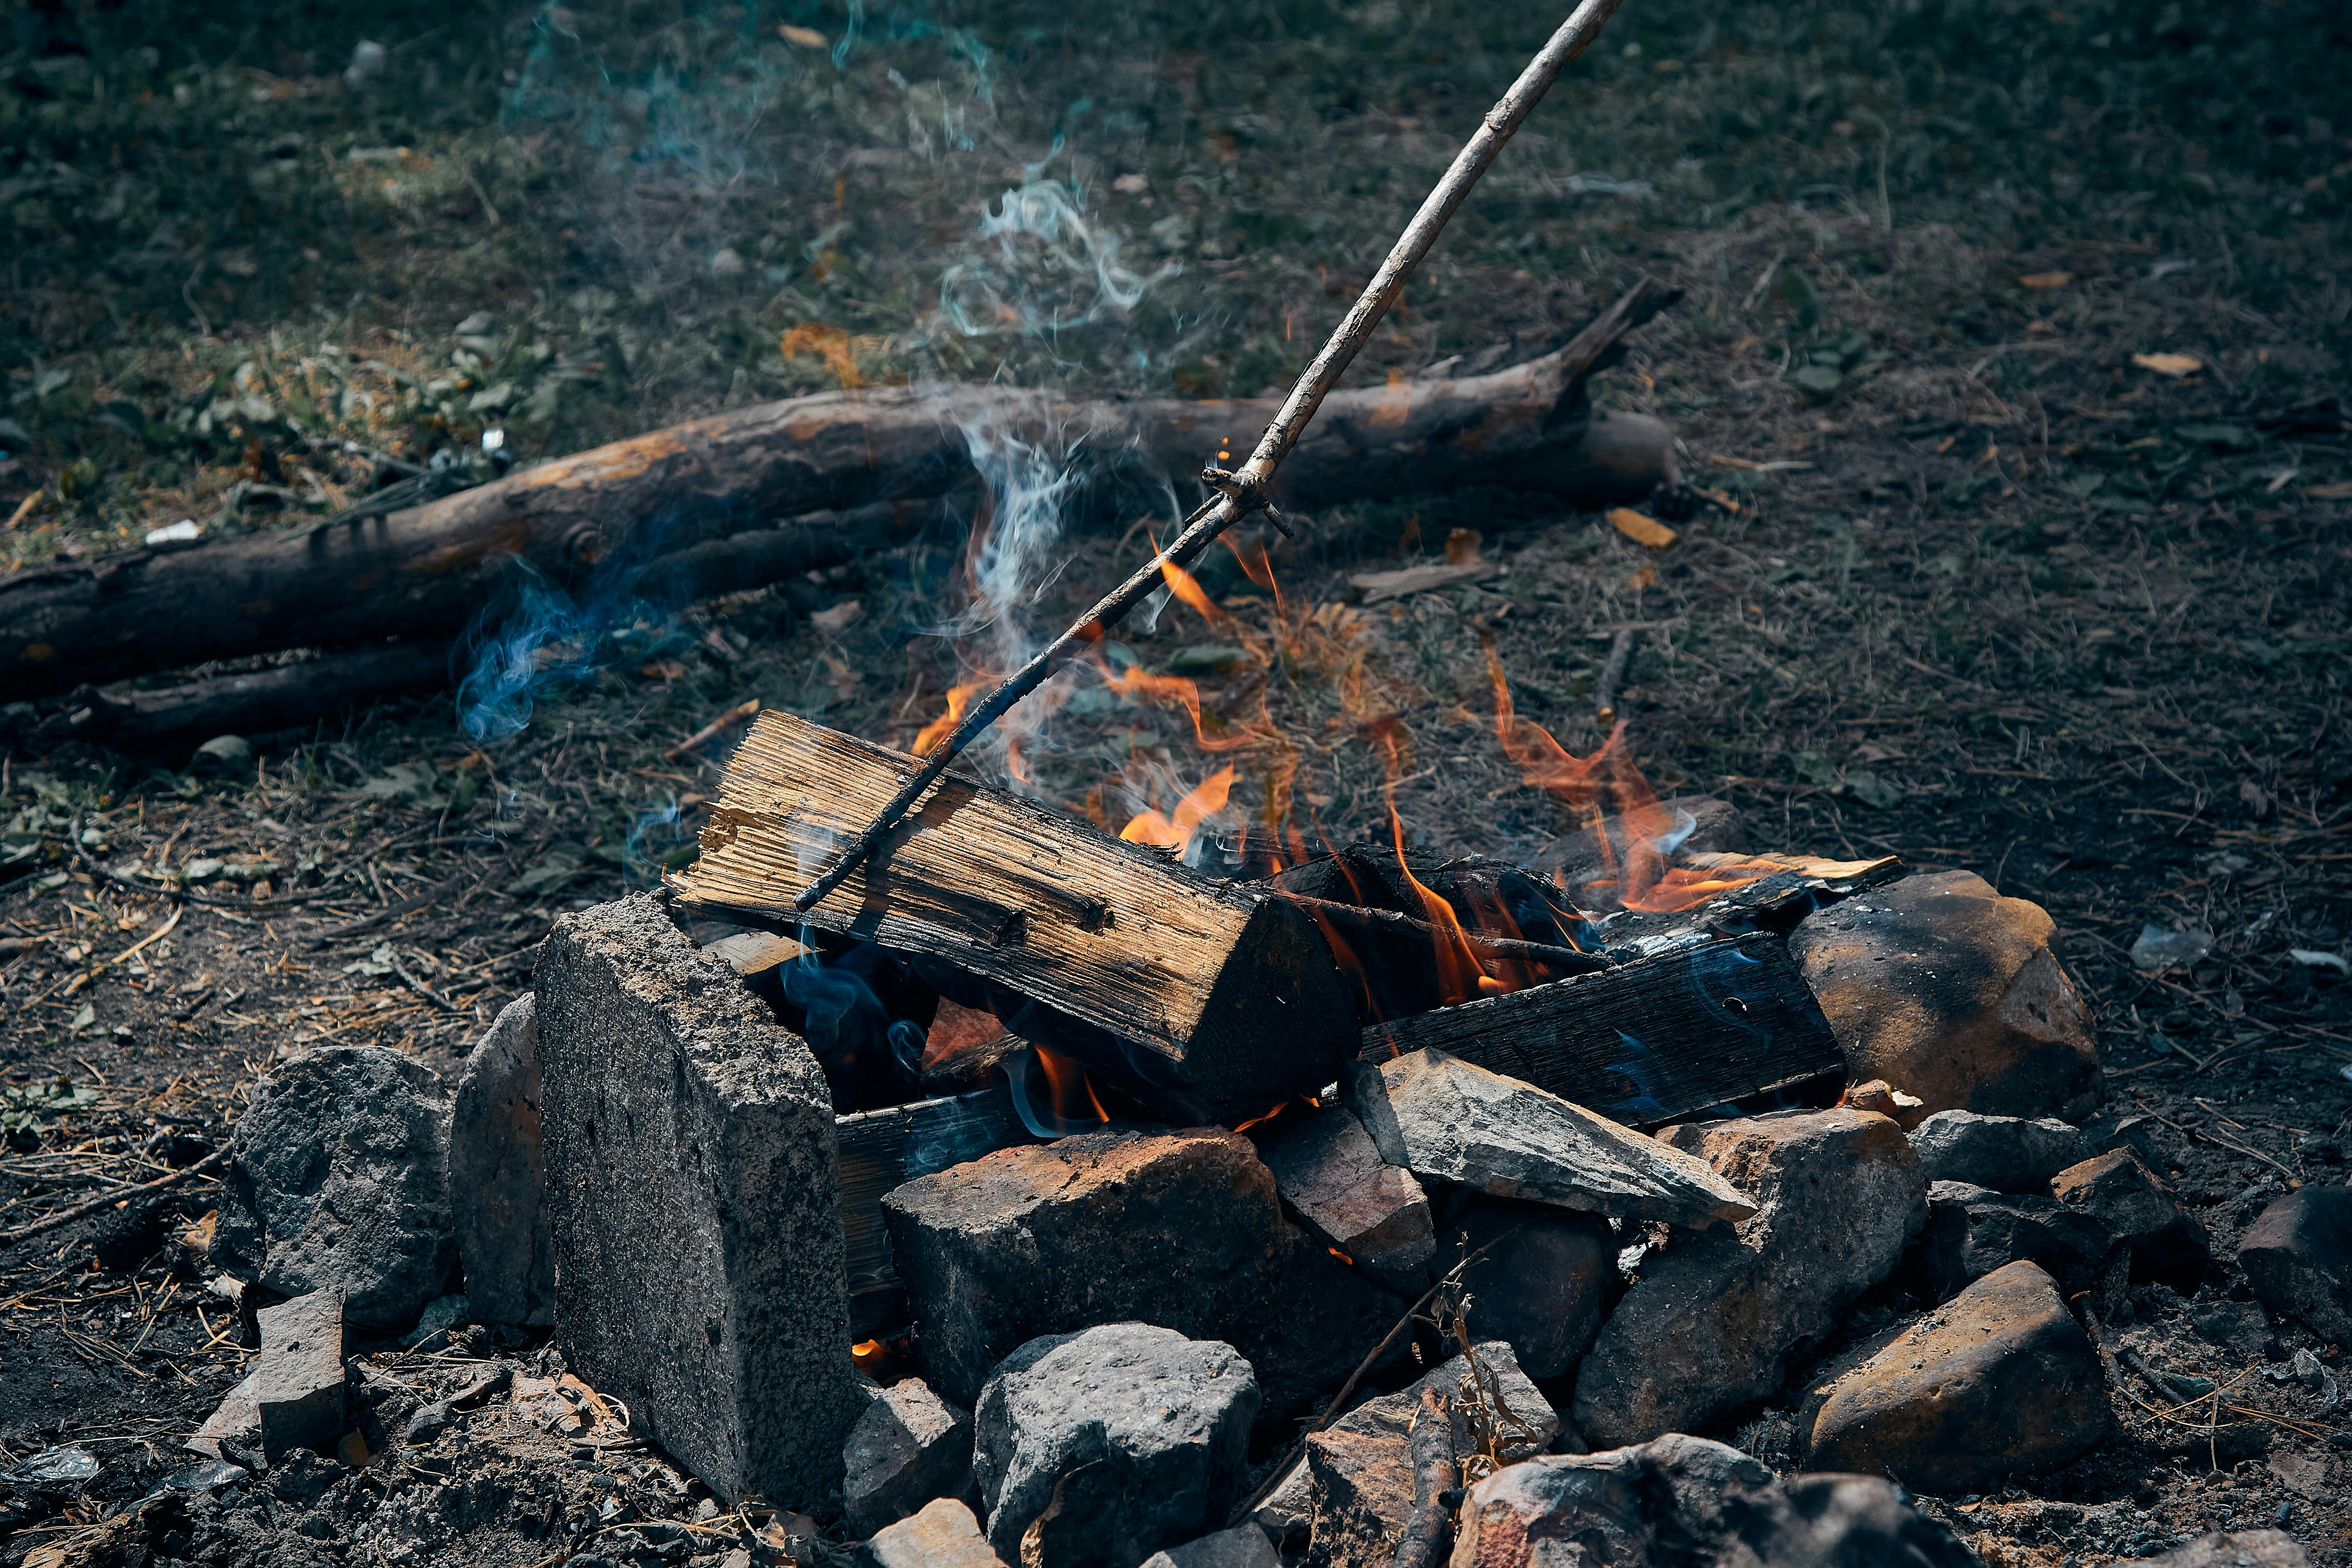
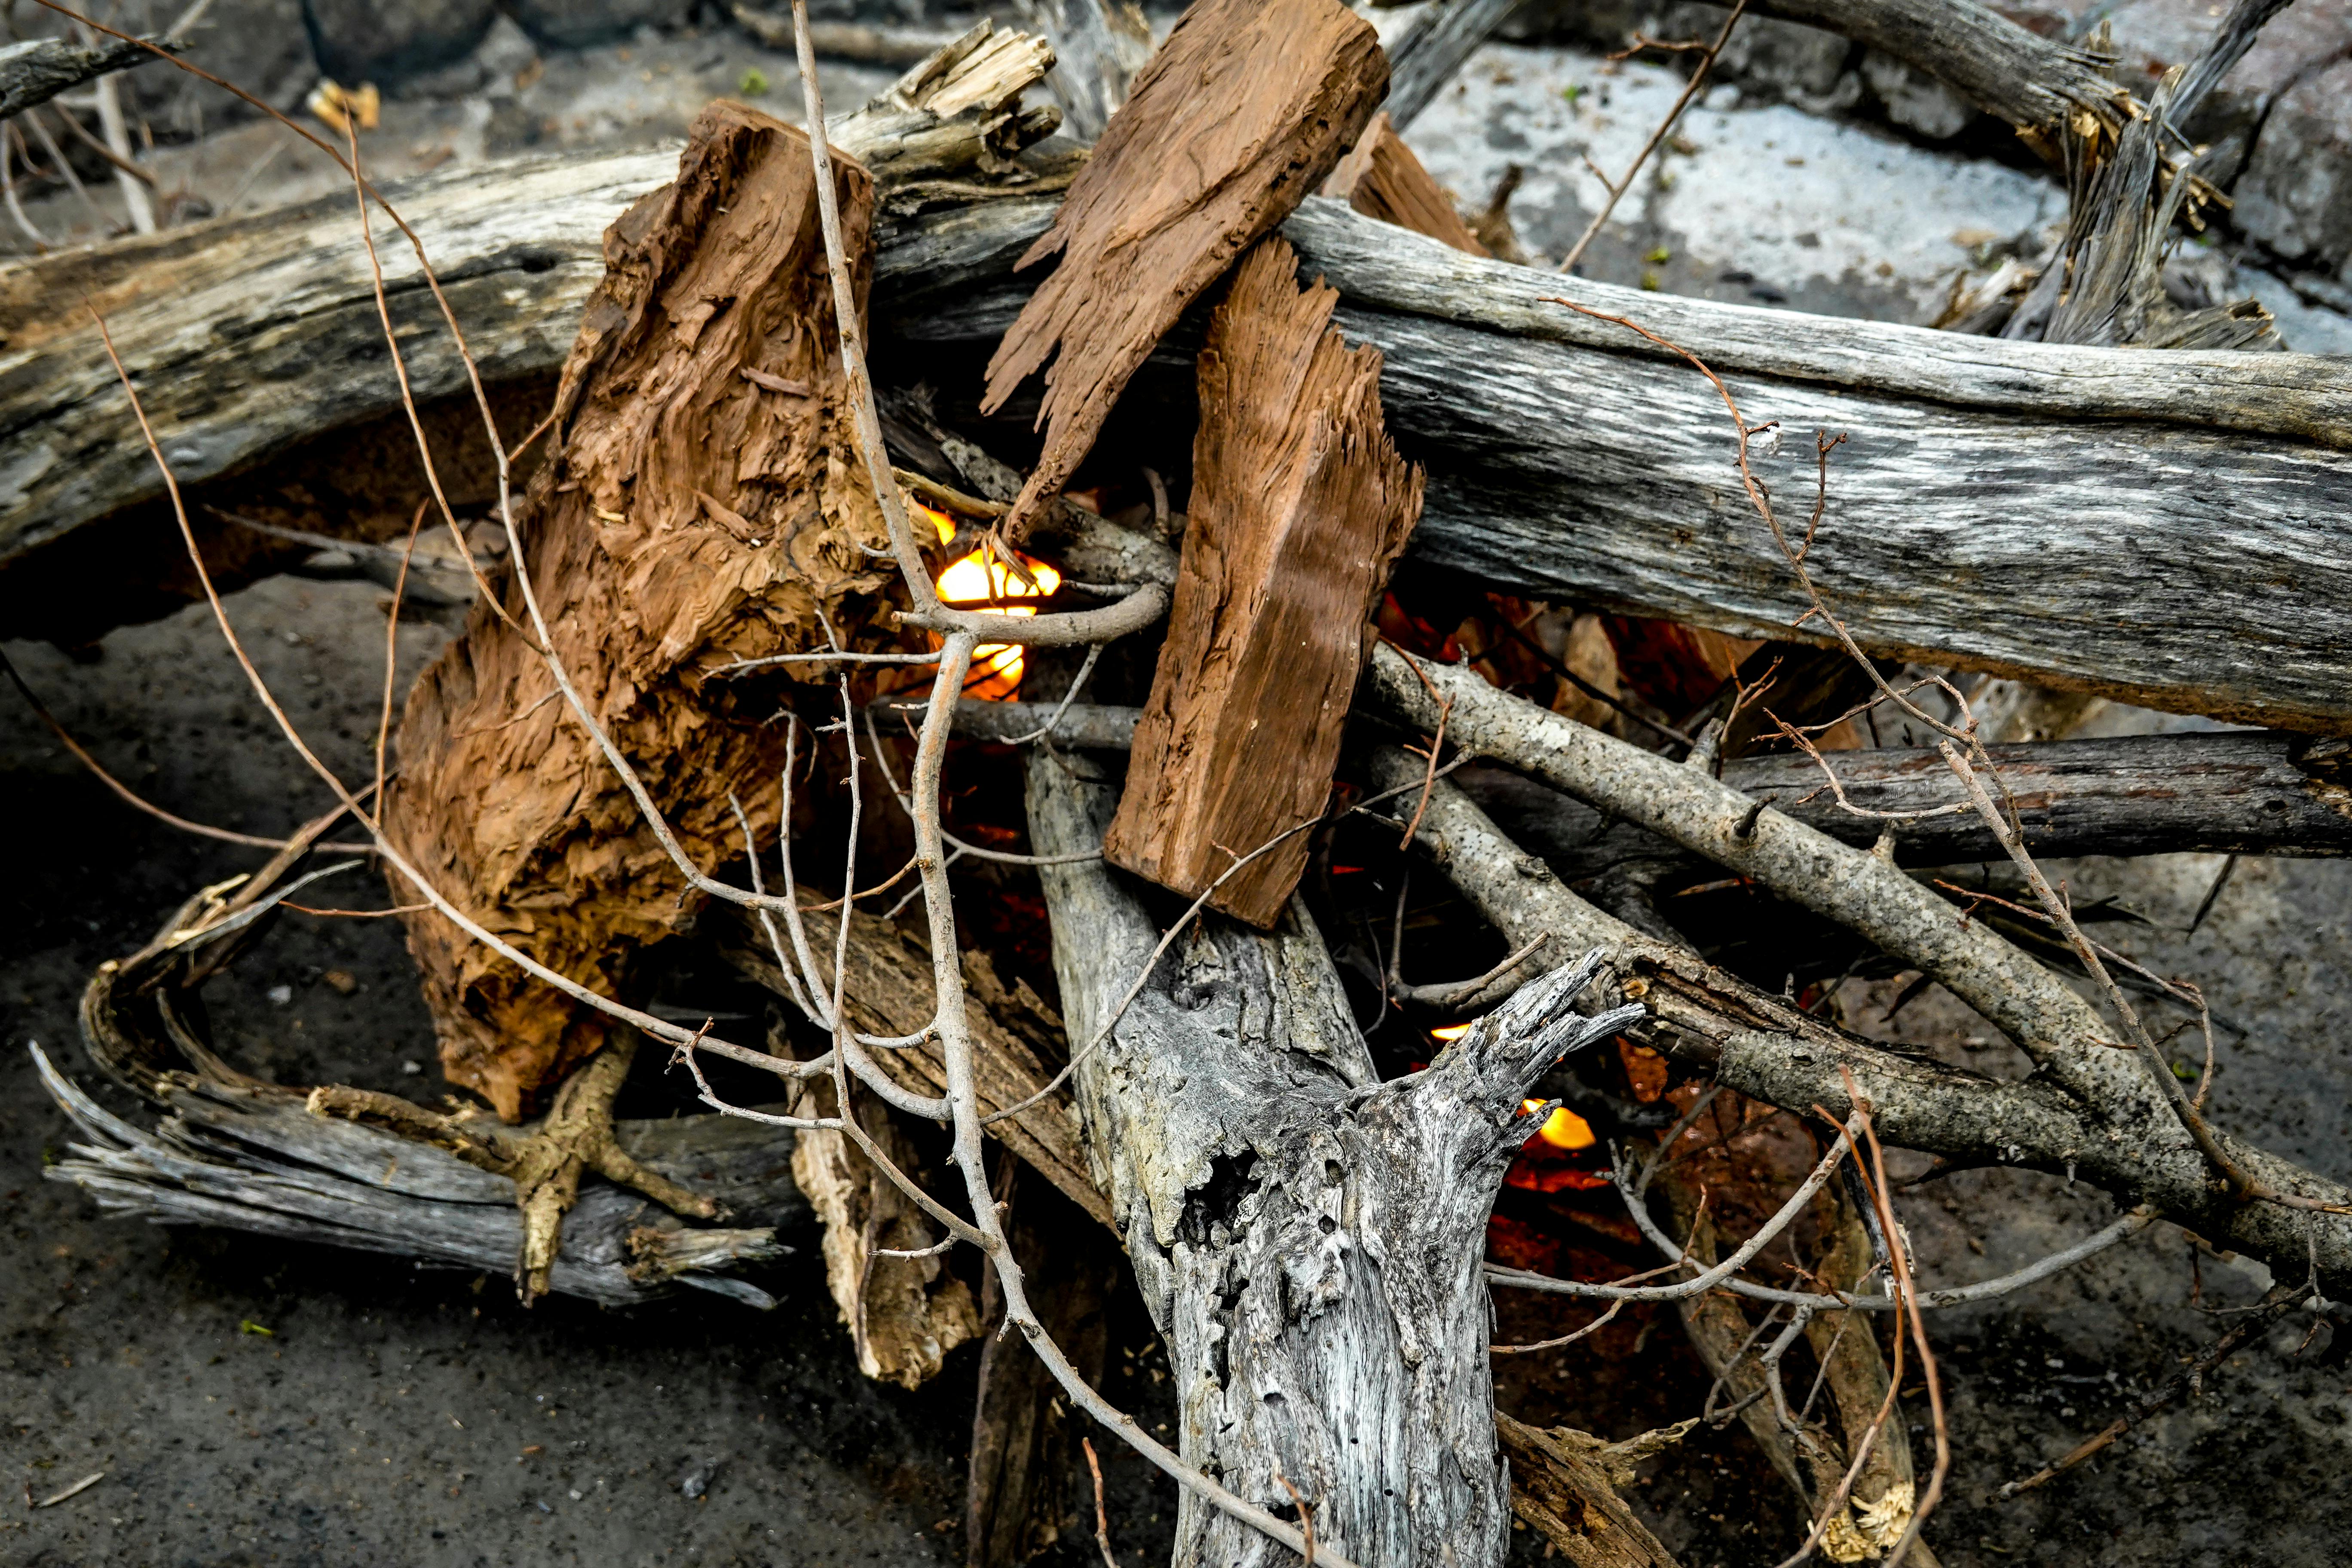
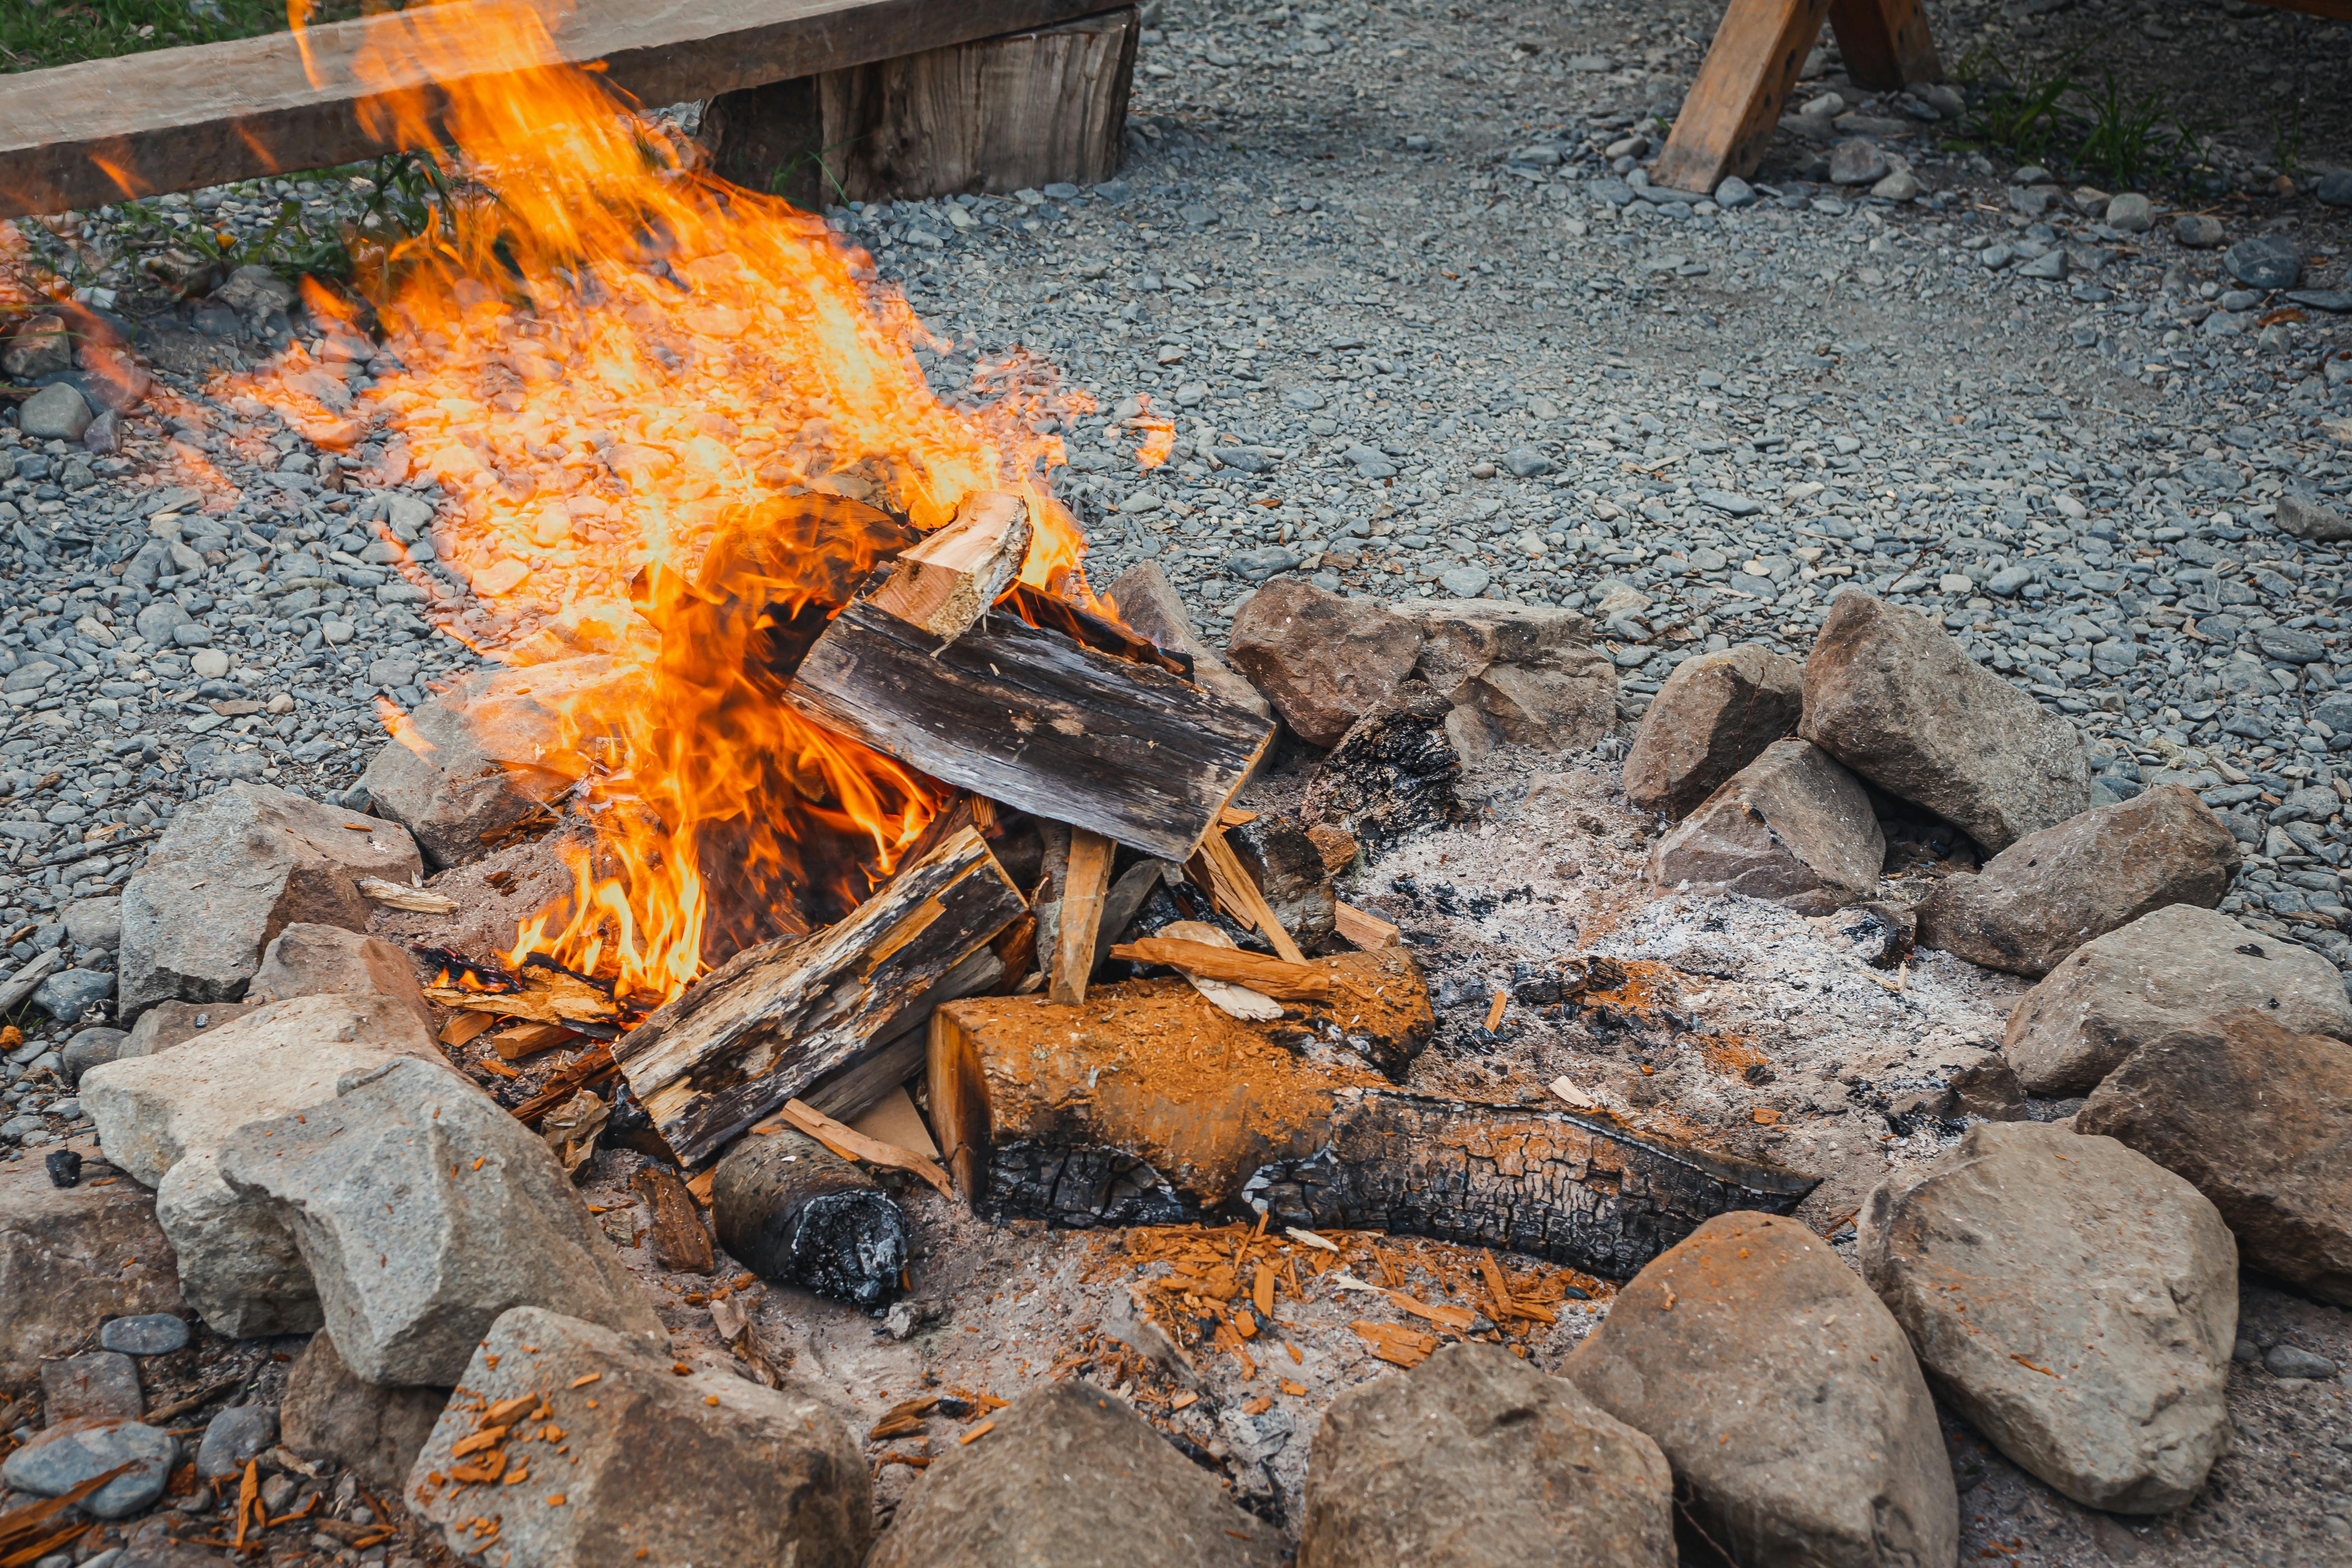
Sometimes the problem is not your lighter, your matches, or even your tinder. It is the structure of the fire itself. When the usual teepee and log cabin setups keep collapsing, smothering, or burning out, these more deliberate fire lays can give you a better shot at heat, flame, and a steadier burn.
Raised Platform Lay

When the ground is soaked, snowy, or freezing cold, building directly on the earth can drain heat before your tinder ever gets going. A raised platform lay solves that by creating a dry, insulated base from thumb-thick sticks laid side by side.
Once that platform is in place, add tinder and kindling on top, then build your main structure above it. The first flames spend less energy fighting wet ground and more energy drying and igniting fuel.
It is a simple adjustment, but in ugly conditions it can feel like a complete reset. If every spark has been dying at ground level, this is often the first advanced move worth trying.
Upside-Down Fire Lay
This layout flips the usual order and starts with the biggest fuel on the bottom, then stacks progressively smaller wood above, with tinder and fine kindling near the top. It looks backward at first, but it burns downward in a controlled way and can be surprisingly stable.
The big advantage is patience. Instead of constantly feeding a fragile flame, you create a burn that settles in, preheats the next layer, and often produces less frantic flare-up and collapse.
It works especially well when you want a longer burn and fewer adjustments. If your basic fire keeps racing through the small stuff and never really catching the larger wood, this method can change the rhythm entirely.
Lean-To Windbreak Lay
A steady wind can strip heat from a new flame faster than most people expect. In a lean-to windbreak lay, you place a larger log or barrier stick on the windward side, then angle kindling over the tinder so the setup shelters the ignition point while still letting air move through.
Think of it as giving the flame a protected corner to grow up in. The angled sticks catch quickly, reflect heat inward, and help keep that first fragile combustion from getting blown flat.
This is a strong choice on exposed ridges, beaches, or open campsites. When your match lights beautifully and then instantly dies, wind control is usually the missing piece.
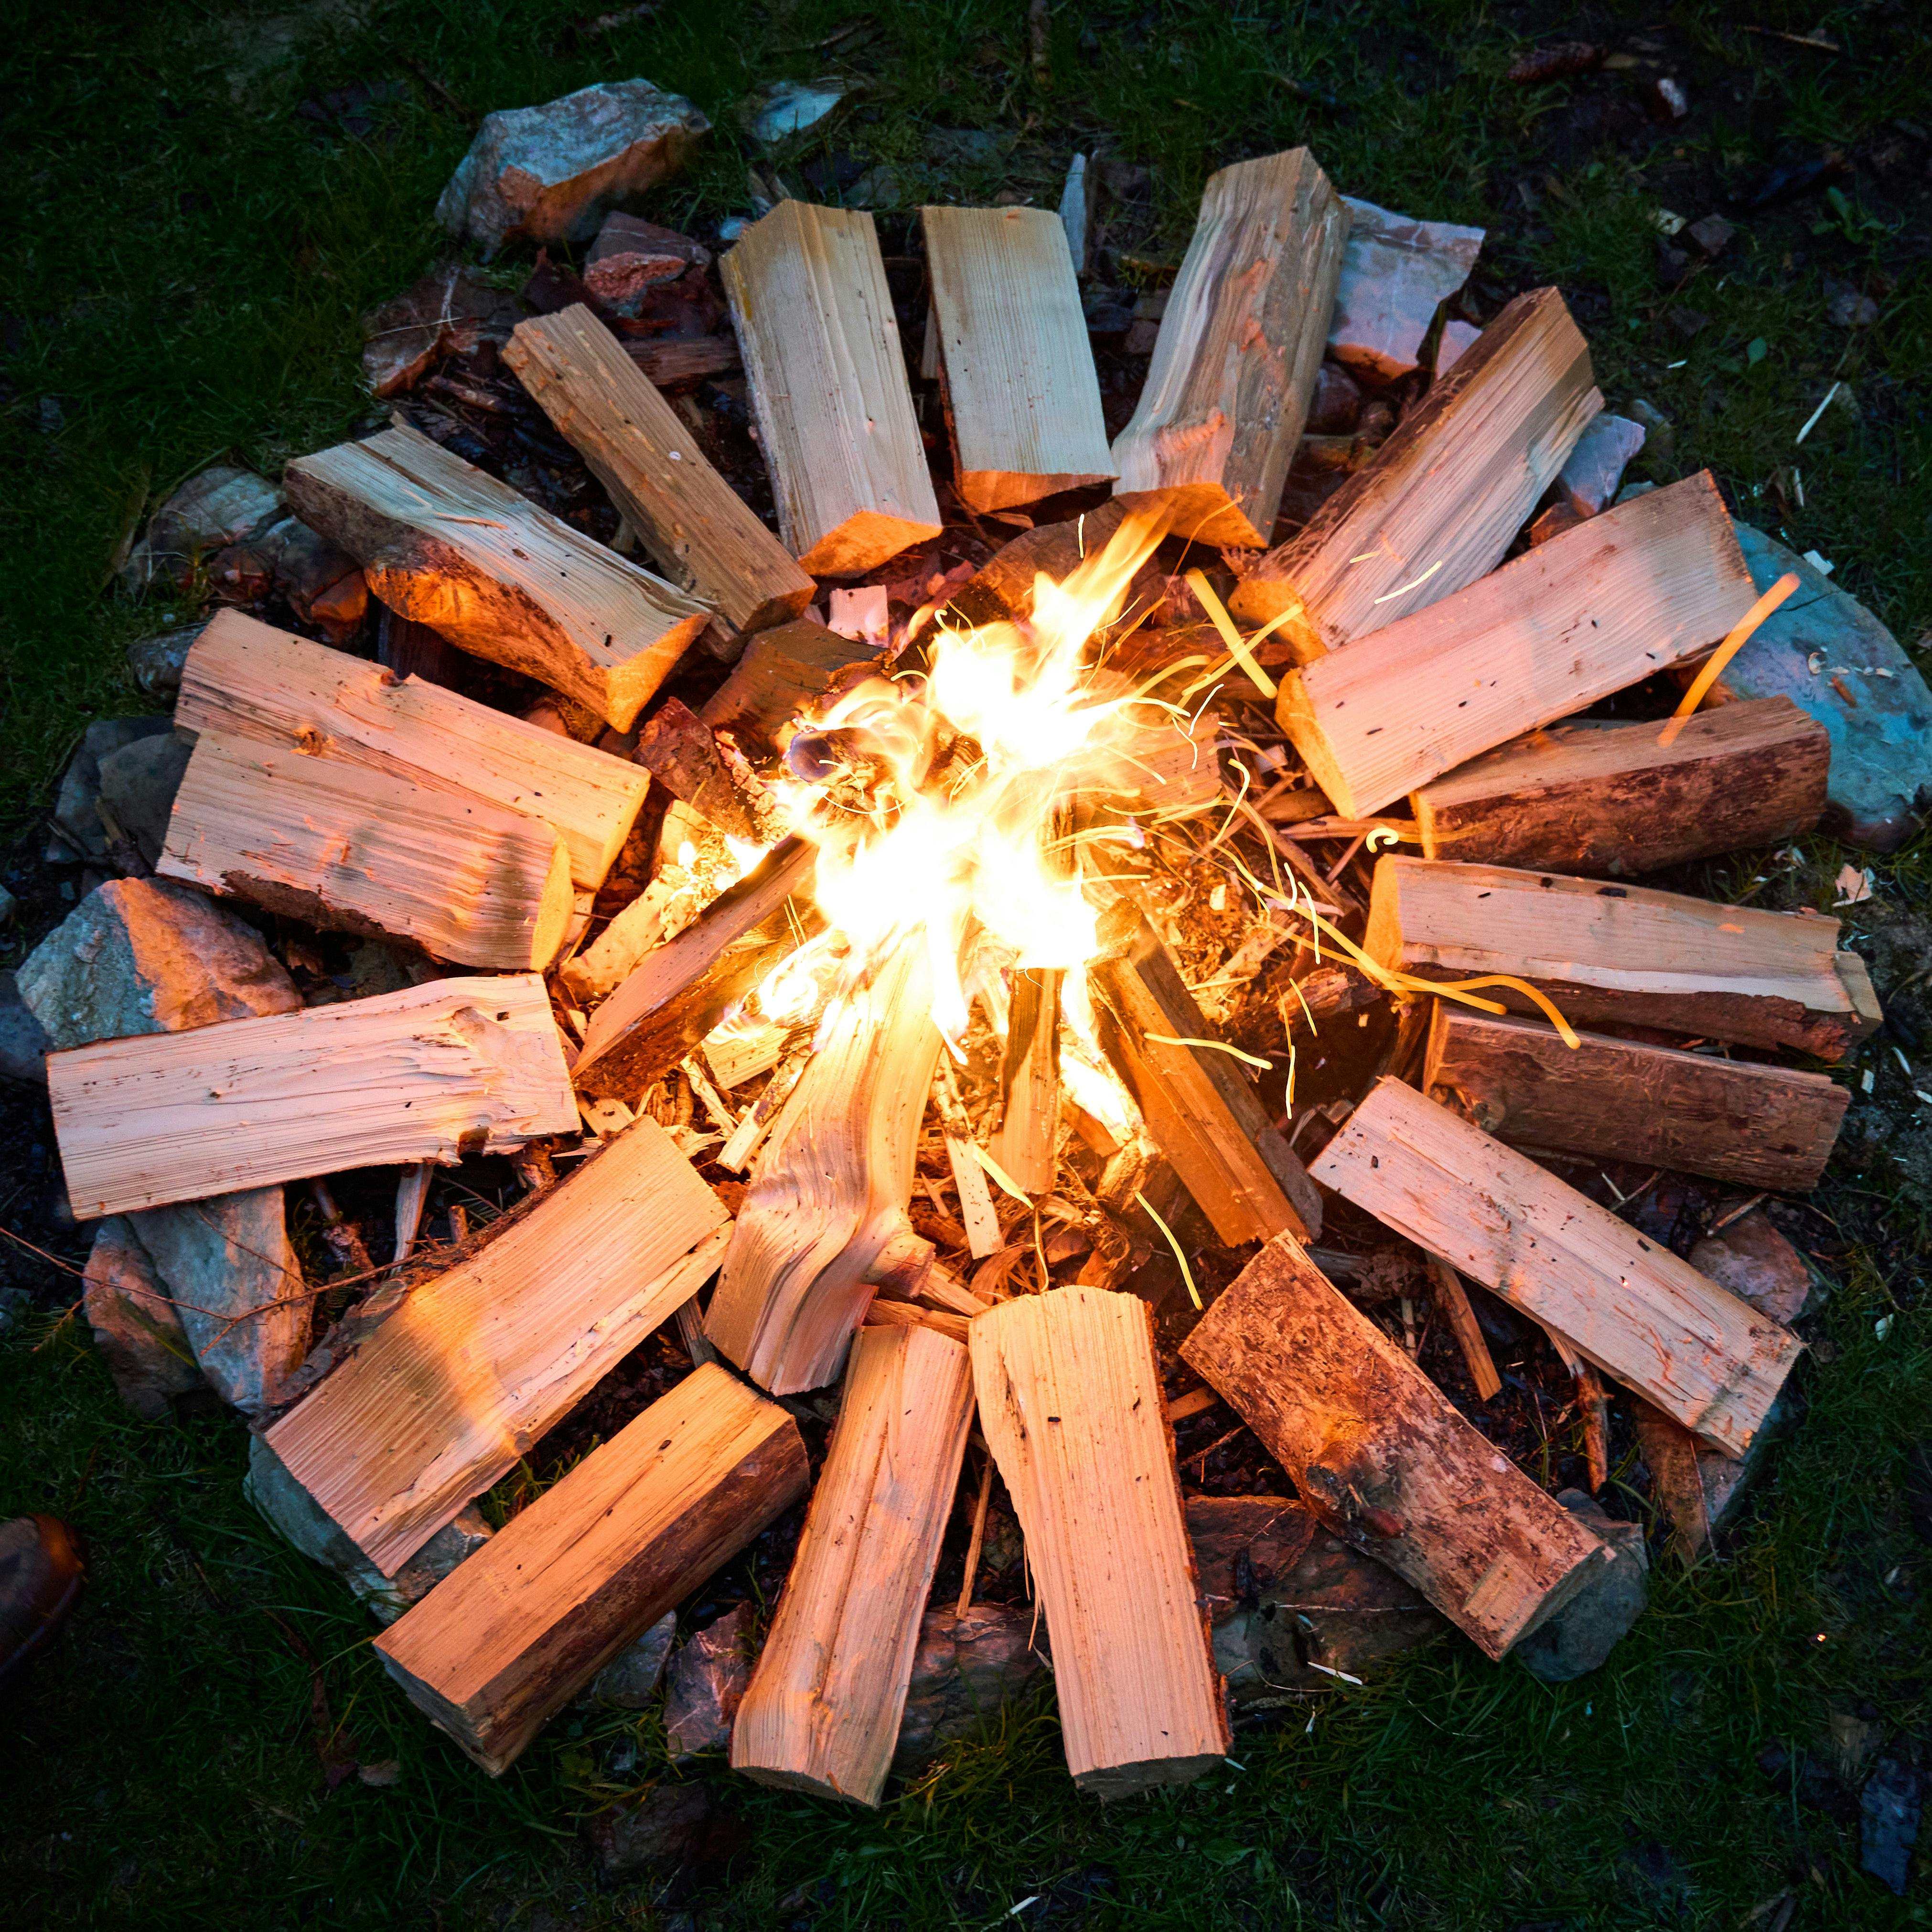
Star Fire Lay

The star fire is less about dramatic ignition and more about fuel management once you have flame established. Several larger sticks or split logs radiate inward like spokes, feeding the center as their ends burn.
Its real strength is control. You can nudge each piece inward gradually, which means less lifting, less rebuilding, and a much easier time maintaining a small but dependable cooking or warming fire.
If your earlier attempts failed because you kept overfeeding the flame and choking it with too much wood, the star pattern teaches restraint. It gives you a tidy center burn and makes every stick feel intentional rather than dumped on in frustration.
Dakota Fire Hole Layout
When wind is relentless or you need a lower-profile flame, the Dakota fire hole can outperform an above-ground setup. It uses a main burn chamber and a second air intake hole connected underground, creating a draft effect that feeds combustion while keeping the flame more sheltered.
Because the fire sits below grade, it can be harder for gusts to disrupt and easier to conceal visually. Many outdoor experts also like how efficiently it can burn once properly established.
It does take more effort and only makes sense where digging is permitted and safe. But when every exposed lay has failed, a protected draft-fed system can feel almost unfairly effective.
Long Fire Lay

A long fire is built in an extended shape rather than a tight round cluster, often with two parallel logs and a channel of coals and flame between them. It has old-school appeal, but it is also deeply practical when warmth matters as much as cooking.
That stretched burn line throws heat across a wider area, making it useful for drying gear, warming more than one person, or heating a sleeping area with proper safety and distance. It also lets you manage sections of the fire instead of one crowded hot spot.
If your compact fire keeps feeling too small to matter, this layout changes the footprint. It is less flashy, more functional, and often more forgiving in cold conditions.
Keyhole Cooking Lay

The keyhole layout combines a main rounded fire area with a smaller extension that works like a feeding or cooking zone. In camp kitchens and backyard setups alike, it helps separate intense flame from more controlled heat.
That division is the whole point. You can build strong coals in one section and shift pans, pots, or grates to the side where the heat is steadier and easier to manage. It is more flexible than a simple pile of burning sticks.
When your problem is not ignition but usable heat, this arrangement shines. A fire that is technically burning but impossible to cook over is still a failed setup, and the keyhole method fixes that elegantly.
Reflector Fire Lay
A reflector fire uses a wall of logs, stones, or another safe reflective surface behind the flames to push heat back toward you or your shelter area. The fire itself is usually modest, but the perceived warmth can jump dramatically when heat is redirected instead of lost.
This is especially effective on cold nights when every bit of radiant heat matters. A properly placed reflector can also help dry damp wood staged nearby, making the whole system more efficient over time.
It is not just about comfort. If you have been building bigger and bigger fires without feeling much warmer, the issue may be heat direction, not fire size. This layout works smarter, not just hotter.
Parallel Stick Ember Lay
Some fires fail because the flame stage is too brief and chaotic to build a lasting coal bed. A parallel stick ember lay encourages a tighter, steadier burn by arranging evenly sized sticks close together so they support each other and create concentrated heat.
As the center catches, the nearby wood dries quickly and begins to collapse inward into useful embers rather than scattering into a messy burn. It is a smart transition method when you need coals for cooking or for igniting larger fuel.
This setup rewards careful sizing more than brute force. If random handfuls of kindling have been giving you random results, a deliberate, uniform arrangement can make the whole fire behave better.
Split-Wood Core Lay
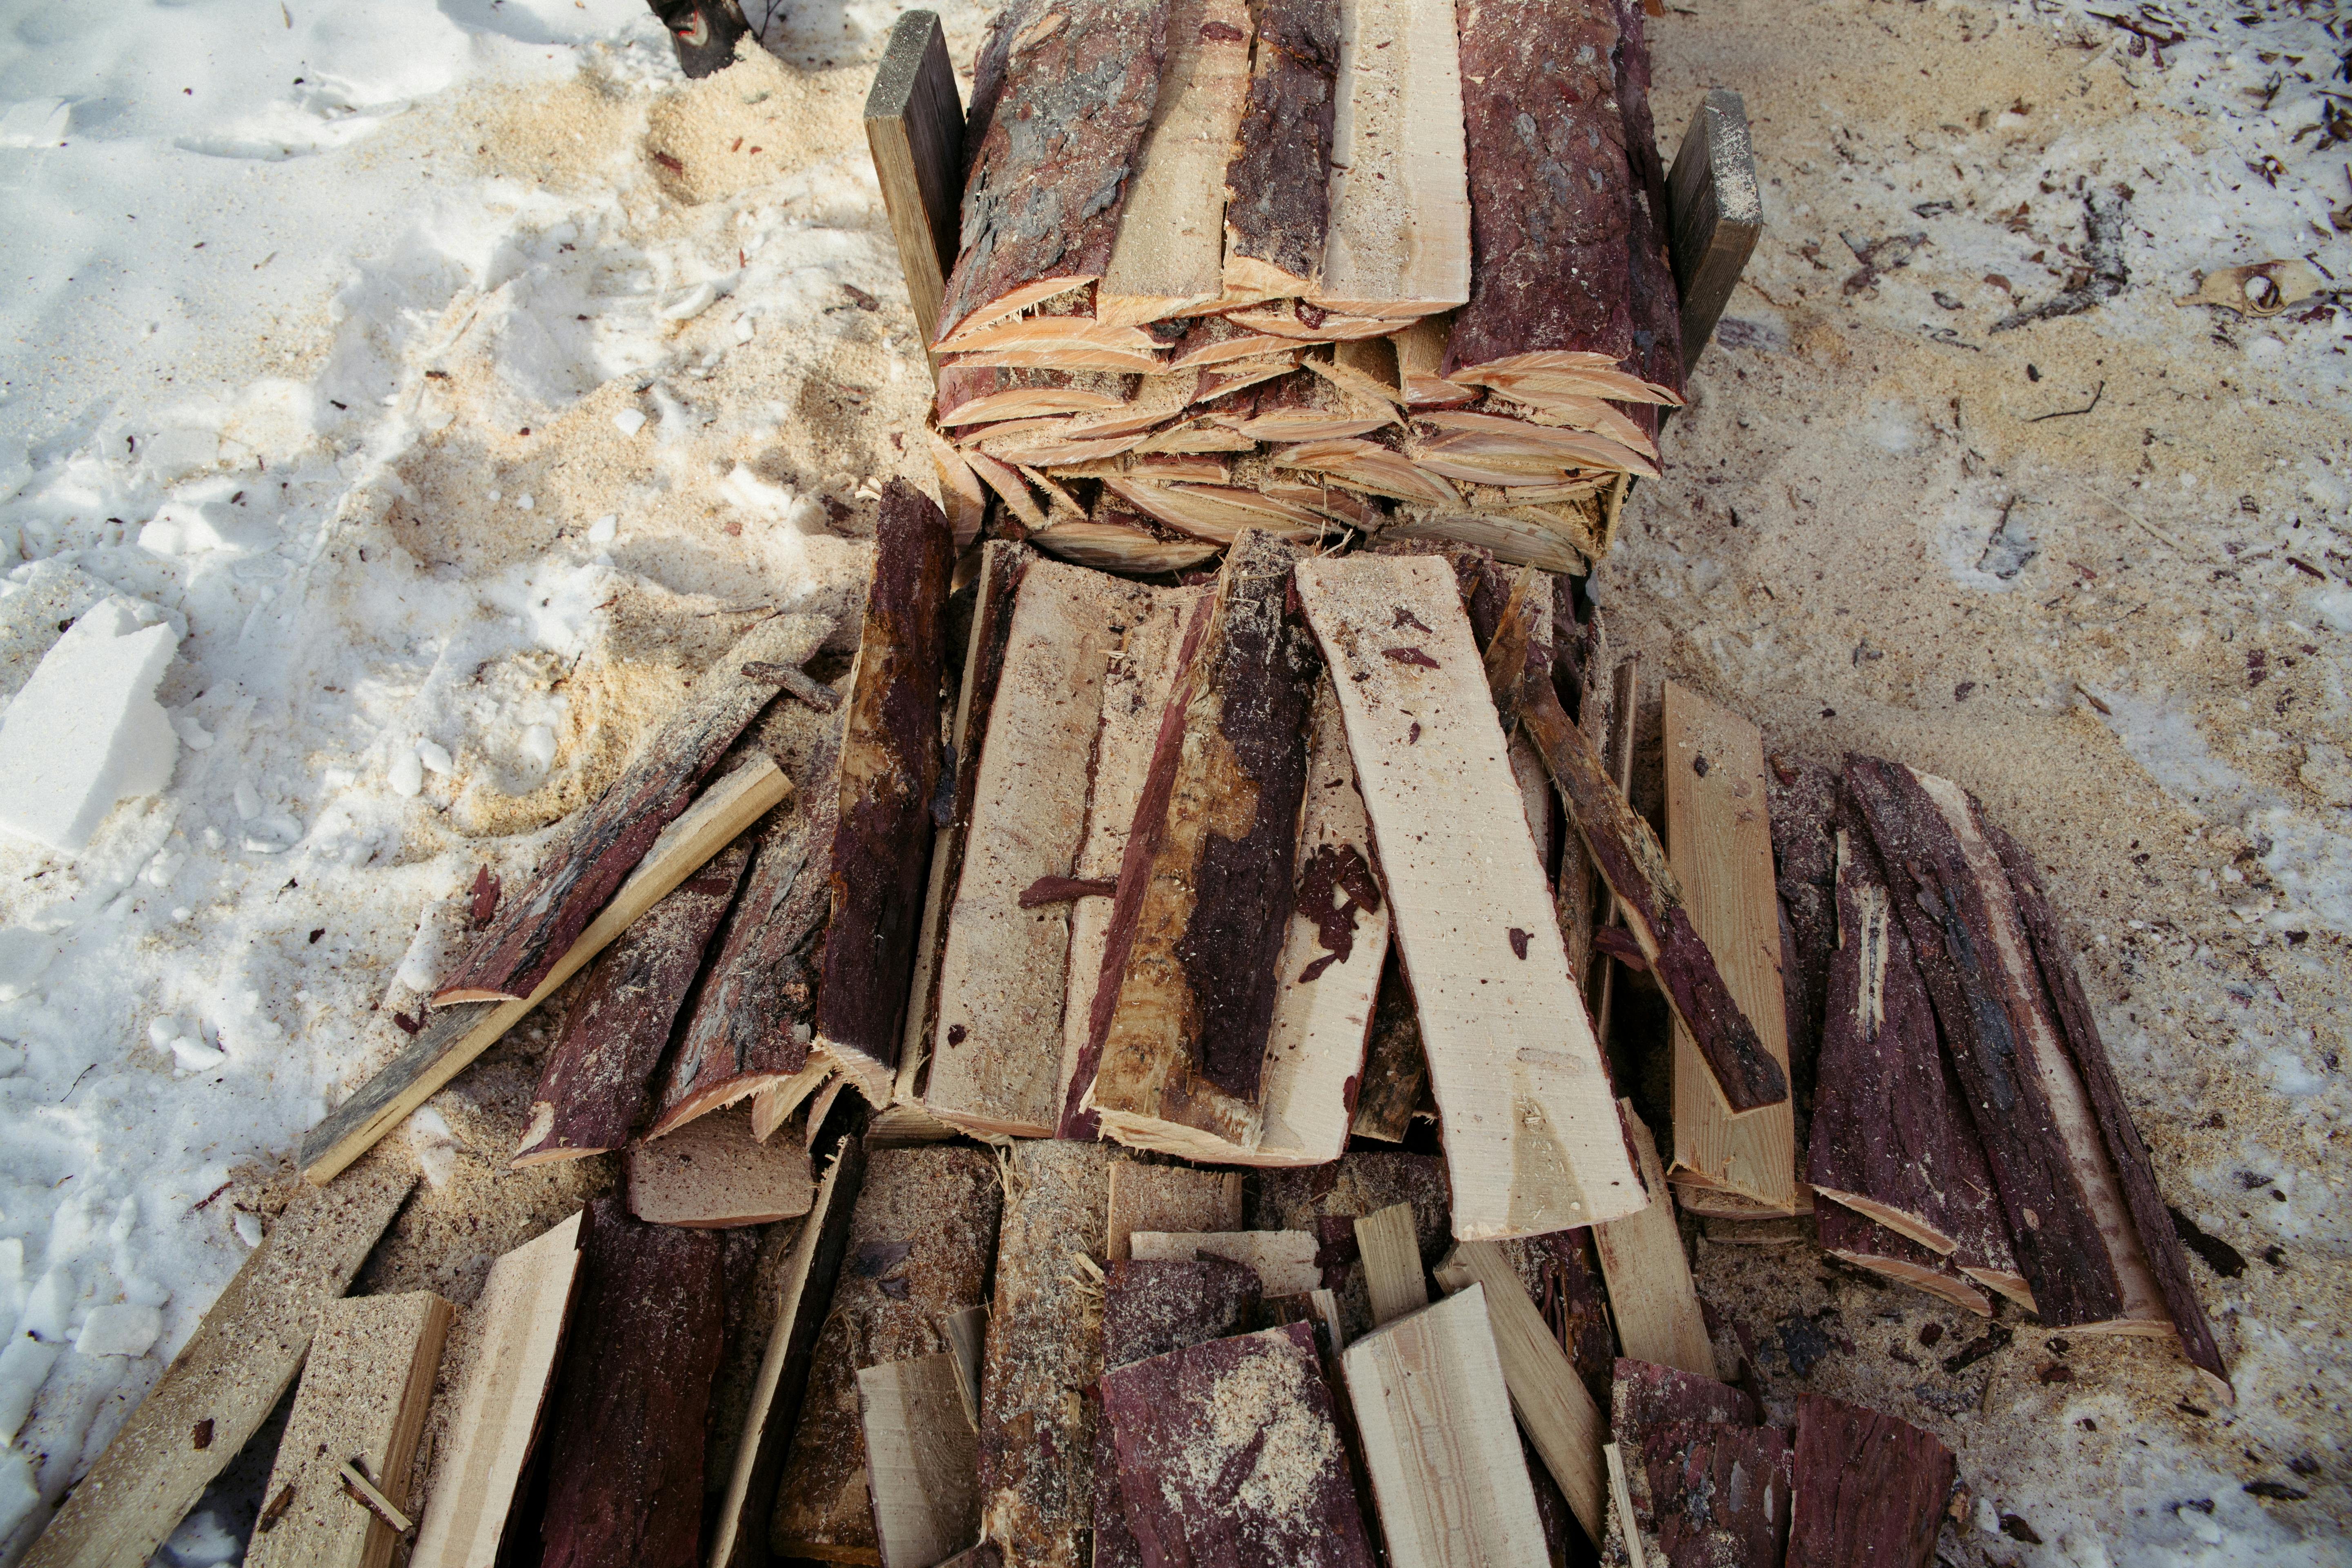
When round sticks refuse to catch, split wood often changes everything. Exposed inner surfaces are drier, rougher, and easier to ignite, so a split-wood core lay builds the heart of the fire from batoned or split pieces arranged tightly around tinder.
Those flat faces trap and reflect heat better than smooth branches, helping the center get hotter faster. Once that core is established, you can add larger fuel with a lot more confidence.
This is a favorite move when the outside of your wood is damp but the inside still has life. If every spark seems to slide off polished, bark-covered sticks, splitting the fuel may be the upgrade your fire has been waiting for.
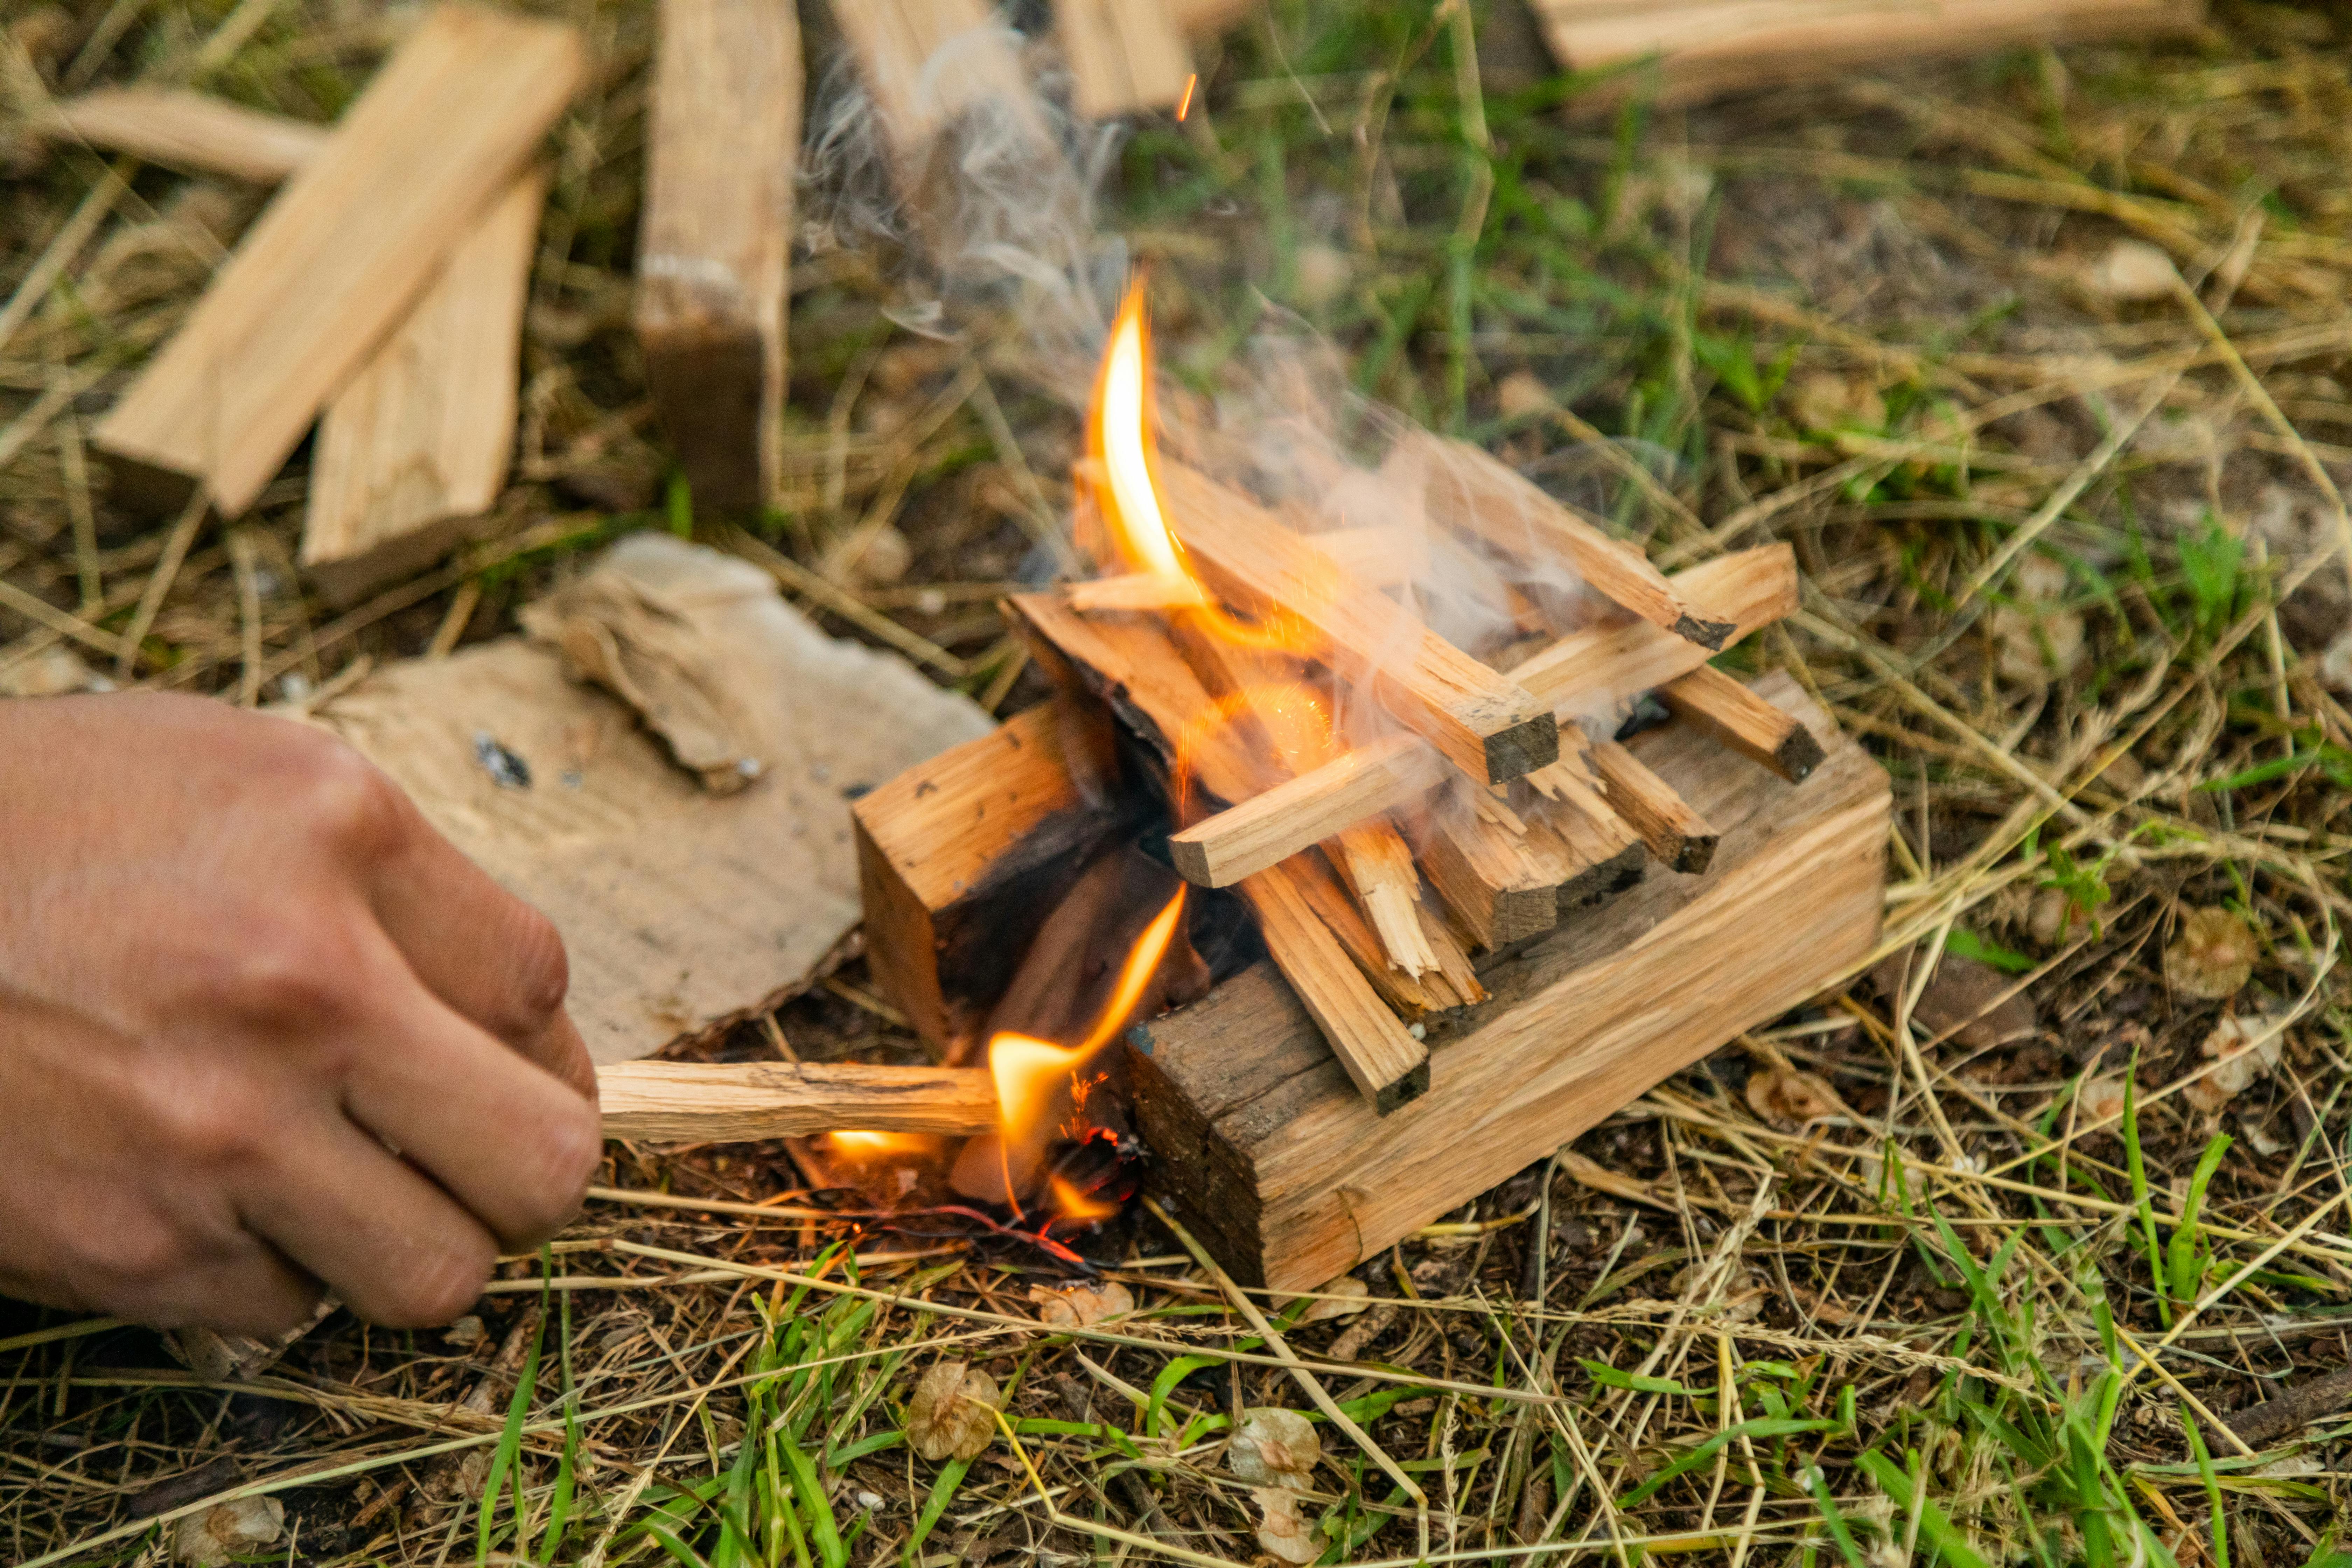
Feathered Tinder Nest Lay
Sometimes the issue is not the big structure at all. It is the transition from spark to sustained flame, and a feathered tinder nest lay is built to make that handoff smoother by surrounding a tinder bundle with ultra-fine curls, scrapings, and pencil-thin fuel.
The nest catches fast, but more importantly, it hands fire upward in gentle stages instead of forcing one dramatic jump. That staged ignition matters when your materials are stubborn or your flame source is weak.
This method feels fussy until you need it. When your fire keeps dying in the first 30 seconds, slowing down and building a richer ignition zone can be more effective than rebuilding the whole stack again.
Crisscross Ventilated Lay
A crisscross lay stacks small fuel in alternating directions, but with intentional spacing left between layers so air can move freely. It sounds basic, yet the ventilated version is a more disciplined build, especially useful when people keep piling wood too tightly and smothering the center.
The cross pattern creates multiple ignition edges, while the gaps act like tiny draft channels. That combination can make a fire feel noticeably more alive, especially when using slightly damp kindling that needs extra airflow to get established.
If your fire keeps collapsing into a dense, choking heap, think less wood and better geometry. Good combustion is often about breathing room, and this layout bakes that idea into the structure from the start.
Hybrid Teepee and Log Cabin Lay

When one classic method is not enough, combining two can give you the best of both. This hybrid uses a small teepee of tinder and fine kindling at the center for quick ignition, surrounded by a loose log cabin frame that protects the core and supports gradual growth.
The teepee gets the flame moving fast, while the outer frame prevents that quick burst from becoming a quick burnout. As the inner cone burns, the surrounding structure preheats and catches in sequence.
It is a great recovery option for frustrated fire builders because it balances speed, airflow, and stability. If you are tired of choosing between a fire that lights quickly and one that lasts, this combination often delivers both.


