
In survival situations, shelter is not about comfort or convenience, but about controlling exposure to the elements. Wind, rain, cold, and heat drain energy faster than hunger or thirst, which is why knowing how to build an effective shelter with minimal gear is a critical outdoor skill. A tarp and rope may appear basic, yet they form one of the most versatile shelter systems ever used by hunters, backpackers, and survival instructors. Unlike pre-made tents, tarps adapt to terrain, weather shifts, and available anchor points. Rope provides tension, structure, and reliability when natural materials fall short. Together, they allow you to create protection in forests, deserts, mountains, or open ground. This guide explains ten proven tarp shelter methods, focusing on practical details, common mistakes, and real-world adjustments so the shelter works when conditions are harsh, unpredictable, and unforgiving.
Choosing the Right Location First
No tarp shelter succeeds without smart site selection, and many failures happen before a knot is ever tied. The goal is to let the landscape work for you instead of against you. Look for natural windbreaks such as boulders, thick tree lines, or terrain depressions that reduce airflow. Avoid valleys or dry stream beds where rainwater can collect quickly. Stay clear of ridge tops where wind speed increases dramatically. Always scan overhead for dead branches that could fall during wind or rain. Ground firmness matters too, since loose soil weakens anchors. Ideally, the site should be slightly elevated, well-drained, and oriented so the shelter opening faces away from prevailing wind. A good location reduces heat loss, improves stability, and often matters more than the shelter design itself.
The Classic A-Frame Shelter
The A-frame is one of the most dependable tarp shelters and works well in varied weather. Begin by running a strong ridgeline rope between two trees at about chest height. The line must be tight, as sagging reduces protection and causes water pooling. Drape the tarp evenly over the ridgeline so both sides are equal in length. Secure the tarp edges to the ground using rope, stakes, or heavy rocks, creating a triangular profile. This shape sheds rain efficiently and handles moderate wind from either side. Lowering the ridgeline increases warmth in cold conditions, while raising it improves airflow in warmer weather. The A-frame balances coverage, ventilation, and simplicity, making it one of the most practical shelters for overnight survival.
Lean-To Shelter for Speed and Visibility
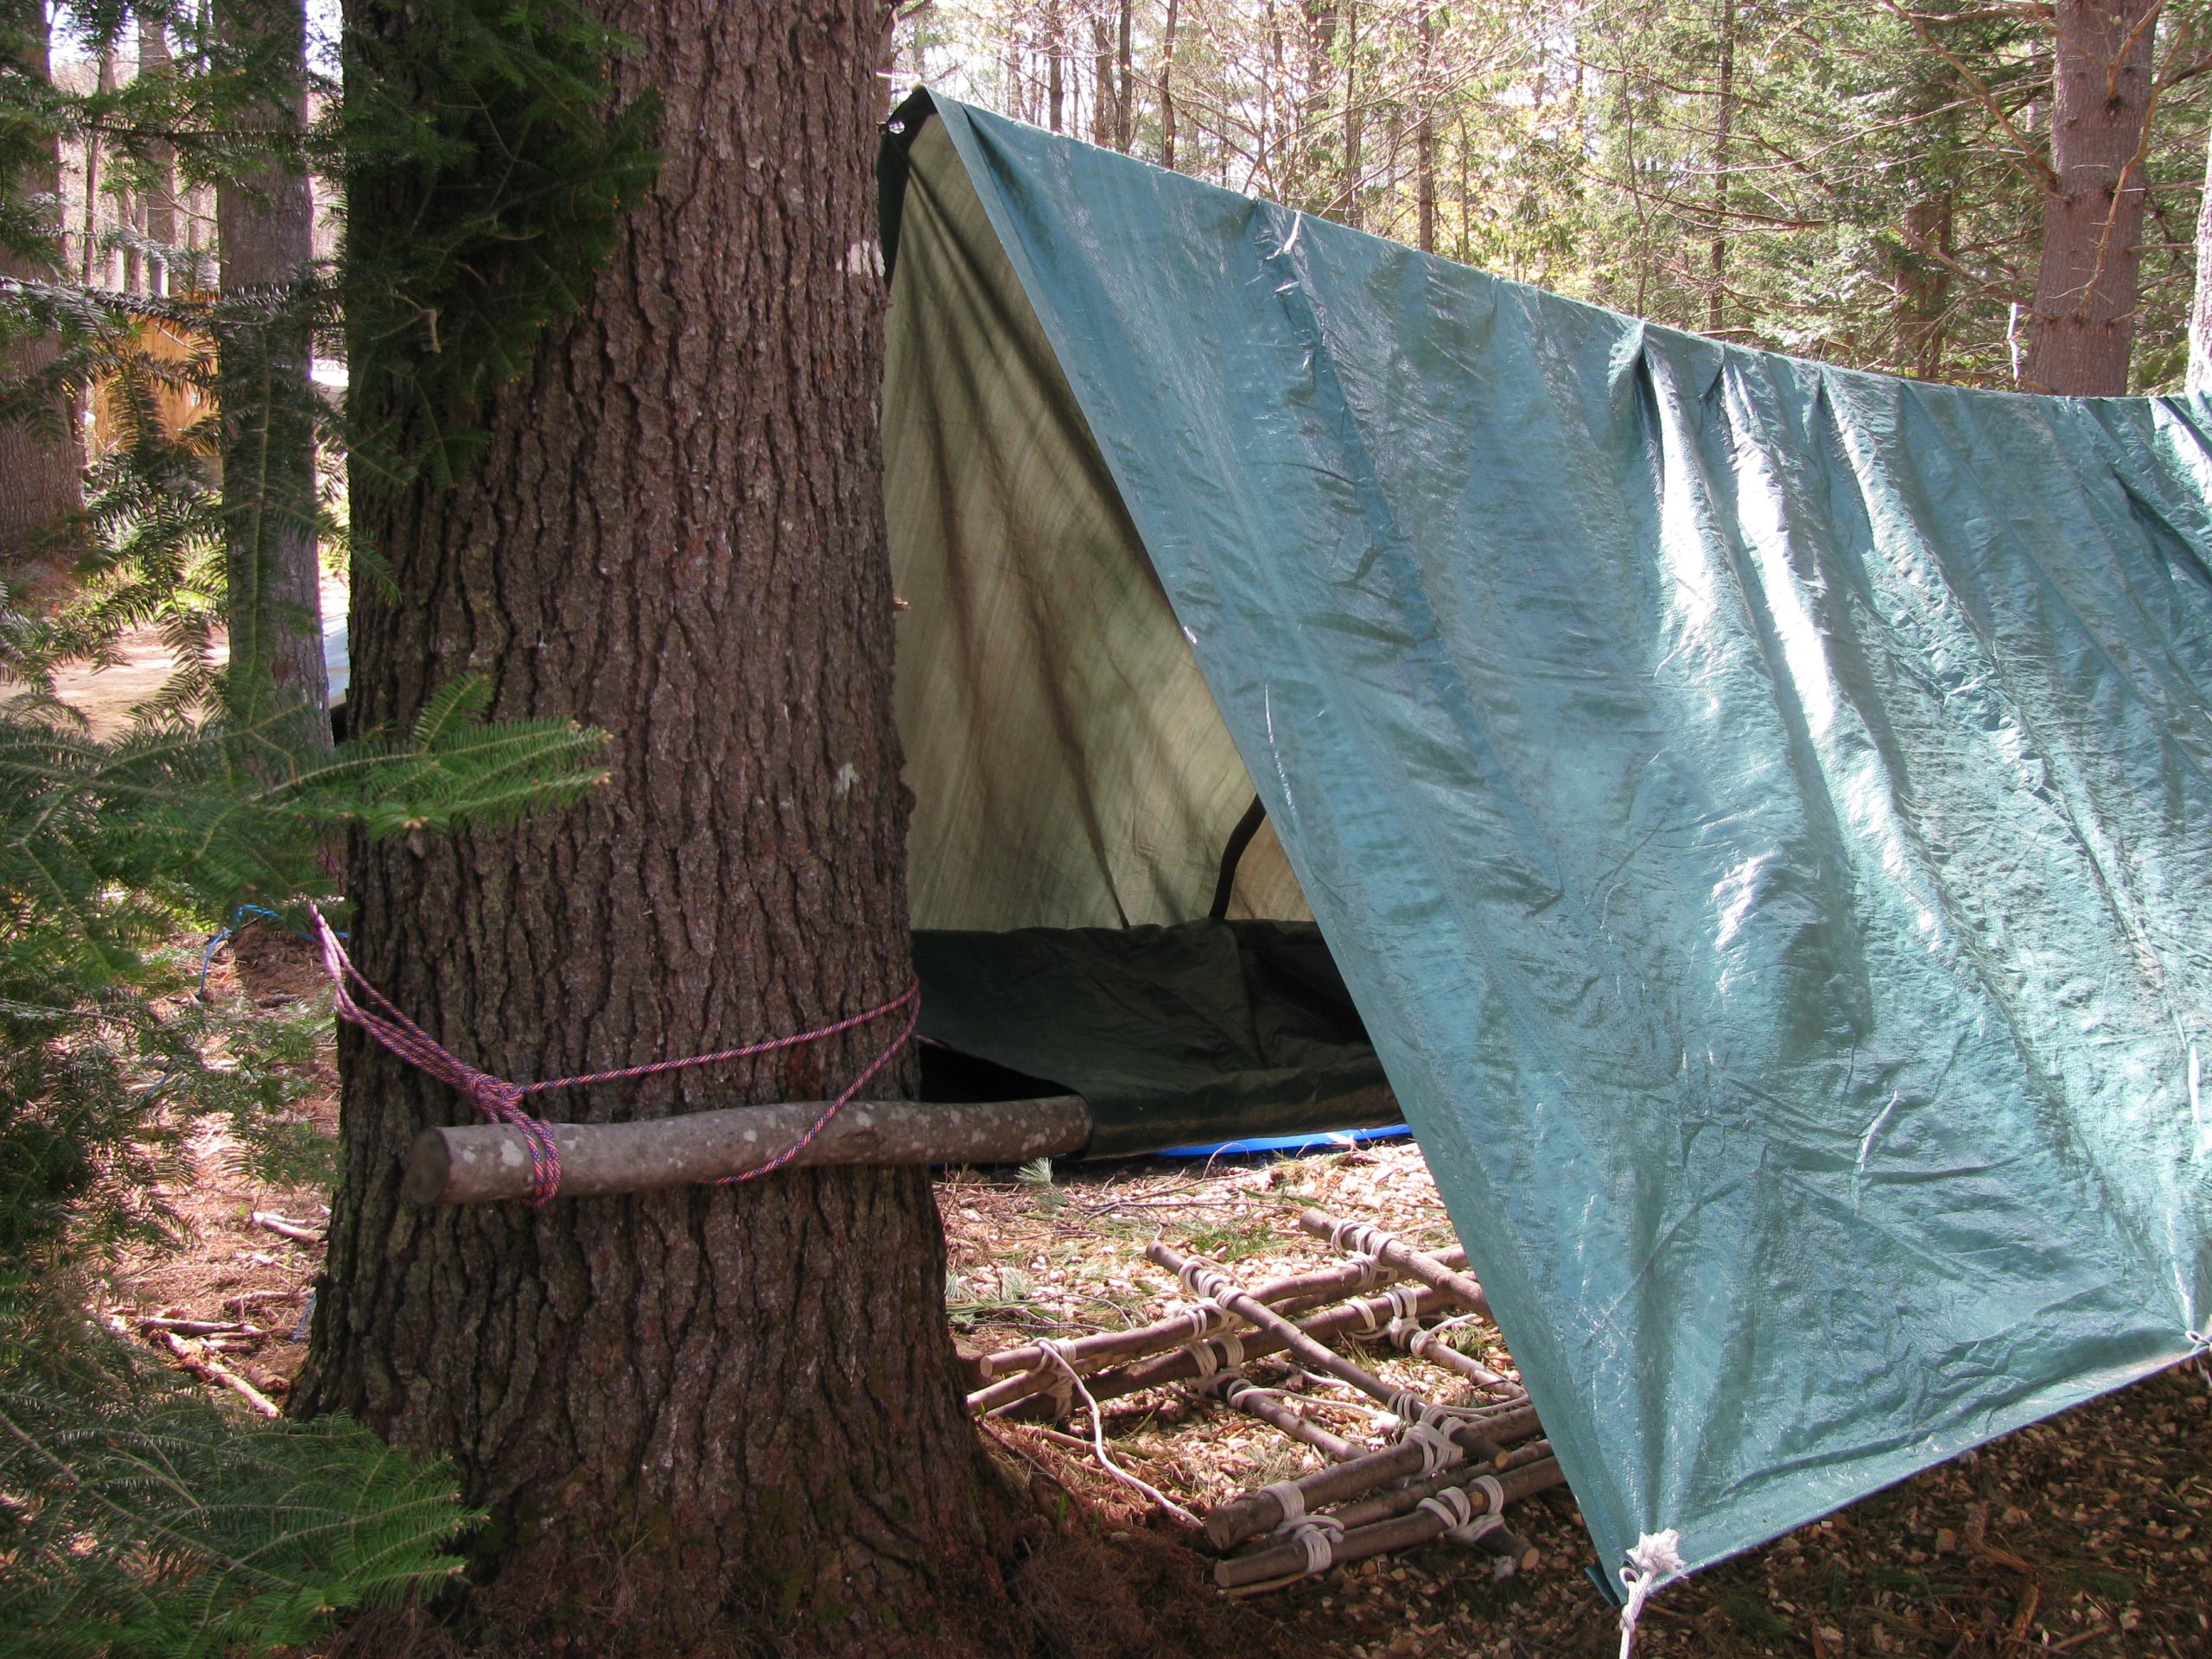
A lean-to shelter is ideal when time is limited or when you want open visibility and easy access to a fire. Start by tying one long edge of the tarp high between two trees using a rope. This forms the roofline. Pull the opposite edge down toward the ground at an angle and anchor it securely. The open front allows heat from a fire to reflect inside, increasing warmth during cold evenings. However, a proper angle is critical. Too shallow and rain will drip inside; too steep and wind resistance increases. Face the open side away from the prevailing wind. Lean-tos work best in mild or dry conditions and are often used as temporary shelters during short stops or unexpected weather delays.
Low Profile Wedge Shelter
When straws are expected, lowering the shelter profile dramatically improves stability. A wedge shelter does exactly that. Secure one long edge of the tarp tightly to the ground using stakes, rocks, or buried anchors. Run a ridgeline from the opposite edge to a low anchor point, such as a tree trunk or rock. This creates a slanted, triangular structure with a narrow entrance. The low angle reduces wind pressure and helps trap body heat. Entry requires crawling, but the tradeoff is excellent weather resistance. This design performs well in exposed terrain, coastal areas, or storm conditions where taller shelters struggle to stay intact.
Diamond Fly Shelter for Rain Protection
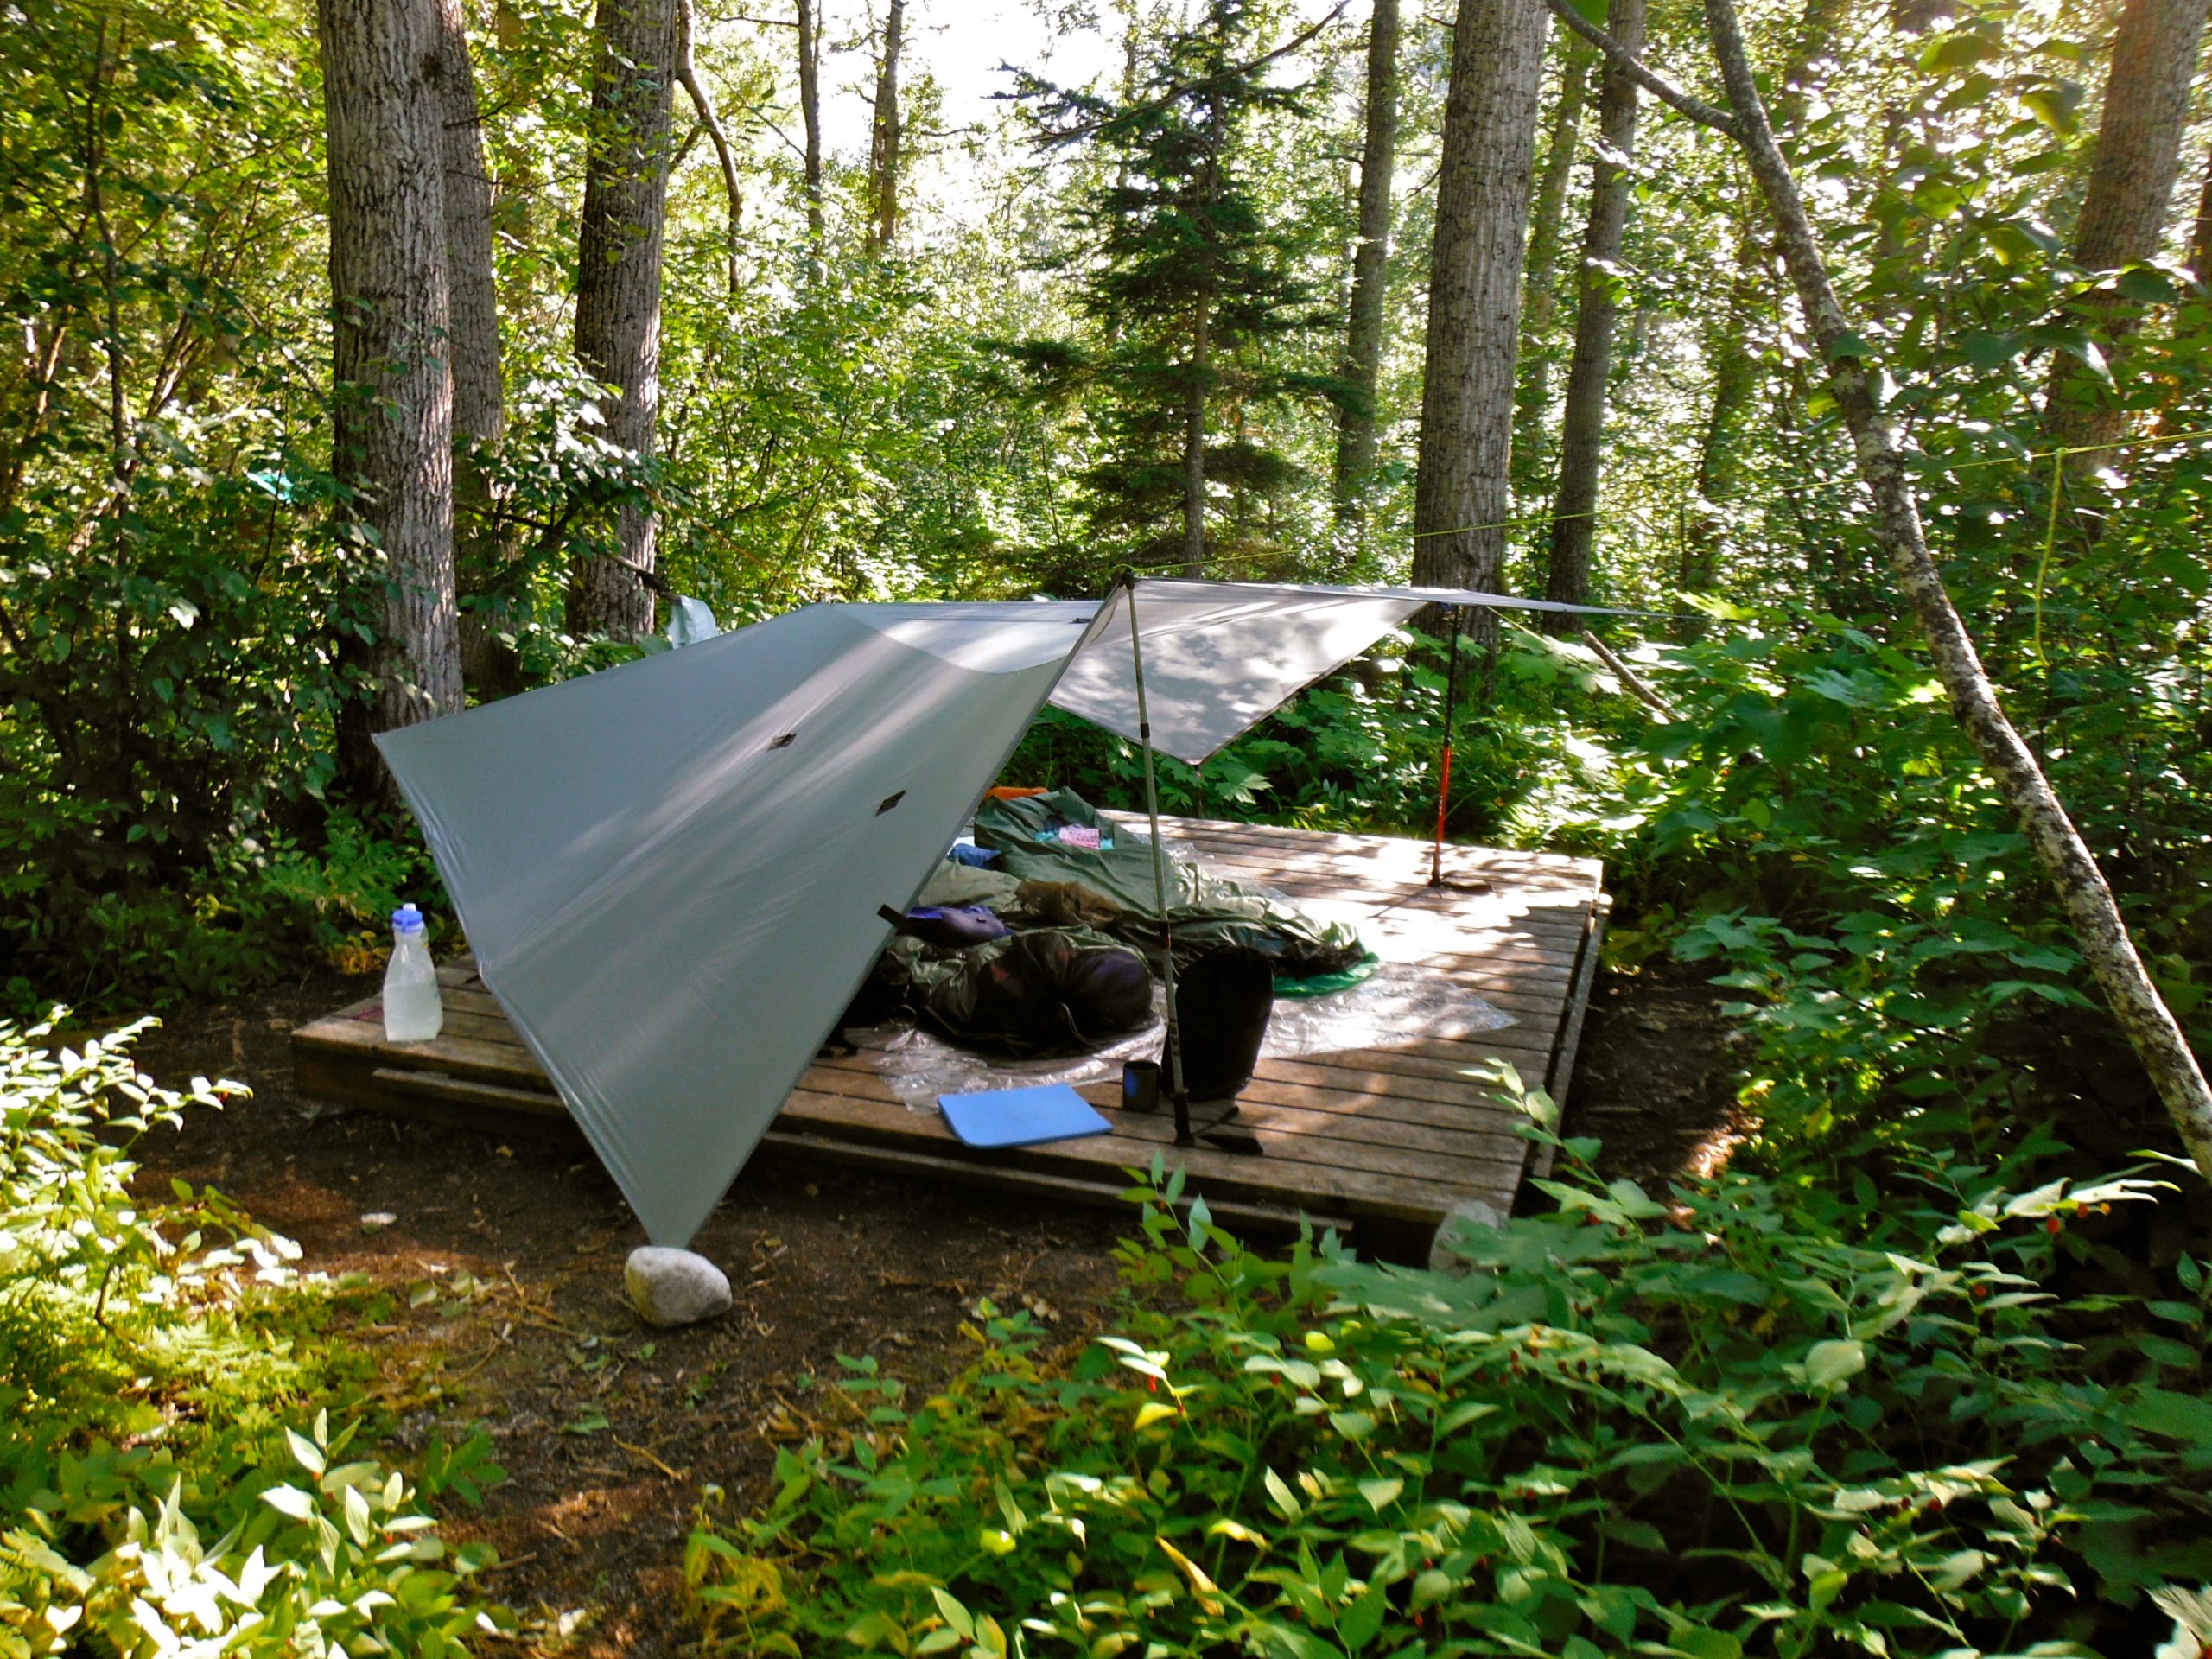
The diamond fly shelter focuses on shedding rain efficiently while using minimal anchor points. Tie one corner of the tarp high on a tree or pole using rope. Stretch the opposite corner diagonally downward and anchor it firmly to the ground. Secure the remaining two corners outward to create a broad, sloping canopy. The angled surface encourages water to run off quickly rather than pooling. This shelter works best in wooded areas where a single elevated anchor is available. Proper tension is critical to prevent sagging during heavy rain. The diamond fly provides excellent coverage for sleeping or gear storage in wet environments with moderate wind.
Enclosed Burrito Shelter for Cold
Cold weather demands shelters that trap heat and block wind. The burrito shelter uses the tarp as a wrap rather than a roof. Lay the tarp flat on the ground and place your sleeping gear near one edge. Roll the tarp tightly around yourself, forming a cocoon. Use rope to secure the edges, leaving a small opening for airflow to prevent condensation buildup. This design minimizes heat loss by reducing exposed surface area and blocking wind entirely. While it offers limited rain protection without overhead cover, it excels in dry, cold conditions. The burrito shelter is fast to deploy, requires little rope, and provides surprising warmth in emergency situations.
Tarp Tent Using a Single Pole
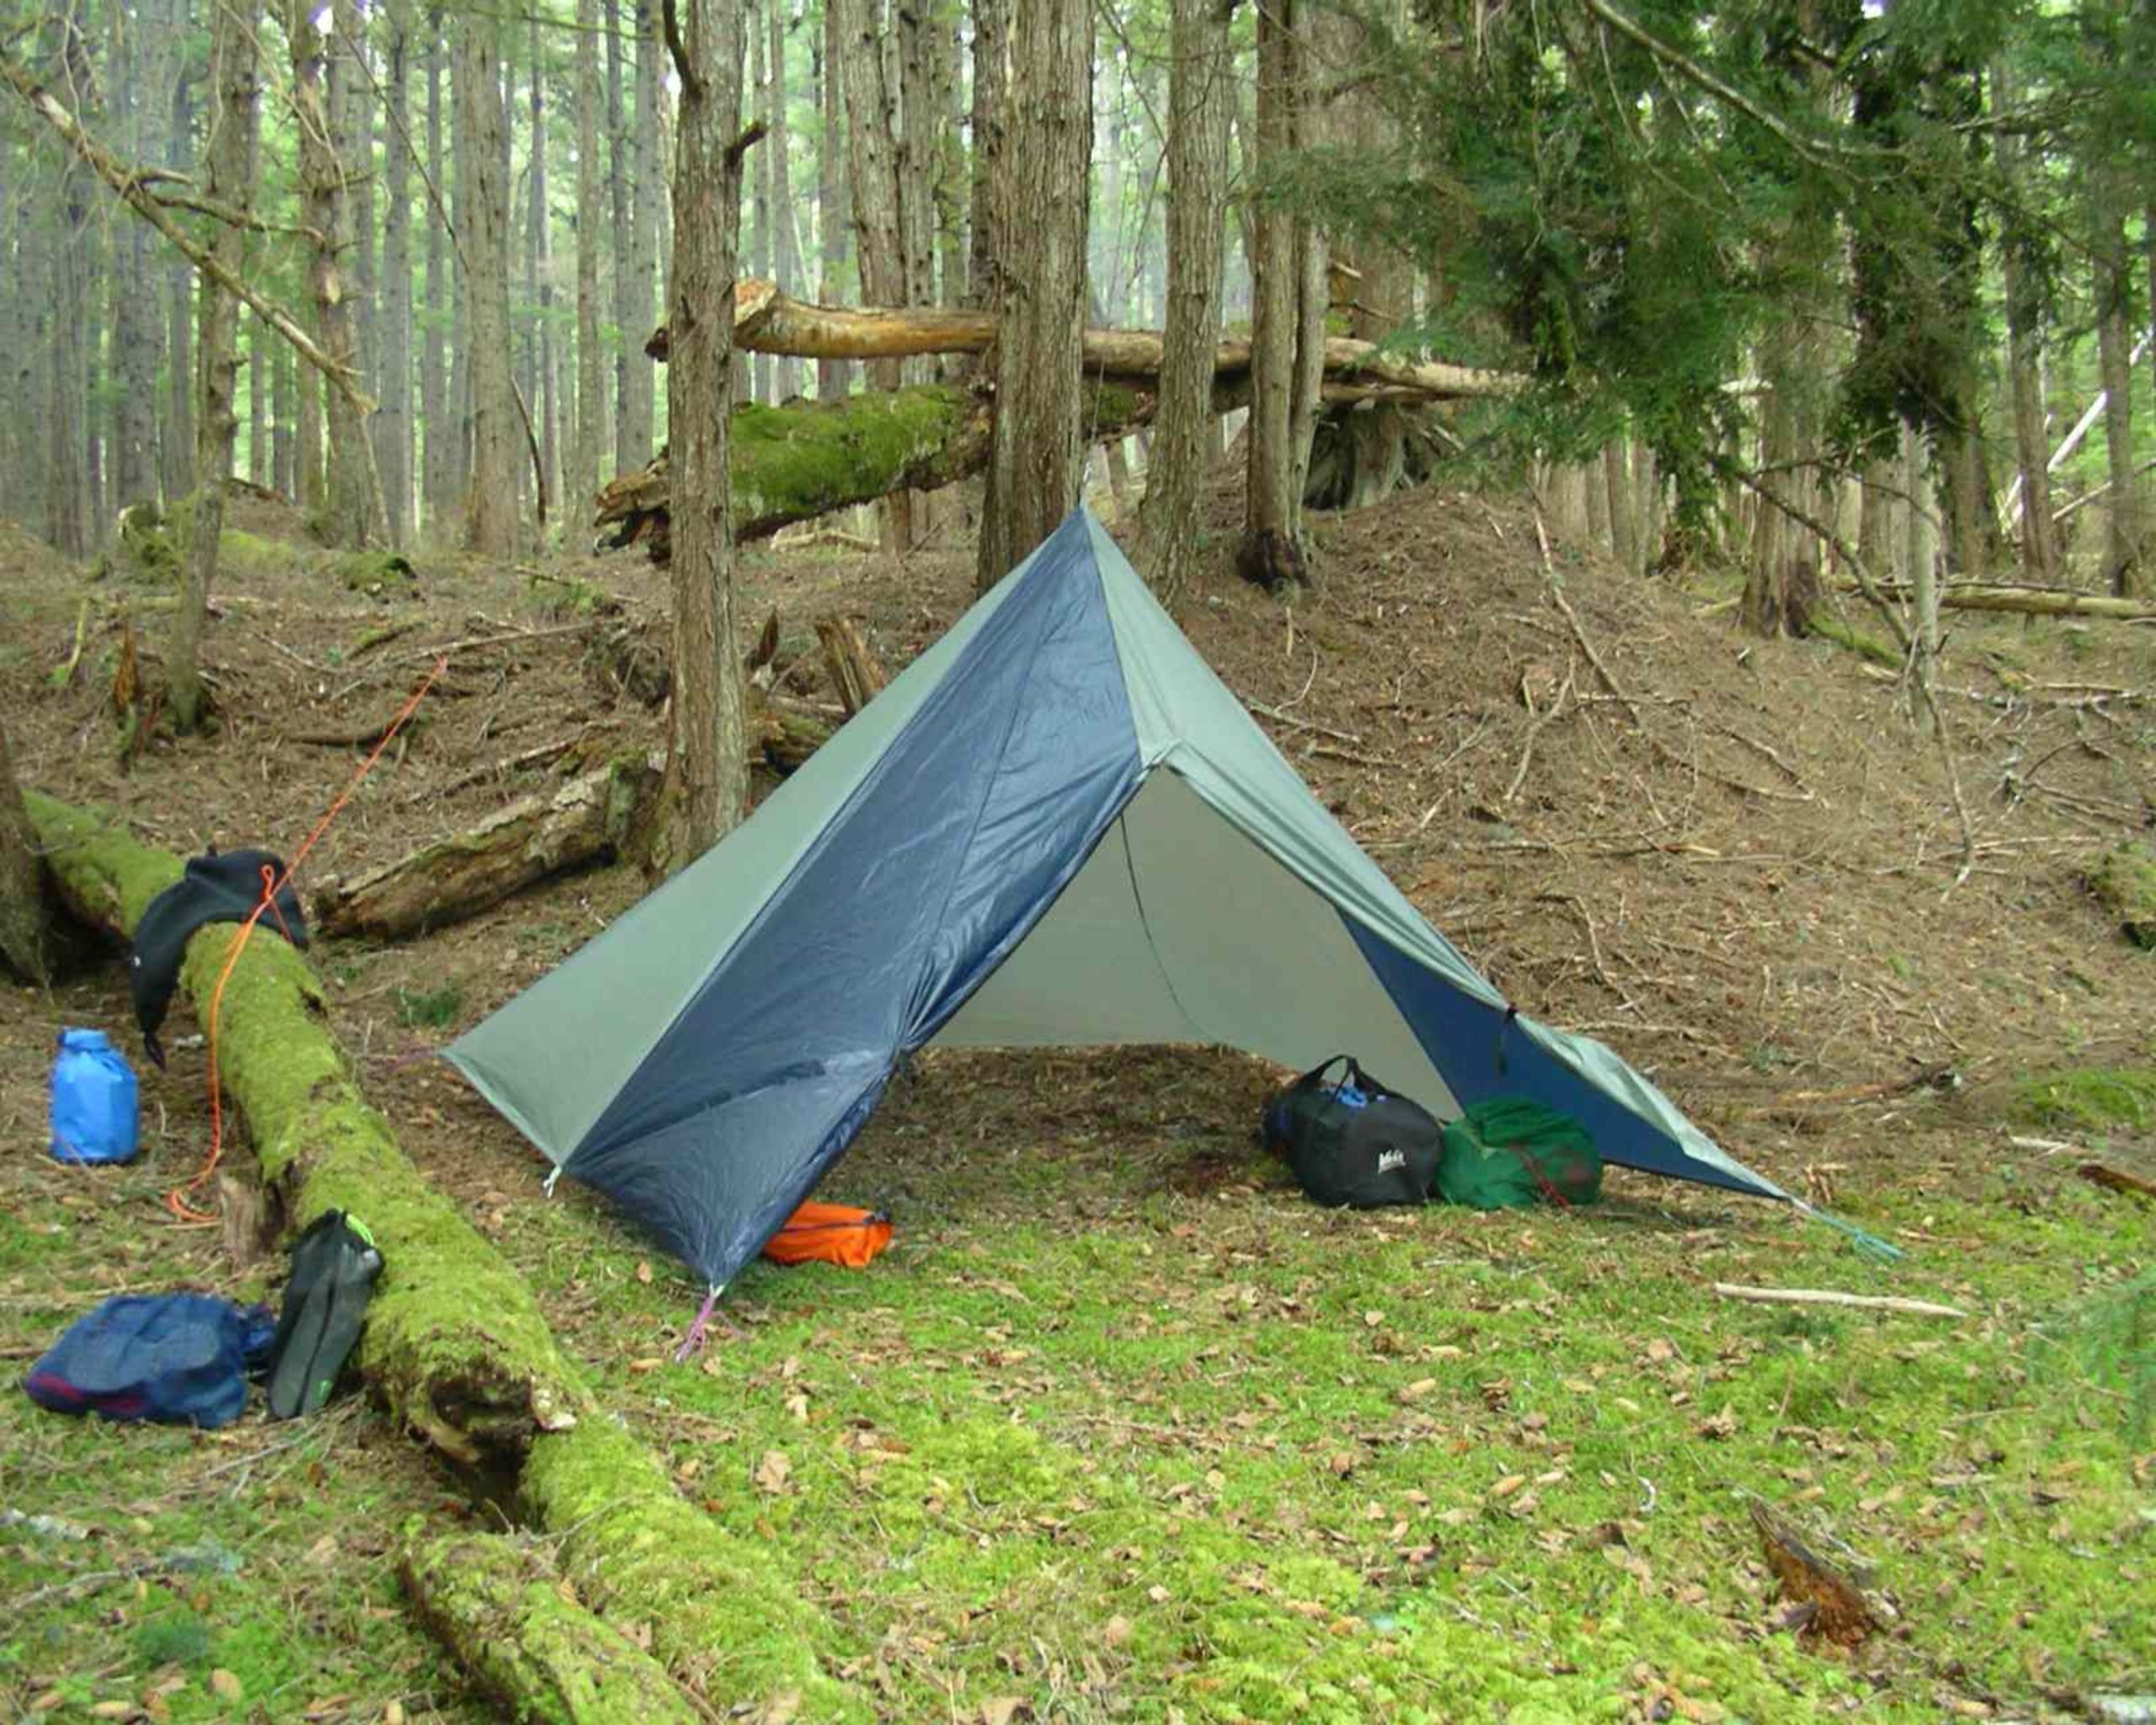
In areas without trees, a single-pole tarp shelter becomes extremely valuable. Place a sturdy stick or trekking pole under the center of the tarp. Tie the tarp peak securely to the pole usingthe rope. Stake or anchor the corners evenly around the pole to form a pyramid-like structure. This shape sheds rain well and resists wind when properly tensioned. Keep the pole vertical and adjust guy lines evenly to prevent collapse. Ventilation can be controlled by raising or lowering the edges. This shelter works well in open terrain such as beaches, deserts, or alpine environments where anchor points are limited.
Windbreak Wall Shelter
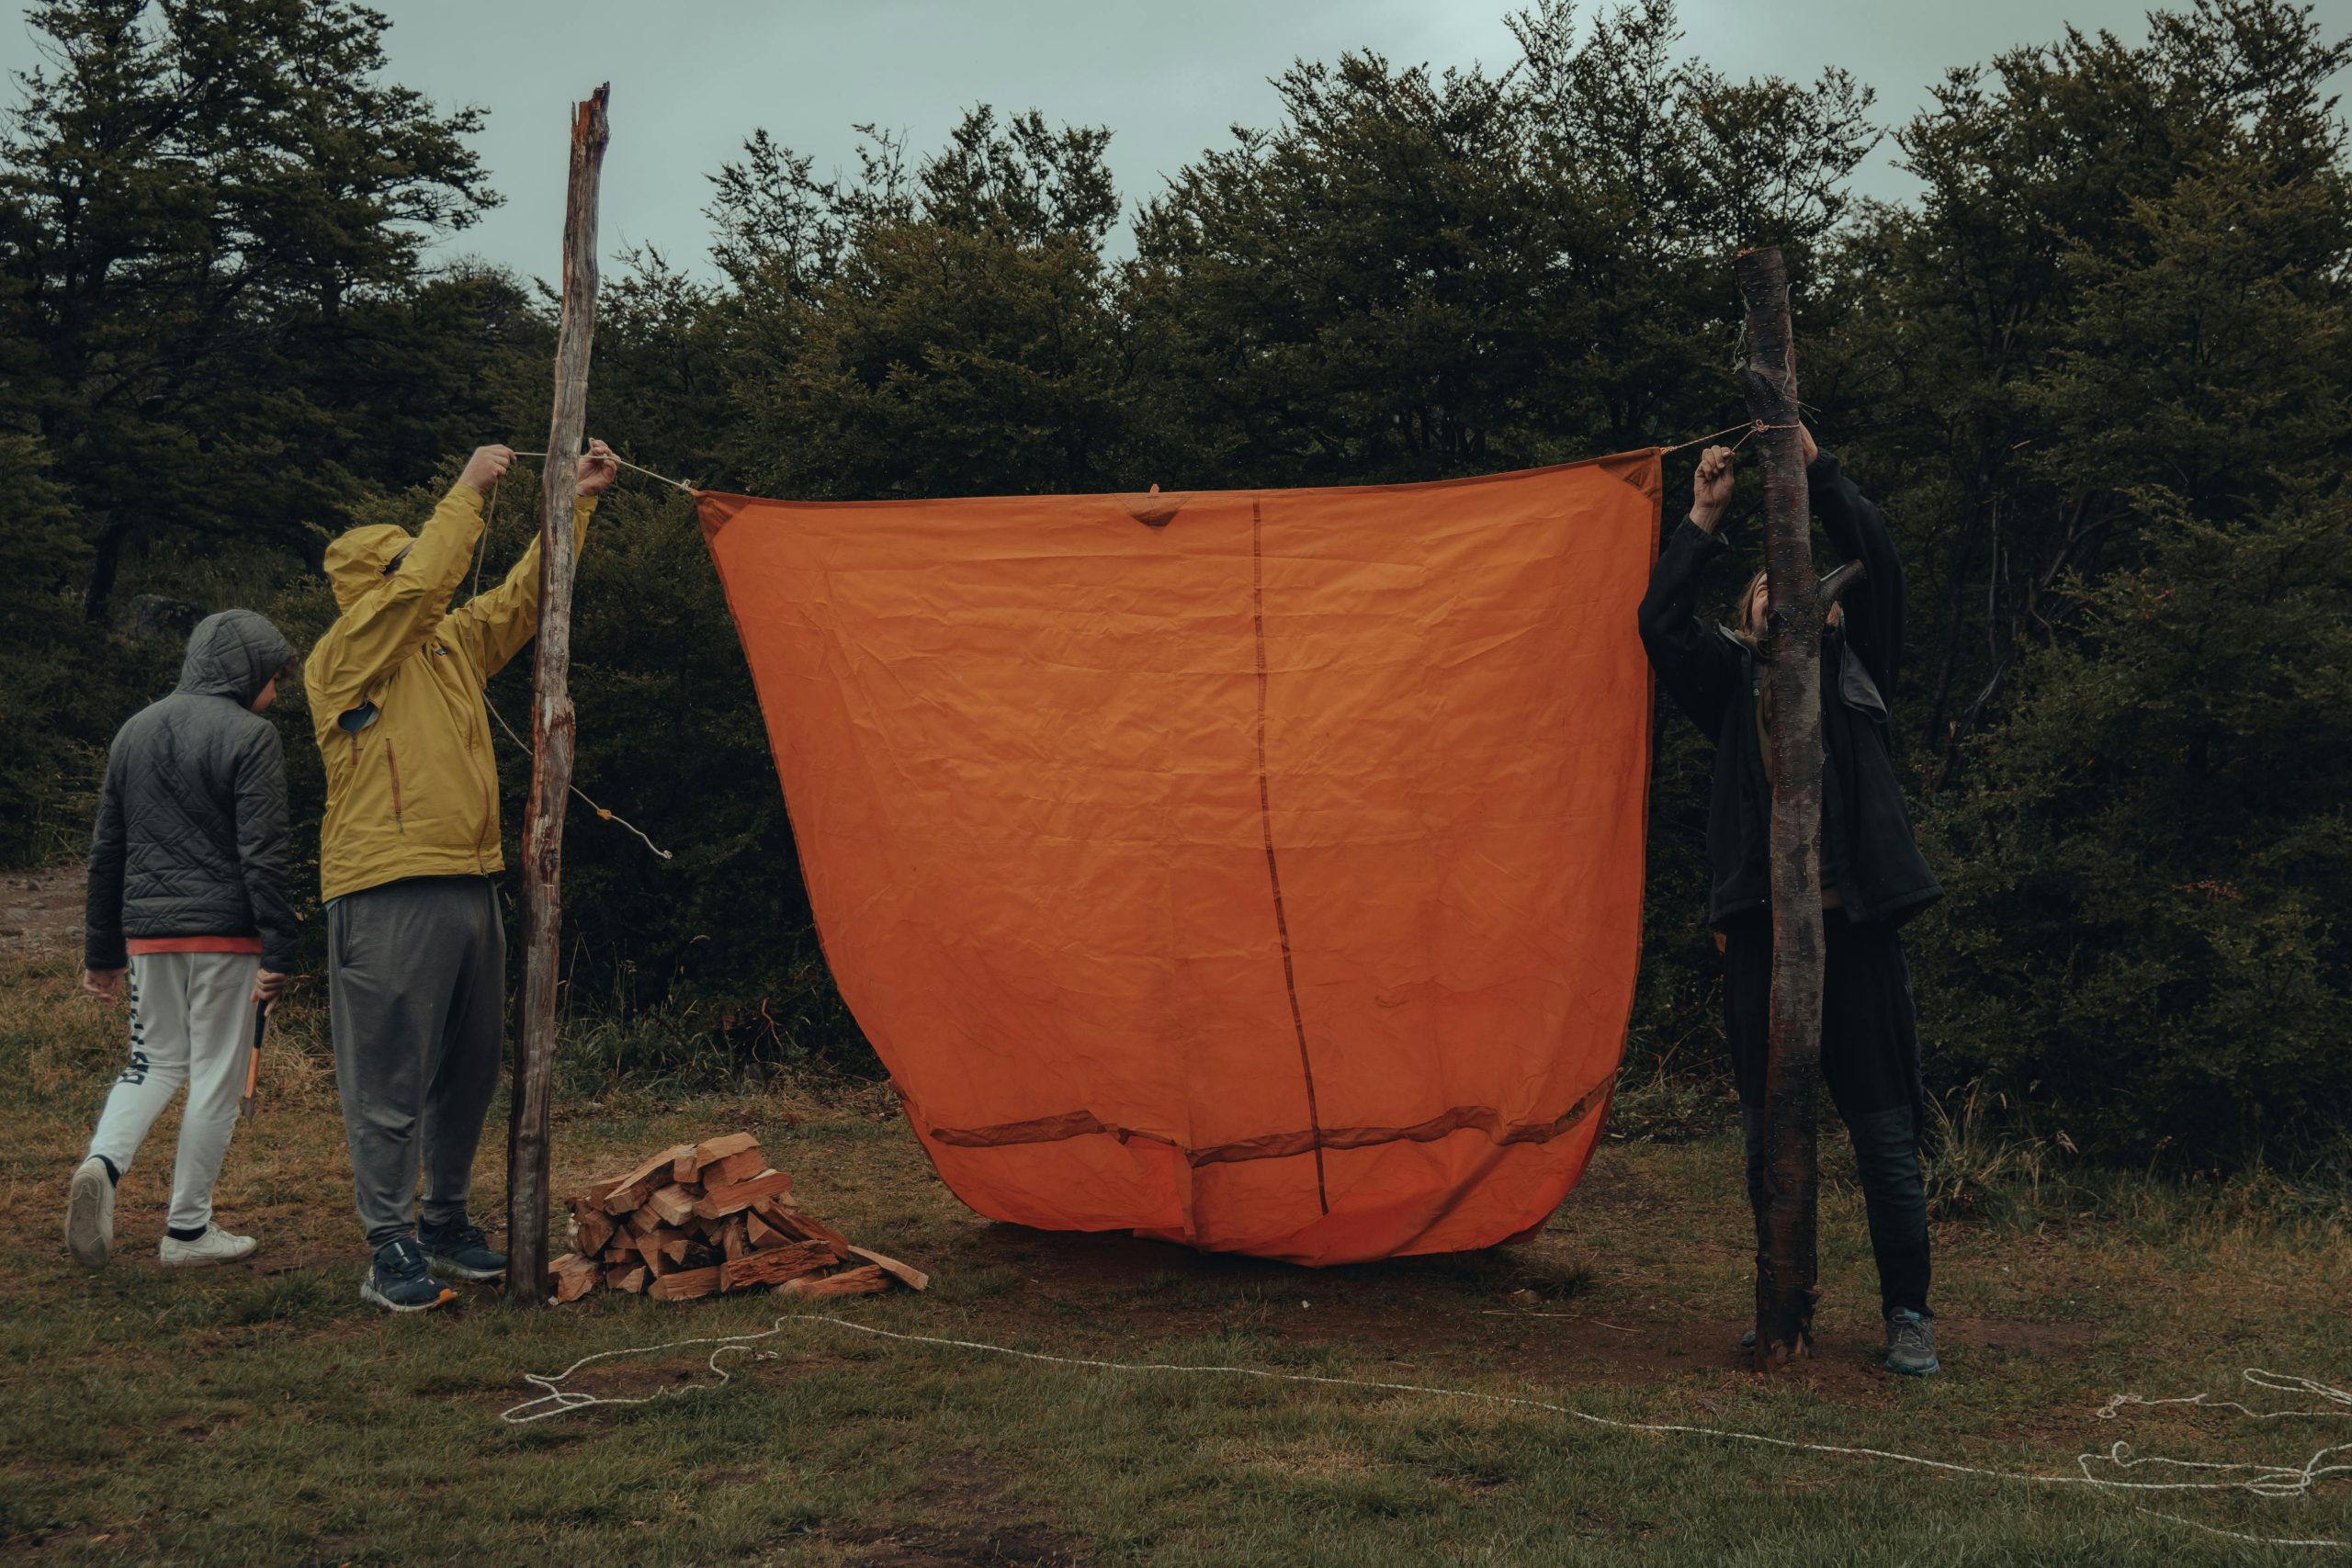
Sometimes a full enclosure is unnecessary, especially when wind is the primary threat. A windbreak wall is quick to build and highly effective. Tie the tarp vertically between trees or poles using rope, forming a solid barrier. Position it perpendicular to the wind direction to block airflow. When paired with a fire, the tarp reflects heat back toward your resting area. Angle adjustments can be made as wind direction changes. This setup uses minimal rope and energy while greatly improving comfort. While it offers no rain protection on its own, it works well alongside natural shelters or under tree cover.
Ground Tarp Shelter with Raised Edges
Ground moisture can be just as dangerous as rainfall, especially in prolonged wet conditions. A ground tarp shelter focuses on keeping you dry from below. Lay the tarp flat and fold or tie the edges upward using rope to create shallow walls. Secure the corners slightly elevated to prevent water pooling. This setup works best under natural overhead cover, such as dense trees or rock overhangs. It acts as a moisture barrier, insulating you from wet soil. Though simple, this shelter is often overlooked and can significantly improve comfort when combined with an overhead tarp or poncho shelter.
Adjusting and Maintaining the Shelter
A shelter requires ongoing attention to remain effective. Rope stretches, tarps sag, and weather conditions change. Recheck knots and tension shortly after setup and again before sleeping. Tighten loose lines to prevent flapping, which weakens materials and increases noise. Adjust ventilation to manage condensation, especially in enclosed shelters. Clear debris that could damage the tarp during wind movement. If rain is expected, ensure water runoff flows away from the shelter. Small adjustments improve warmth, durability, and safety. Proper maintenance turns a basic tarp shelter into a reliable survival system that performs through the night.


