
Underground shelters, also called earth shelters or pit shelters, have been used for centuries for protection against extreme weather. Studies from the U.S. Army Field Manual 21-76 and Survival Skills Journal show that subterranean structures can maintain internal temperatures 5–15°C more stable than surface conditions, reducing heat loss in winter and heat gain in summer. They are particularly effective in windy or cold climates, providing both insulation and camouflage. The following ten steps guide you in constructing a safe, durable, and functional underground bushcraft shelter.
Select a Safe and Strategic Location

The first step is identifying a secure site that balances safety, water access, and terrain stability. Avoid areas prone to flooding, landslides, or falling debris, as statistics from the National Weather Service indicate that improperly sited shelters account for over 40% of emergency survival failures in wilderness situations. Choose a site with natural drainage, preferably on a slight slope, and away from animal trails. Proximity to firewood, edible plants, or navigable terrain enhances long-term viability, while maintaining at least 50 meters from water sources reduces contamination risk.
Design Shelter Dimensions for Comfort and Efficiency

Planning the size of your underground shelter determines both structural integrity and usability. Military survival guides suggest a minimum of 1.5 meters wide by 2 meters long for a single adult to allow sleeping, storage, and movement. Consider height carefully; digging too deep increases collapse risk, while insufficient depth reduces insulation efficiency. Sketching the layout in advance helps calculate material requirements for support beams, roof coverage, and flooring, optimizing time and resources during construction. A proportional design also facilitates airflow, critical for preventing moisture buildup and respiratory hazards.
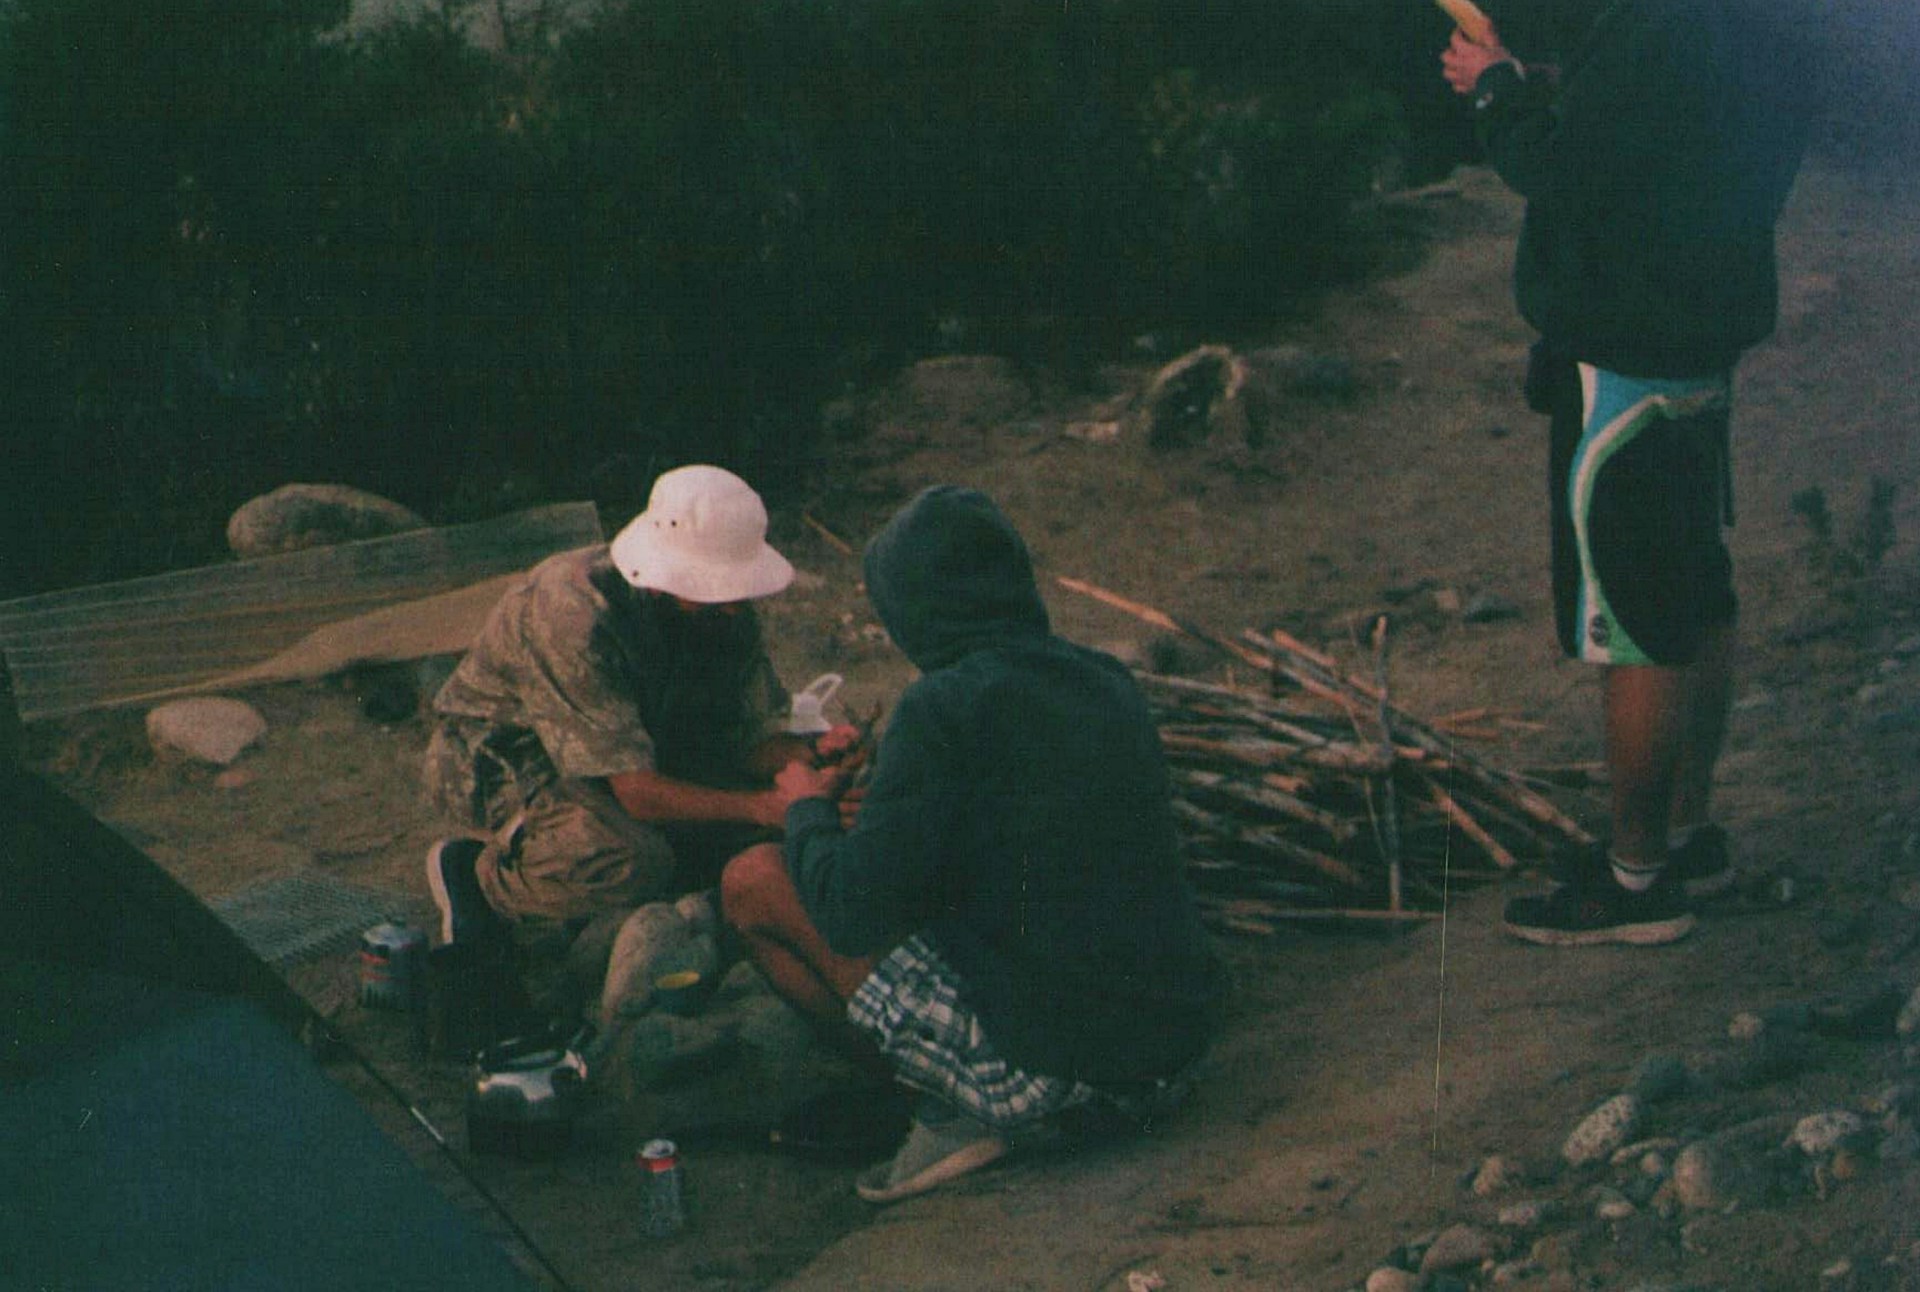
Gather Durable Materials and Tools

Material selection directly impacts shelter longevity. For supports, use rot-resistant hardwoods such as oak, cedar, or hickory. Roofing requires flexible saplings or planks capable of holding insulation and soil weight. Natural fiber rope, cordage, and stakes are essential for lashing and stabilizing structures. Essential tools include a sturdy shovel, digging bar, saw, axe, and mallet. According to a study in Wilderness and Environmental Medicine, having proper tools reduces excavation time by up to 60% and decreases the likelihood of injury or structural mistakes.
Excavate the Main Pit with Stability in Mind
The pit forms the core of your shelter, providing insulation and protection. A depth of 1–1.5 meters is generally sufficient for thermal benefits while minimizing collapse risk. Dig in stages, shaping vertical walls with slight inward slopes to reduce pressure stress, following recommendations from the U.S. Army Field Manual. Remove rocks and roots to avoid weak points. Continuous assessment of soil stability is crucial, as compacted earth may shift, and loose soil increases the risk of cave-ins. Properly stacking excavated soil nearby can serve as extra insulation for the roof.
Install Strong Support Beams for Safety
Support beams prevent collapse and distribute the weight of the roof and overlying soil. Place horizontal crossbeams every 0.6–0.8 meters and secure them with vertical posts on compacted earth. Field testing in survival schools shows that correctly installed beams can bear up to 200 kilograms per square meter of soil overhead. Use natural lashing techniques or wedges to stabilize joints, ensuring structural redundancy. Check for cracks or splits in wood, as even minor weaknesses can escalate under load. Safety inspections during and after installation are essential to prevent accidents during later construction stages.
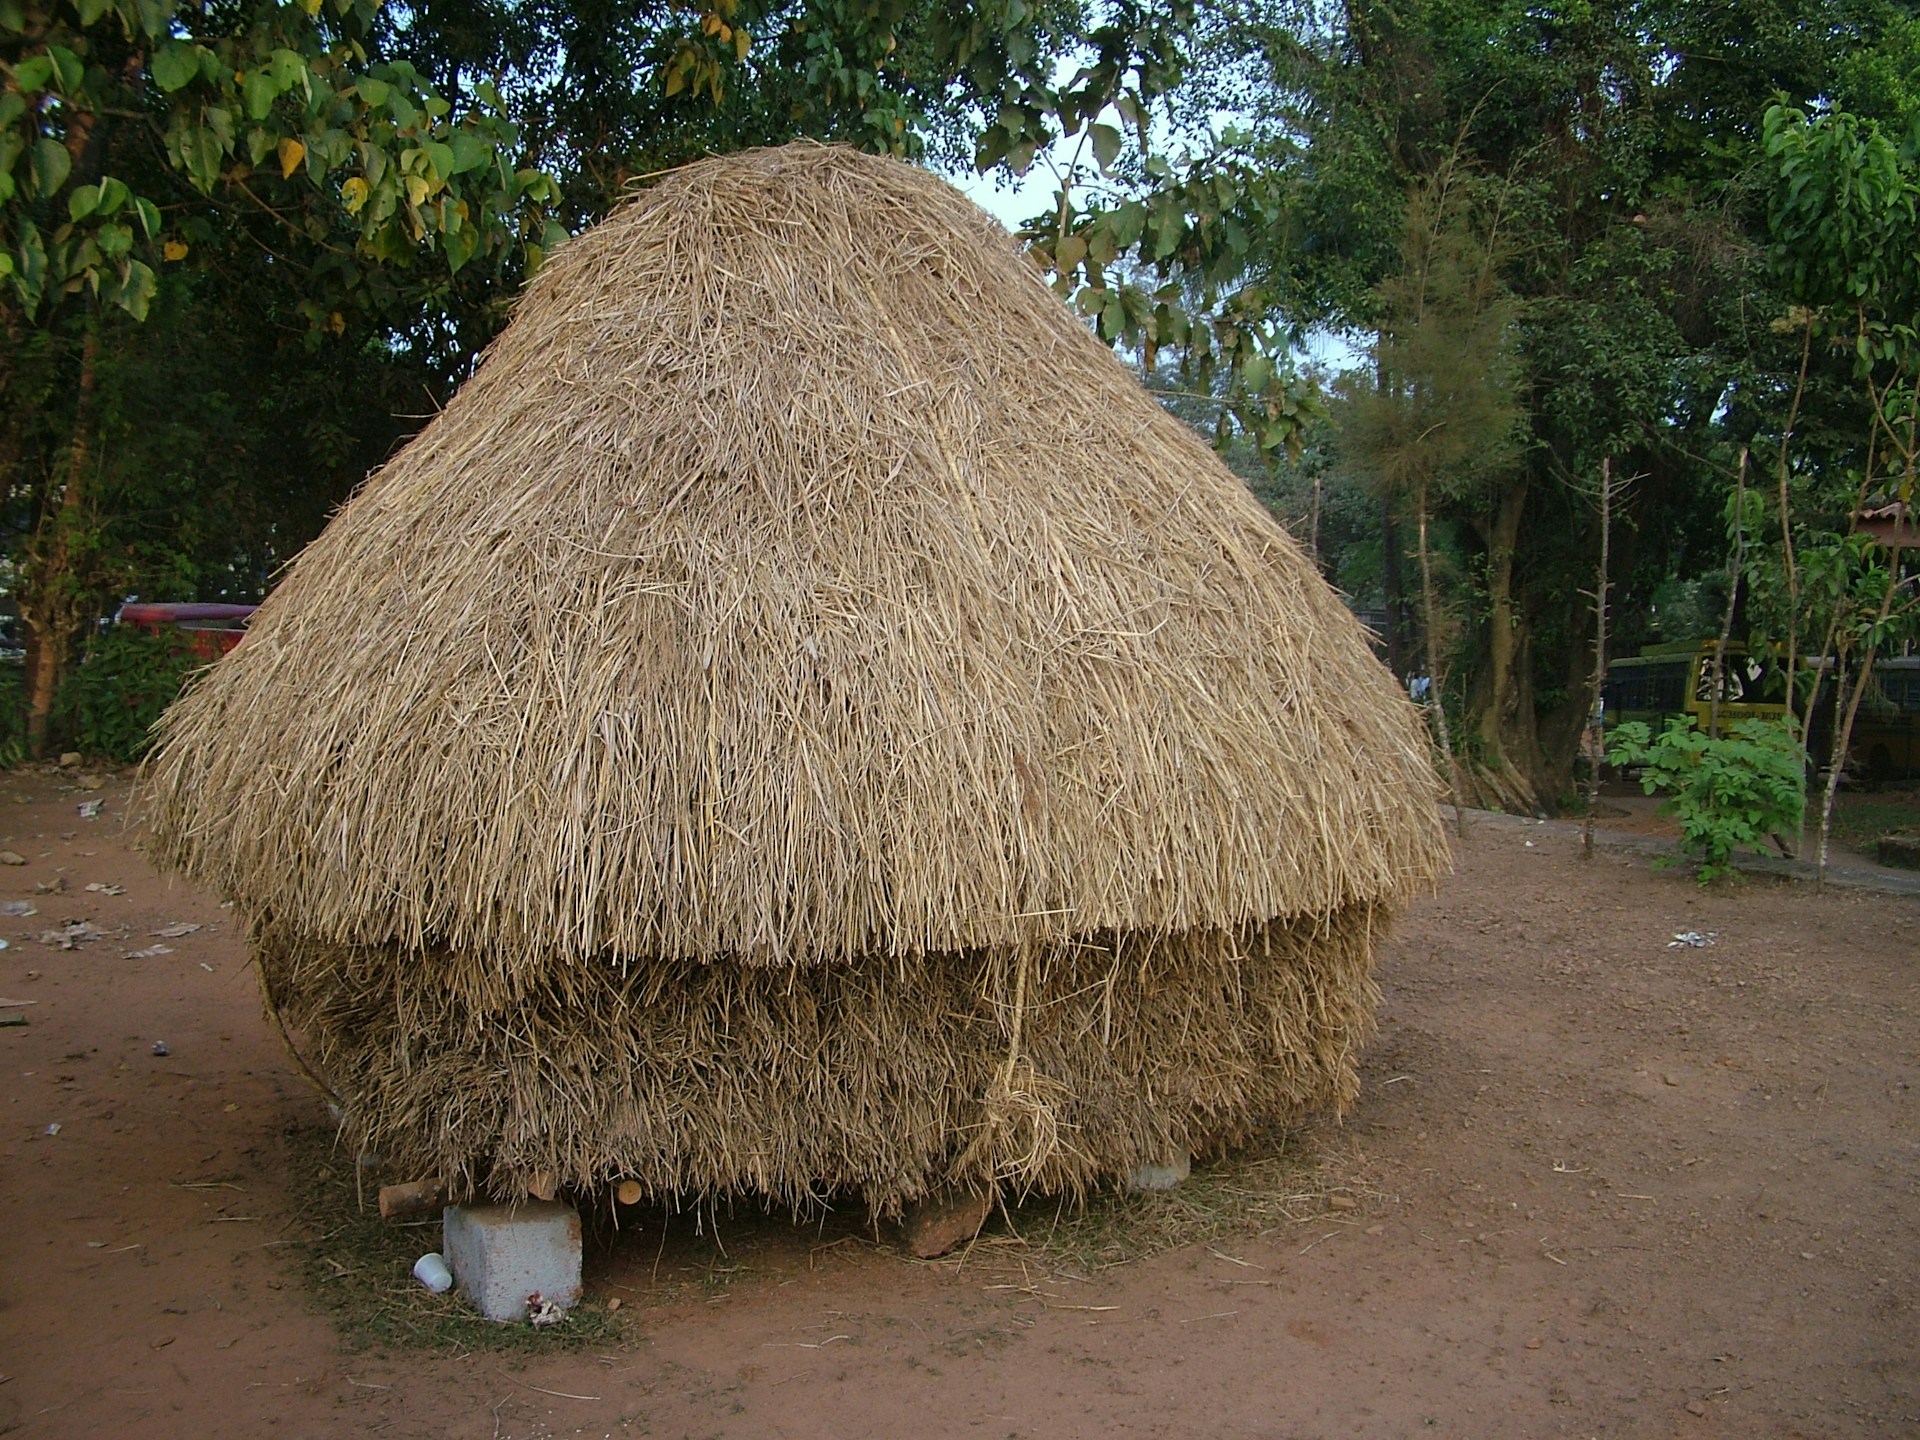
Frame the Roof for Strength and Insulation

The roof frame carries both insulation layers and soil cover, crucial for stability and weatherproofing. Construct a series of rafters or interlocking saplings spanning the width of the pit. Overlap wood where possible to create load distribution points. Experts recommend adding a slight arch or peak to shed rainwater, which minimizes water infiltration. Cover the frame with natural materials like branches, leaves, or bark, then a soil layer 20–30 centimeters thick. Proper roof framing reduces pressure on walls and helps maintain the internal microclimate, keeping temperatures consistent even in extreme conditions.
Layer Insulation and Waterproofing for Comfort
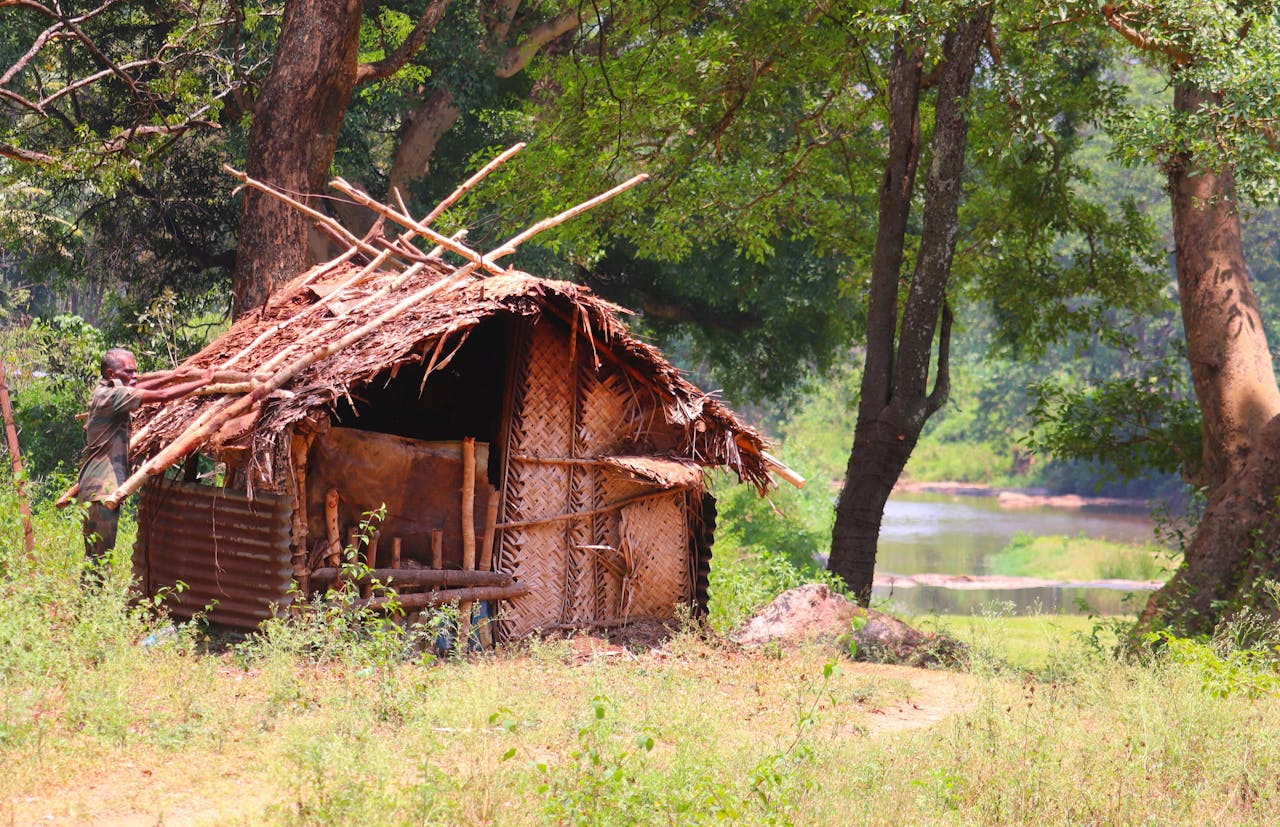
Insulation maintains warmth and prevents moisture penetration. Use layers of leaves, pine boughs, or moss on the roof and walls before soil coverage. For additional waterproofing, tarps, bark sheets, or clay coatings can be applied to prevent leaks. Research in Building and Environment demonstrates that well-insulated earth shelters maintain a steady interior temperature within ±3°C of the average soil temperature, significantly more stable than above-ground tents. Avoid excessive soil compaction on the roof, which can crush insulation and reduce air circulation, leading to mold or condensation buildup.
Create a Functional and Comfortable Floor
A raised or layered floor improves drainage, insulation, and hygiene. Start with compacted gravel or sand to create a level base, then add logs or branches for elevation. Finish with leaves, pine needles, or a woven mat for comfort. Field studies from bushcraft schools indicate that an elevated floor can reduce moisture-related illnesses and improve thermal retention by up to 20%, a critical factor in cold environments. Periodically inspect the floor for signs of dampness, rot, or pests to maintain long-term usability.
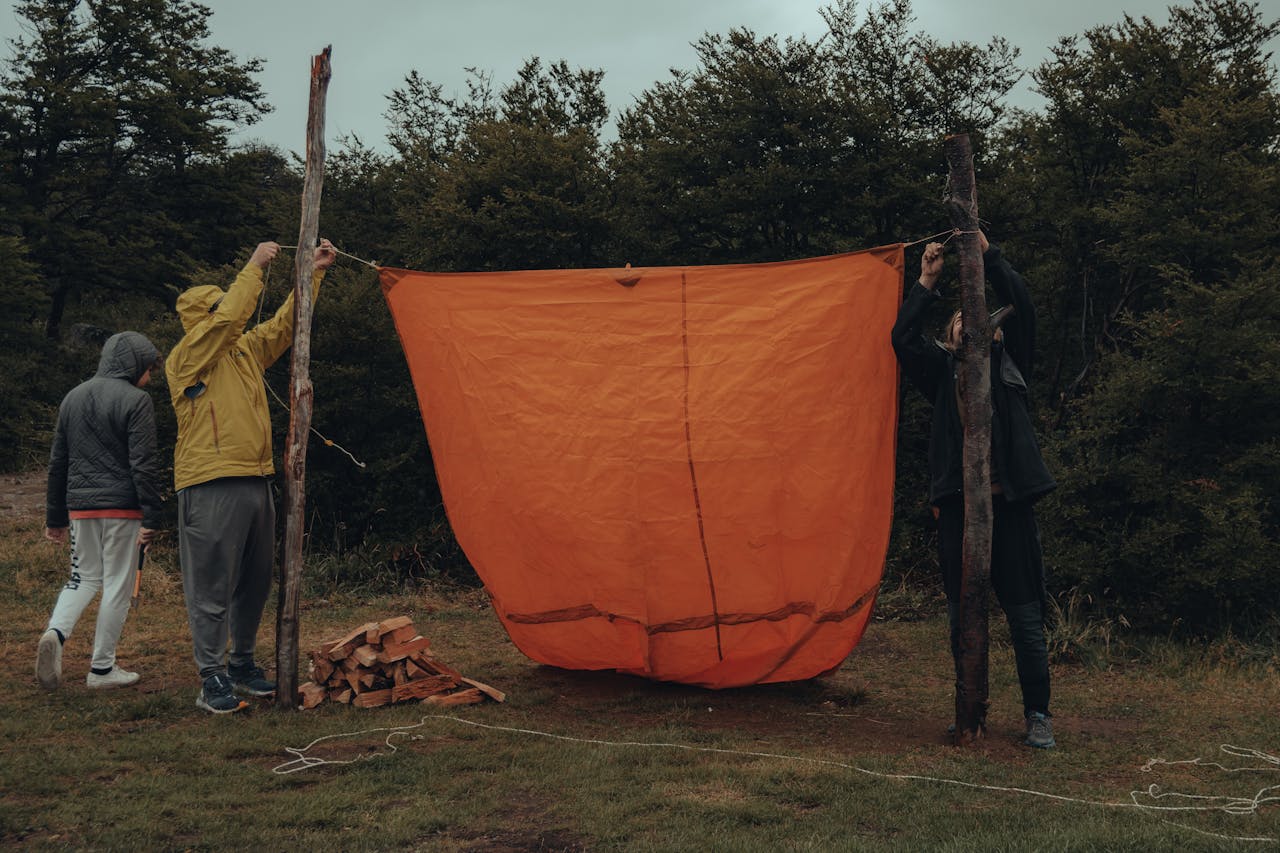
Build a Secure Entrance with Weather Protection
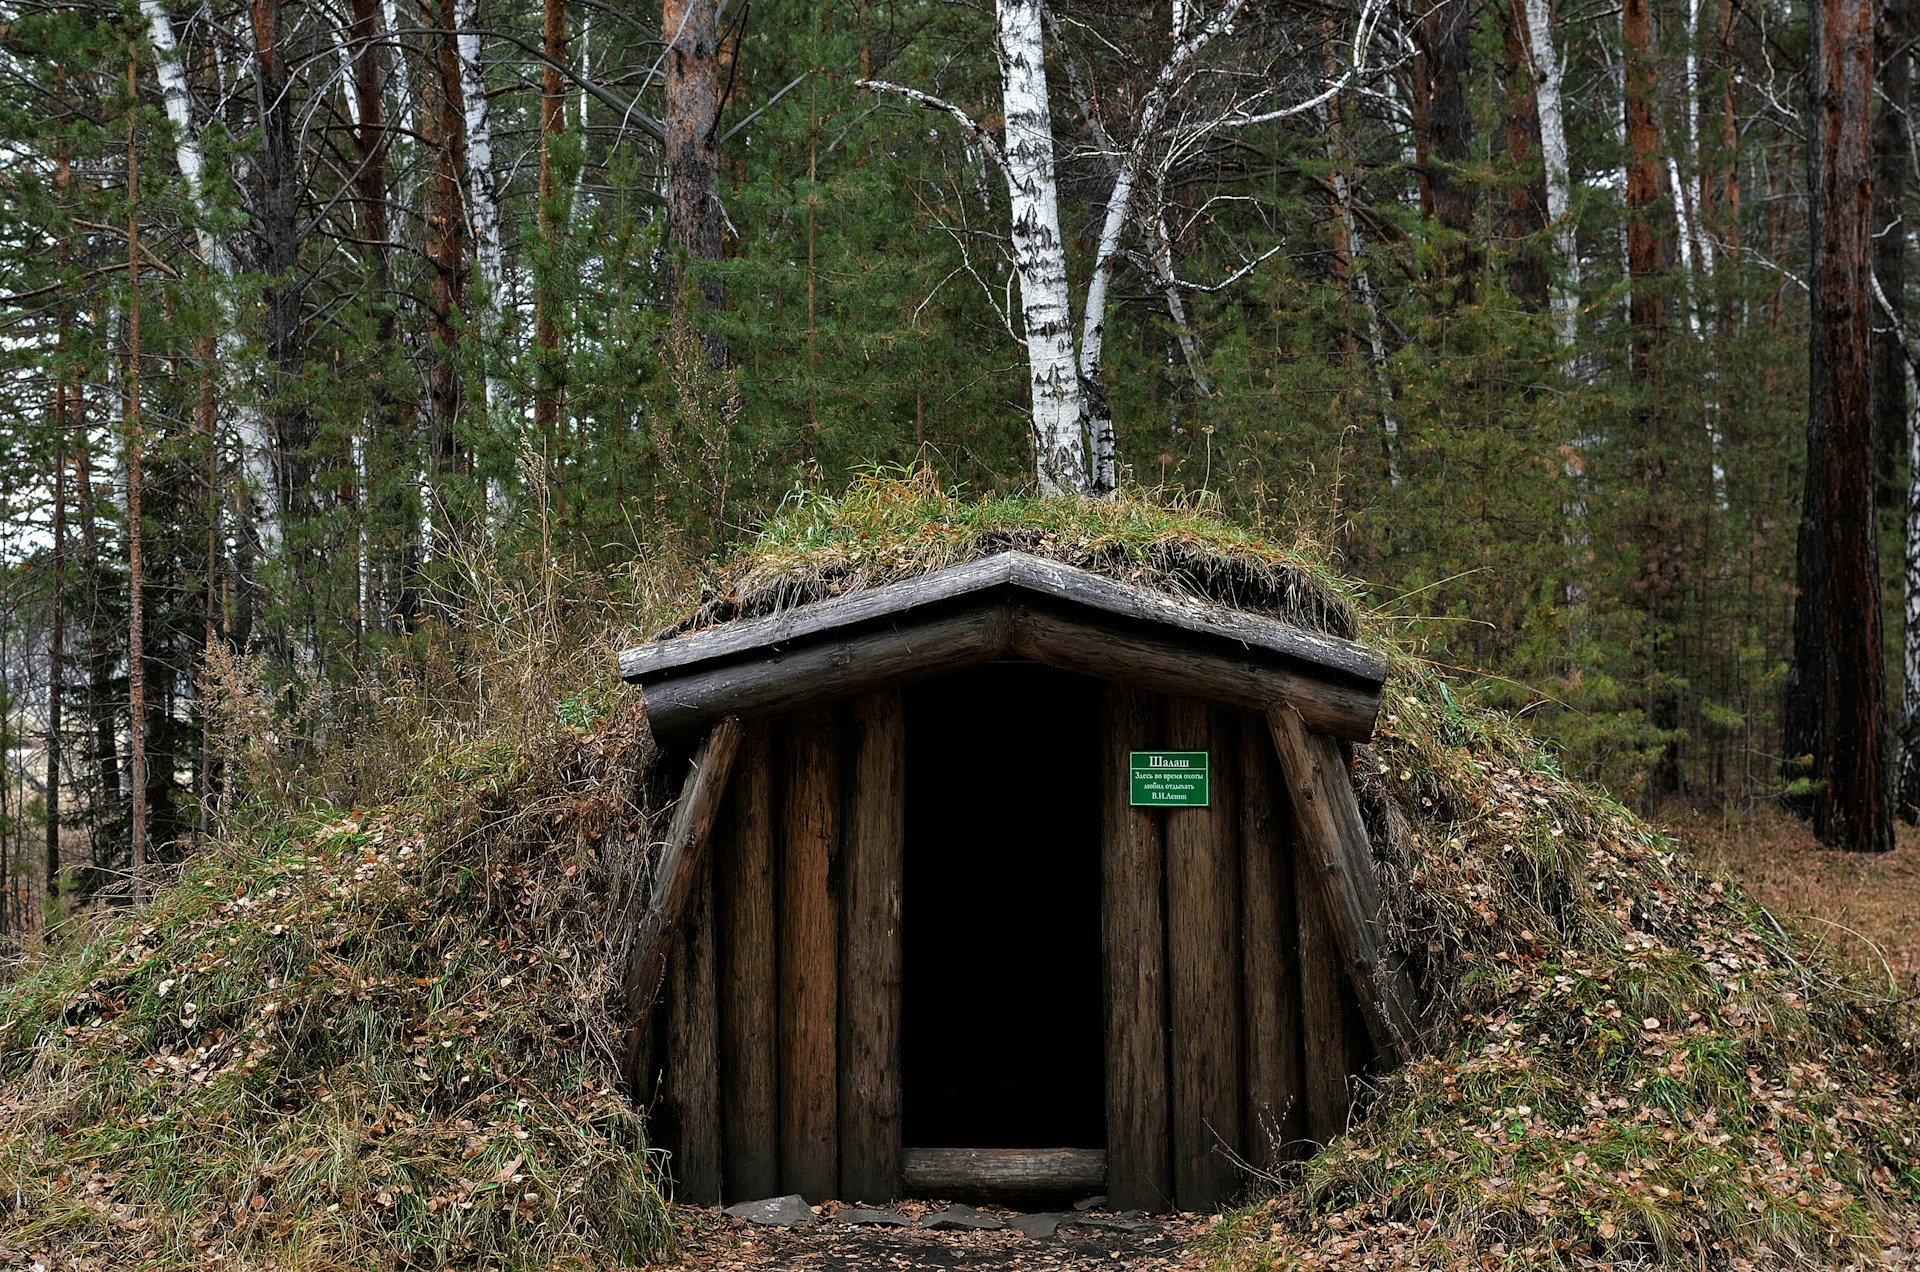
The entrance provides access while maintaining insulation and camouflage. Construct a short tunnel or vestibule to reduce wind and rain infiltration. Use a hinged door or removable cover made from wood or bark sheets. Position the entrance facing away from prevailing winds, following survival guide recommendations, to minimize cold drafts. Adding natural camouflage, like brush or soil mounds, helps conceal the shelter. Properly managing airflow prevents condensation and enhances internal comfort, while secure entrances reduce the risk of accidental collapses or intrusion by wildlife.
Test the Shelter and Maintain Its Integrity
Before relying on the shelter for survival, conduct stress tests to ensure stability. Place weights gradually on the roof and monitor for wall or beam shifts. Check ventilation, water drainage, and insulation effectiveness. Experts recommend periodic inspections, particularly after heavy rain or snow, to reinforce beams and patch erosion. Field reports from survival instructors indicate that shelters maintained annually last 5–10 years with minimal repairs. Testing and maintenance are essential for both safety and long-term functionality, ensuring the shelter remains a reliable refuge in real bushcraft situations.


