
Winter travel in deep snow can feel quiet and beautiful, yet shelter planning matters because cold exposure adds risk quickly. A cozy setup starts with smart site choices, solid insulation from the snow surface, and airflow that manages moisture before it turns into icy dampness. Snow can also act as an insulator when shaped correctly, which is why winter travelers sometimes build walls, trenches, or simple shelters that block wind and create calmer interior air. These eight tips focus on safe, practical steps for comfort and stability, while keeping the approach grounded in basic winter travel principles and responsible outdoor habits.
Choose A Site That Avoids Avalanche Terrain
A safe snow shelter begins with selecting terrain that reduces objective hazards, especially avalanches in mountainous regions. Avoid building beneath cornices, below steep open slopes, or in gullies that can collect debris, since avalanches can travel into flatter runouts. Many avalanche education resources emphasize paying attention to slope angle, recent snowfall, wind loading, and signs of instability like cracking or recent slides. If the area carries avalanche risk, checking regional avalanche forecasts adds crucial context before committing to a spot. In simpler landscapes, the same principle still applies by avoiding places where snow can drift deeply or collapse from above.
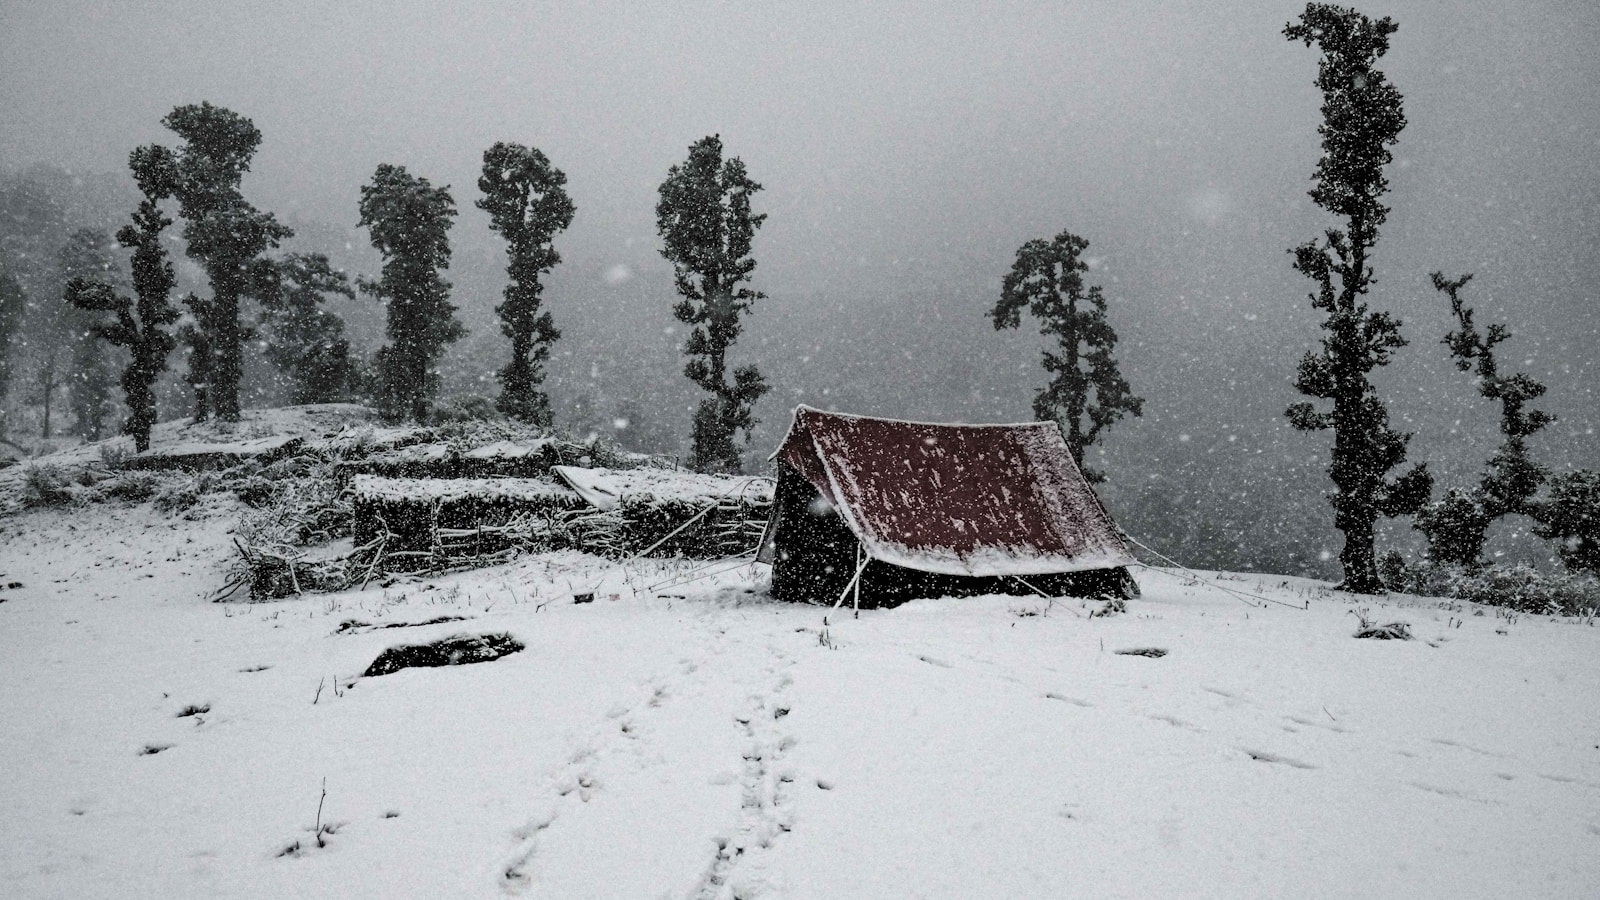
Use Natural Windbreaks Without Building Under Heavy Branches
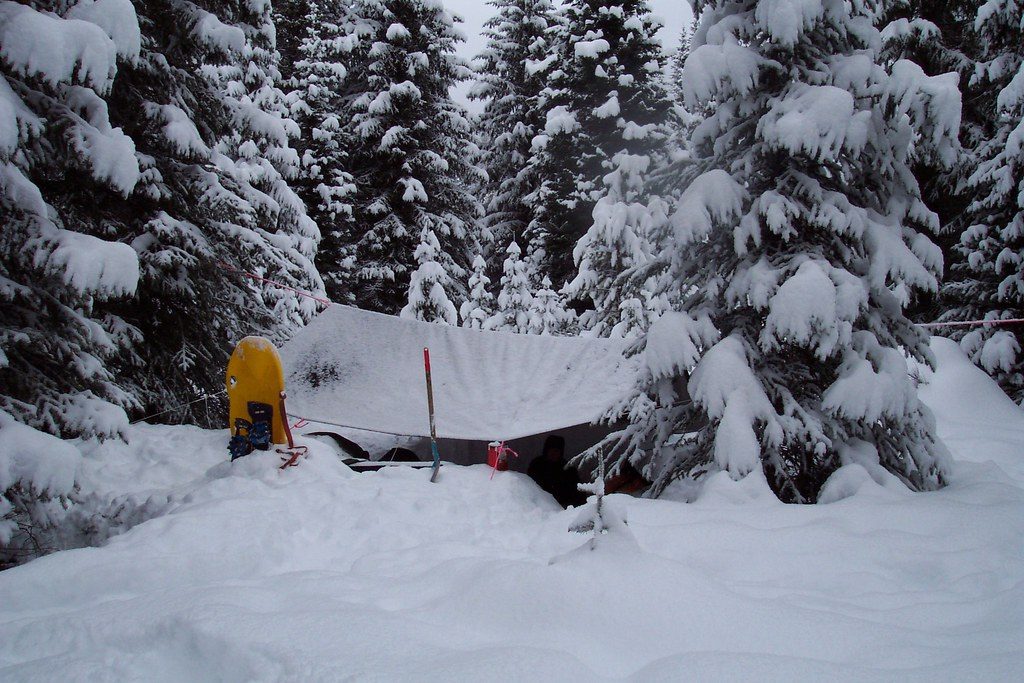
Wind can strip warmth fast, so a sheltered location behind terrain features, dense shrubs, or stable tree lines can make a big difference. At the same time, winter conditions can load branches with snow or ice, creating a falling hazard sometimes called widowmakers. A balanced choice uses protection from prevailing wind while staying clear of dead limbs, leaning trunks, or overhanging branches that could drop weight overnight. In treeless areas, low ridges, boulders, or snowbanks can provide partial shielding. The goal is a calm pocket of air that supports restful sleep without adding overhead risk.
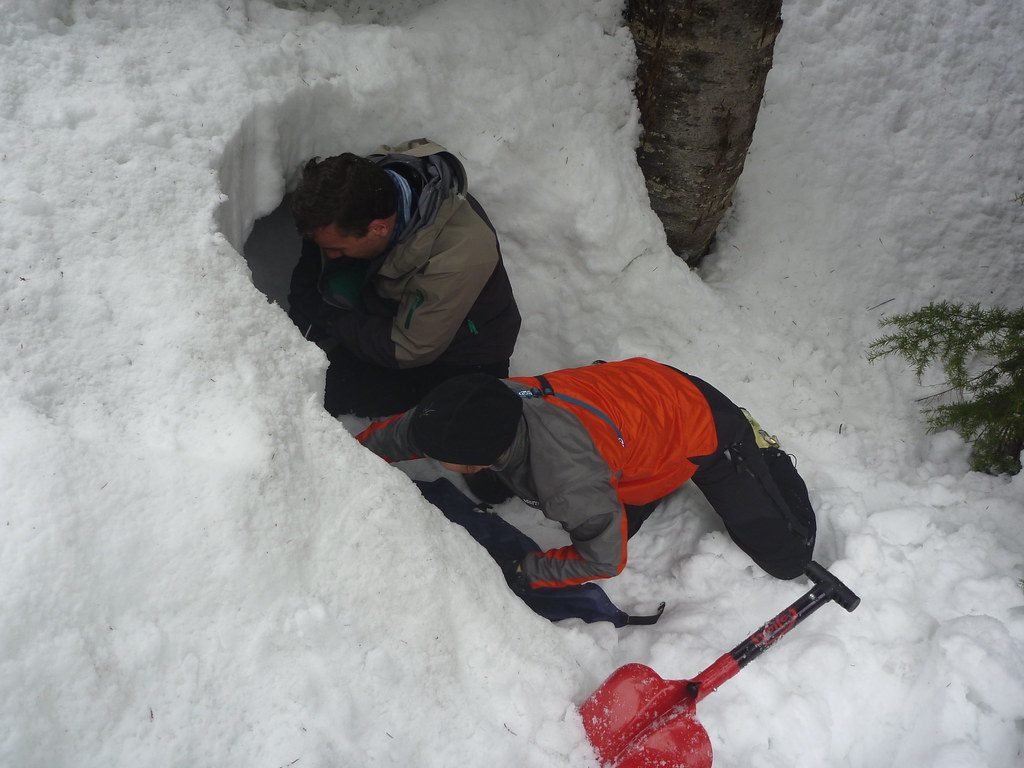
Pack Down A Solid Platform Before Setting Up
Deep snow needs preparation because loose powder compresses unevenly and can slump after a shelter goes up. Stomping and packing a platform creates a firmer base for tents or for shaping a snow structure, and it also reduces cold drafts that creep through gaps. Many winter travelers pack the surface, wait briefly for it to sinter and stiffen, then pack again for a more durable result. This routine helps prevent an uneven sleeping area and makes it easier to secure gear. A level platform also improves comfort because it supports better body alignment and insulation placement at night.
Build Up Insulation From The Ground First
Snow can feel soft, but it can still drain heat through conduction, so the sleeping area needs intentional insulation. A high R-value sleeping pad, often paired with a closed-cell foam pad, creates a reliable barrier between the body and the snow surface. Dry clothing and a properly rated sleeping bag support that system, but the pad setup often determines whether warmth lasts through the night. In a snow shelter, adding a thick layer of dry natural materials is not always practical or responsible, so most winter travelers rely on pads and careful moisture management instead. Prioritizing ground insulation early prevents misery later.
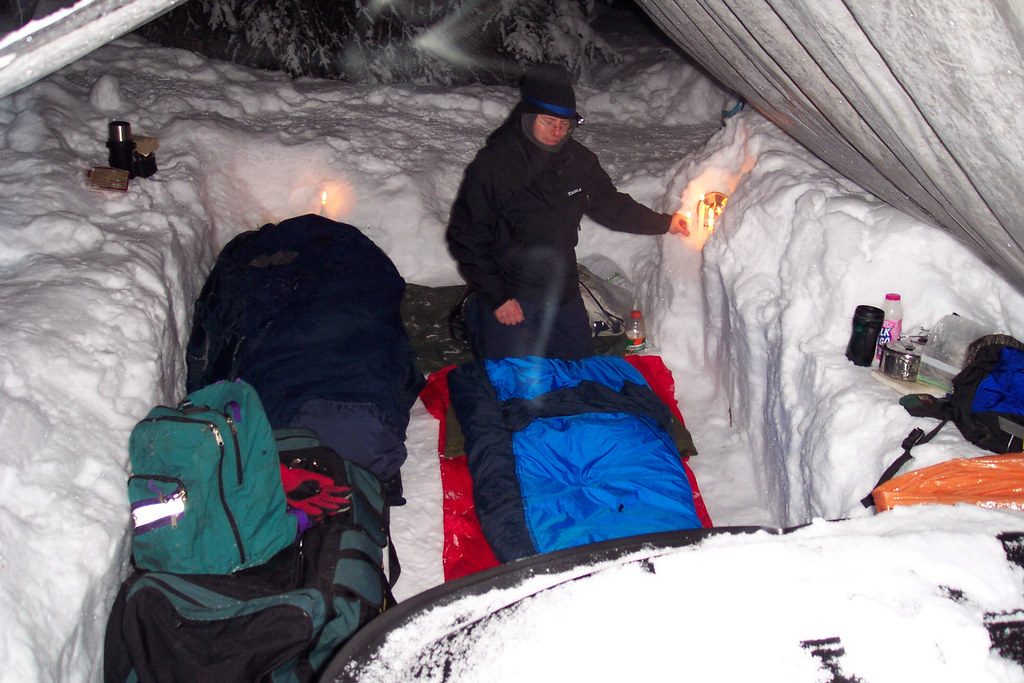
Manage Ventilation To Reduce Condensation
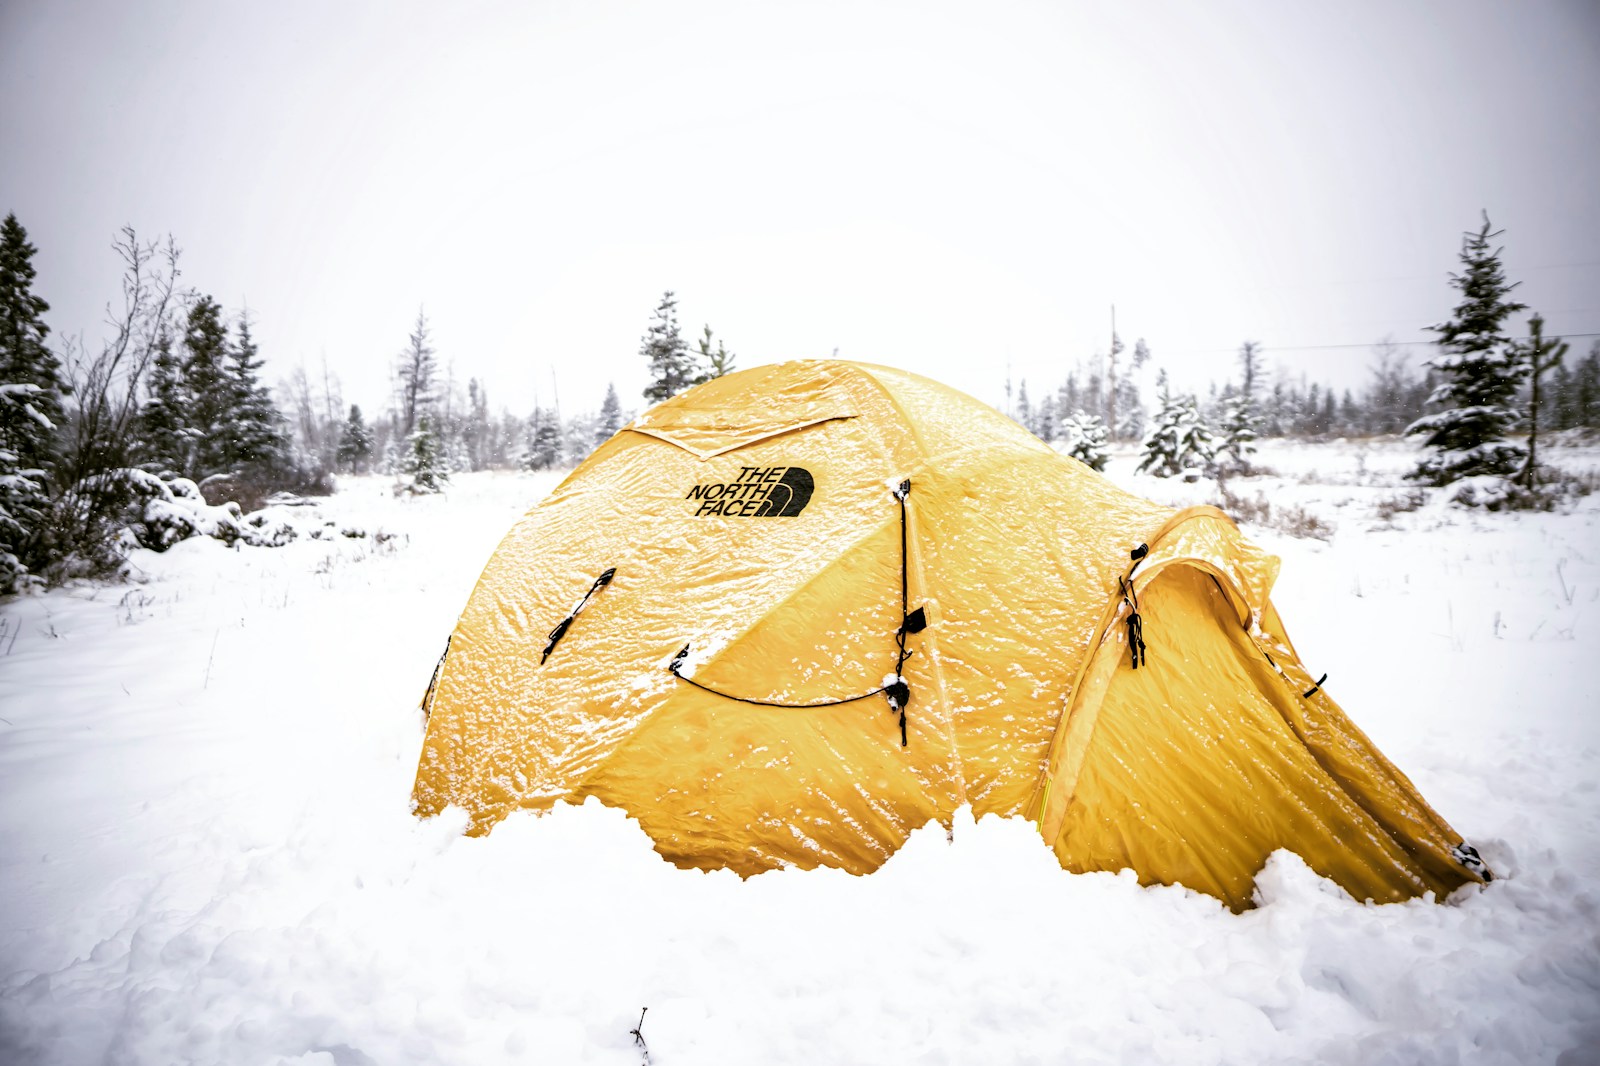
A snow shelter can trap humid air from breathing and damp gear, and that moisture can condense and freeze on interior surfaces. Good ventilation helps keep insulation drier and makes the shelter feel warmer over time, even if the air seems slightly cooler at first. For a tent, opening vents and maintaining airflow under the fly reduces dripping. For a snow structure, leaving a small ventilation opening helps prevent stale air and limits frost buildup. A simple habit is to keep wet items away from the sleeping area and to avoid cooking in tight, enclosed spaces where carbon monoxide risk rises.
Shape Snow Walls For Wind Protection
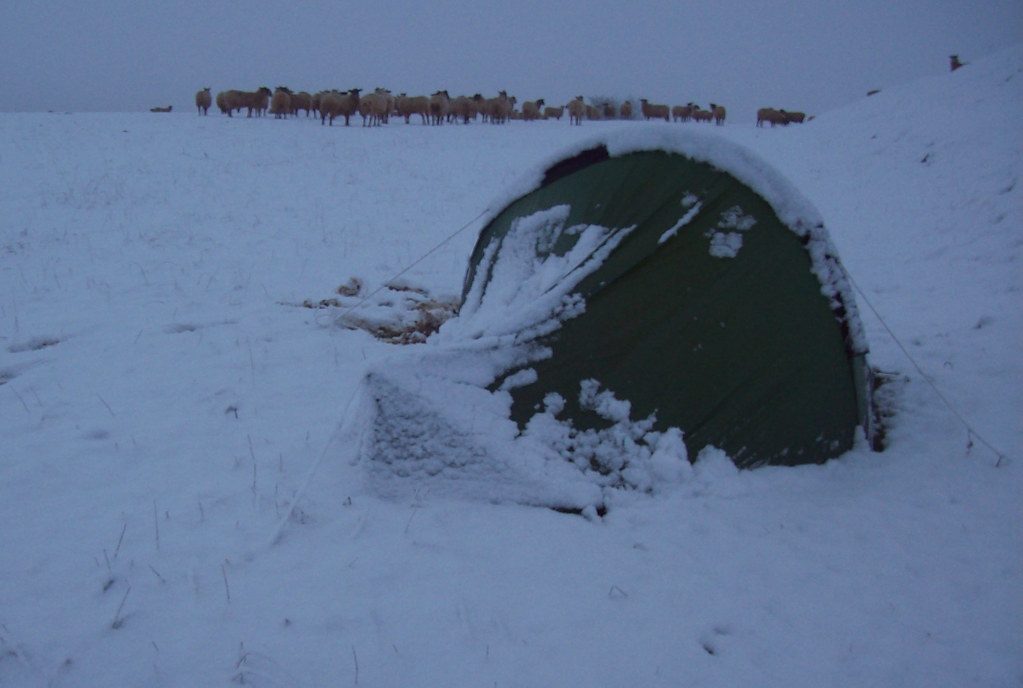
When conditions allow, low snow walls can block wind and reduce spindrift that works its way into zippers, vents, and sleeping areas. A wall does not need to be tall to help, but it should sit far enough from a tent or shelter opening to prevent drifting snow from piling directly against the fabric. In deep snow, compacting blocks or piling and packing snow can create a stable barrier, though the structure should remain wide and well-supported to resist collapse. The safest approach treats walls as wind management, not as a sealed enclosure, since airflow still matters for moisture and fresh air.
Use Snow Anchors And Smart Tie-Outs
Regular tent stakes can fail in soft snow, so winter campers often use snow anchors that hold by increasing surface area. Common options include purpose-built snow stakes, deadman anchors made by burying an object sideways, or using skis or poles when appropriate. The key is packing snow firmly around the anchor and allowing it to set so it grips. Tie-outs should run cleanly without rubbing sharp edges that can fray lines during gusts. In a snow shelter, securing entrances and reinforcing key points helps maintain shape overnight. A stable setup reduces flapping, noise, and heat loss from constant drafts.
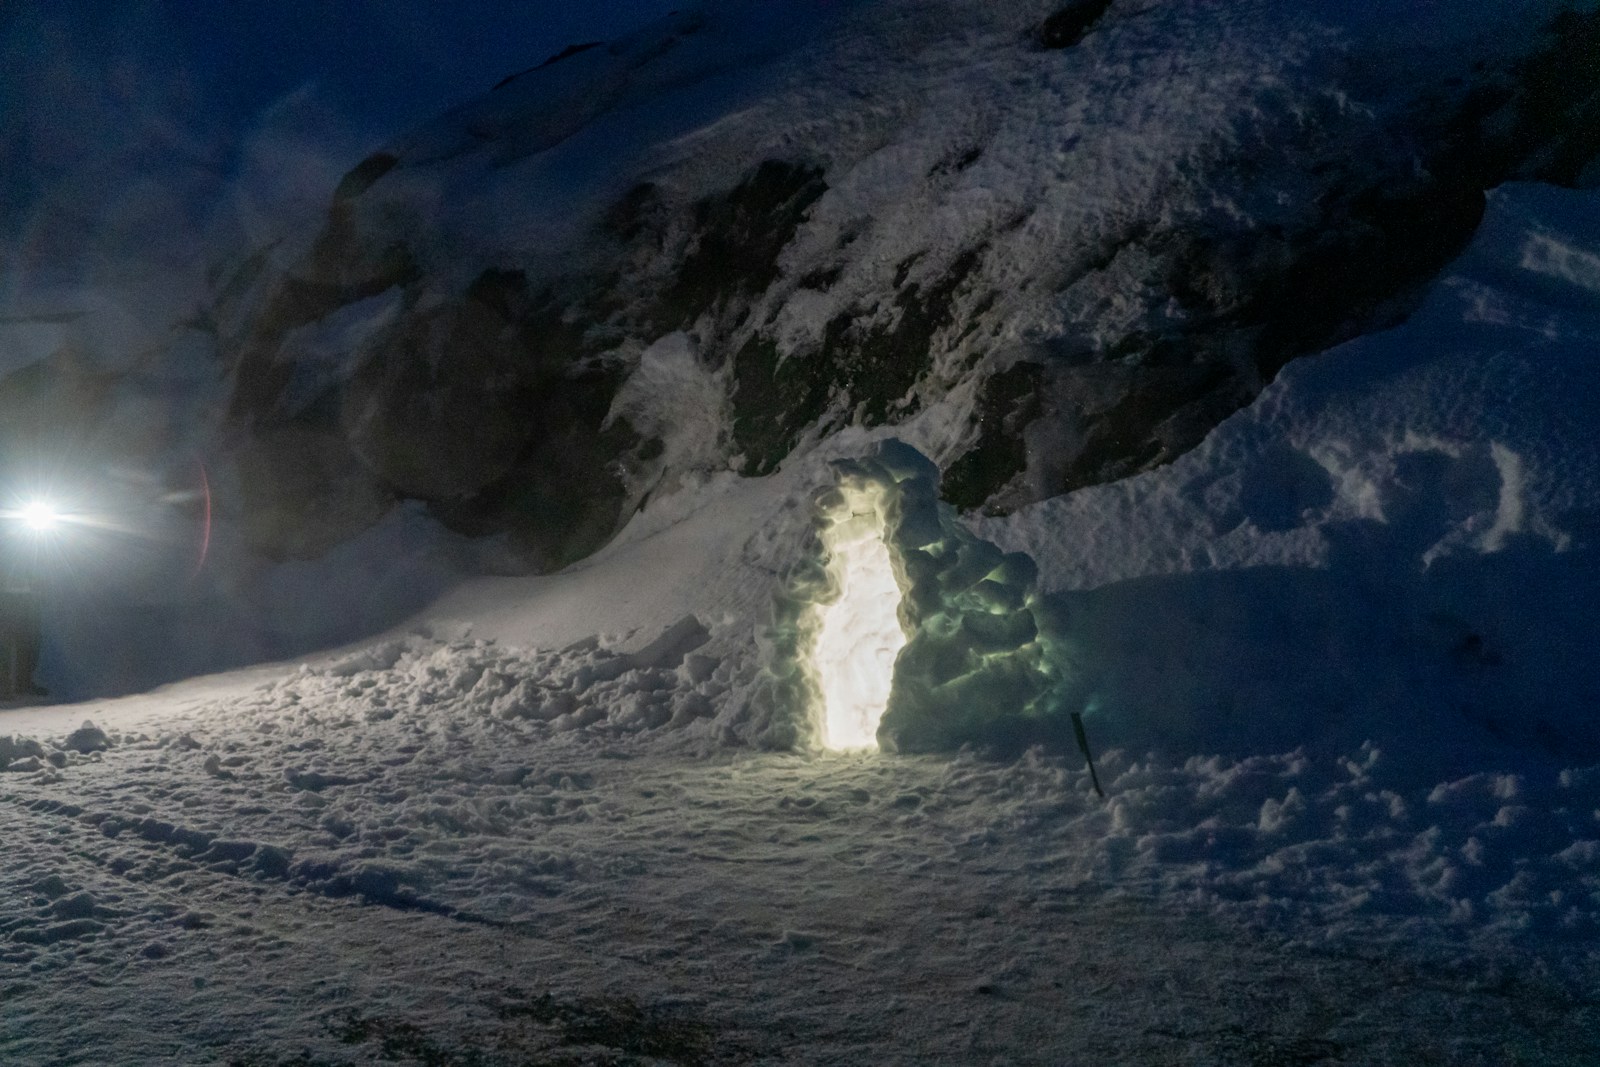
Keep An Emergency Plan And Simple Exit Clear
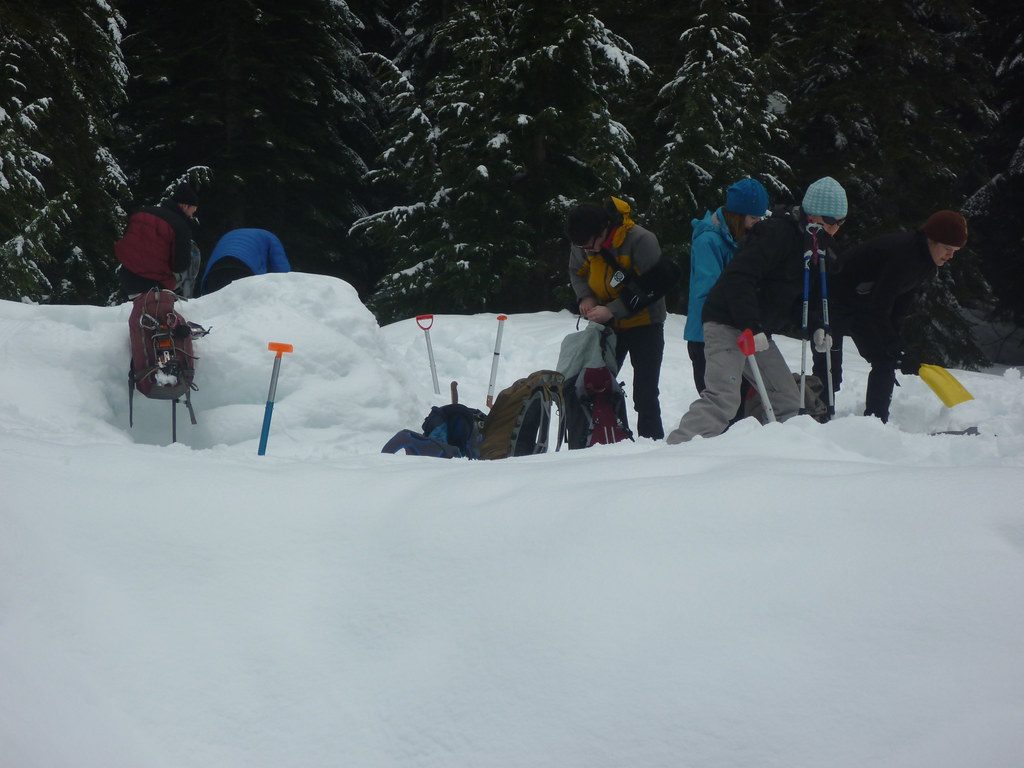
Snow conditions can change overnight, and a cozy shelter still needs a clear way out if drifting or heavy snowfall blocks the door. Keeping a shovel accessible, not buried under gear, supports quick digging and routine maintenance. In a snow cave or trench, entrances should remain identifiable and open to prevent accidental sealing, which can threaten airflow. A conservative plan also includes checking weather forecasts, telling someone the route and timeline, and carrying navigation tools in case visibility drops. Comfort matters, but winter safety depends on redundancy and an easy escape route when the environment shifts unexpectedly.


