
Building a shelter in the wild requires both skill and awareness. It’s not just about having a roof overhead but creating protection that keeps you safe from weather, wildlife, and fatigue. A good shelter helps conserve energy, maintain warmth, and provide a sense of security. Whether camping for fun or surviving an emergency, following practical techniques and safety principles ensures your structure stands strong and serves its purpose when it matters most.
Choose the Right Location
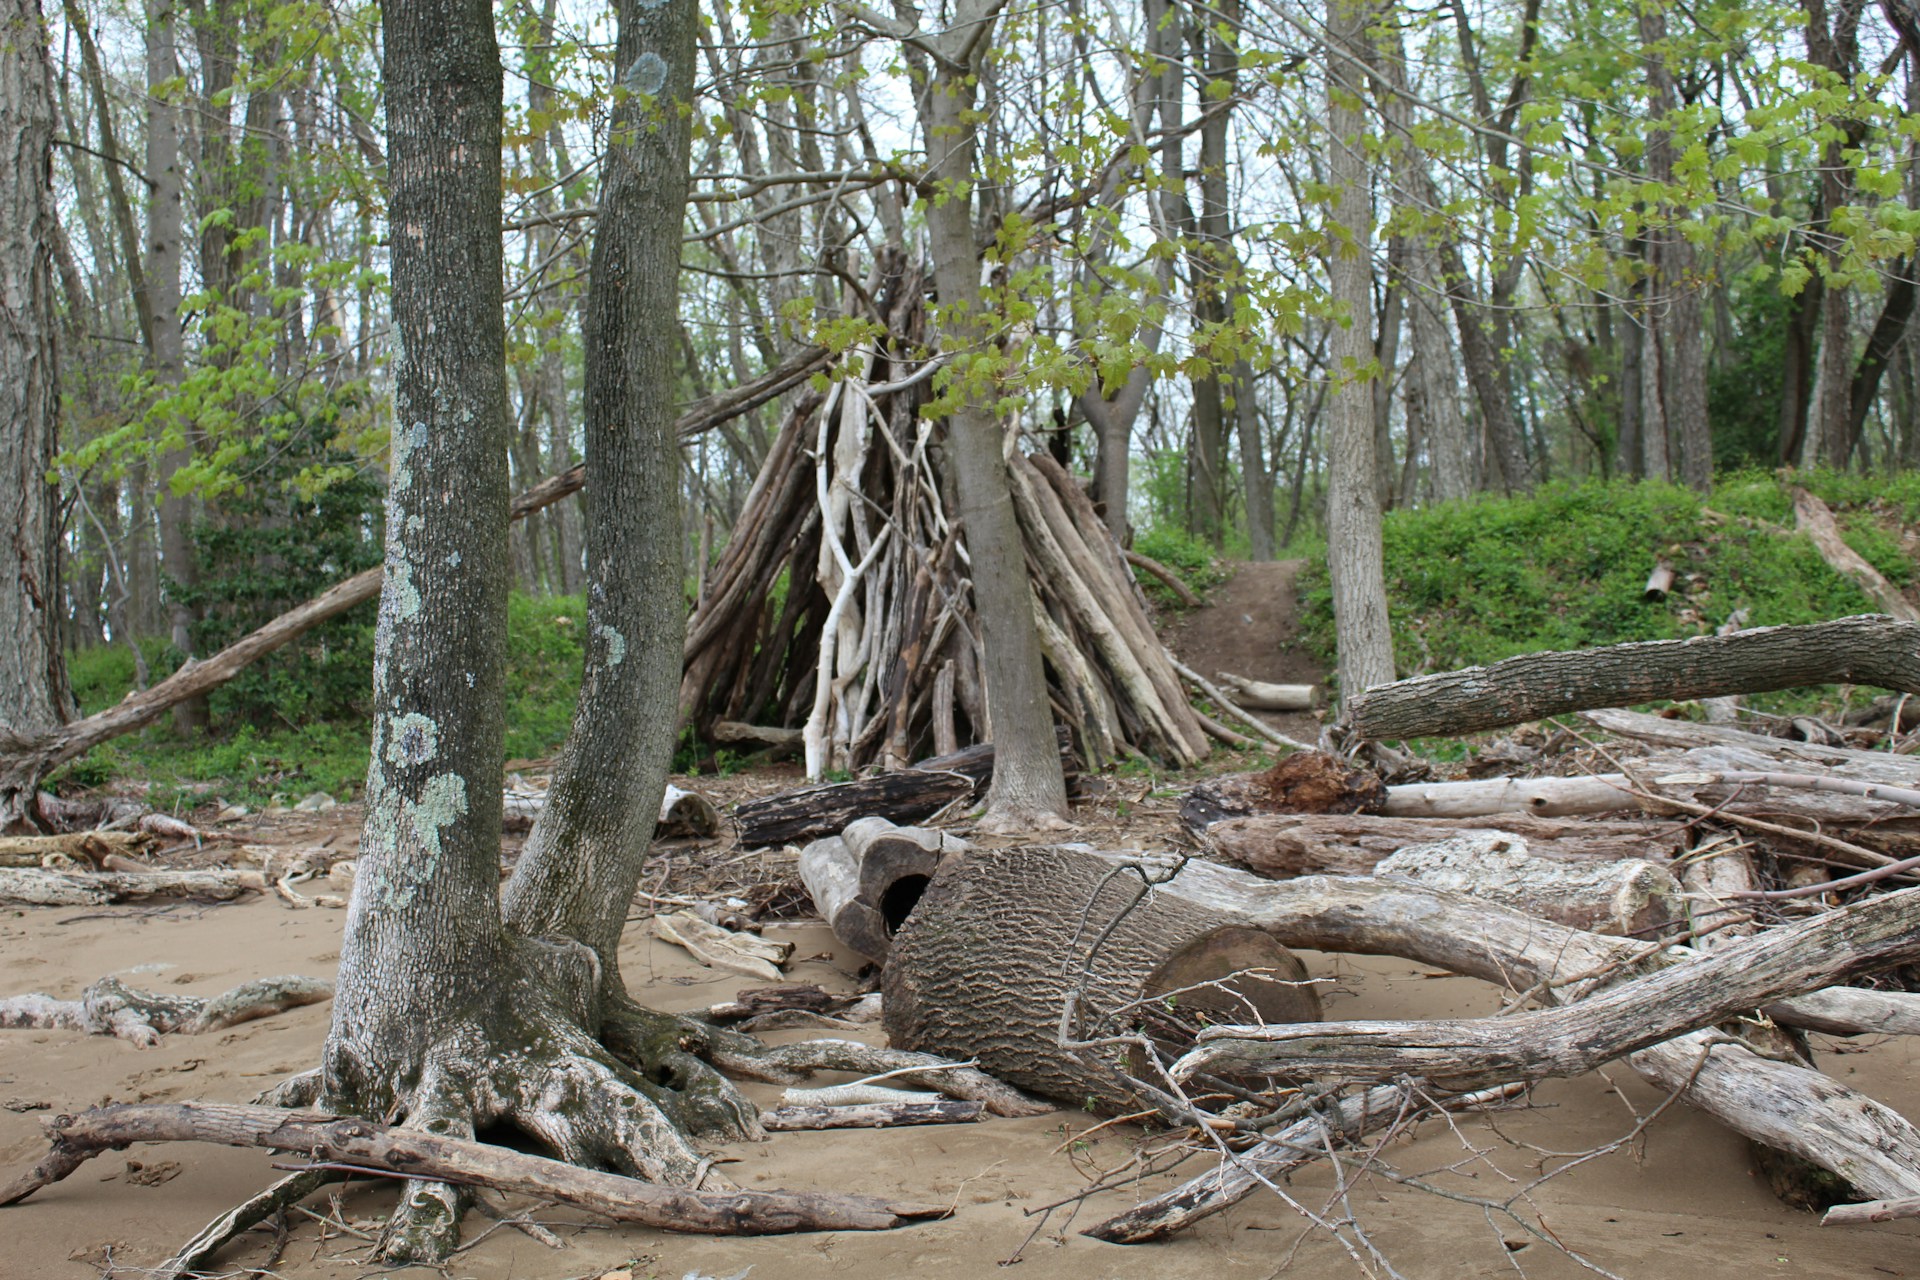
Selecting a proper site is the first and most crucial step in shelter building. Look for elevated, flat ground that won’t flood during rain and stays protected from strong winds. Avoid areas near animal trails or under loose branches. A well-chosen location saves time and effort while keeping your shelter safer and more comfortable throughout your stay.
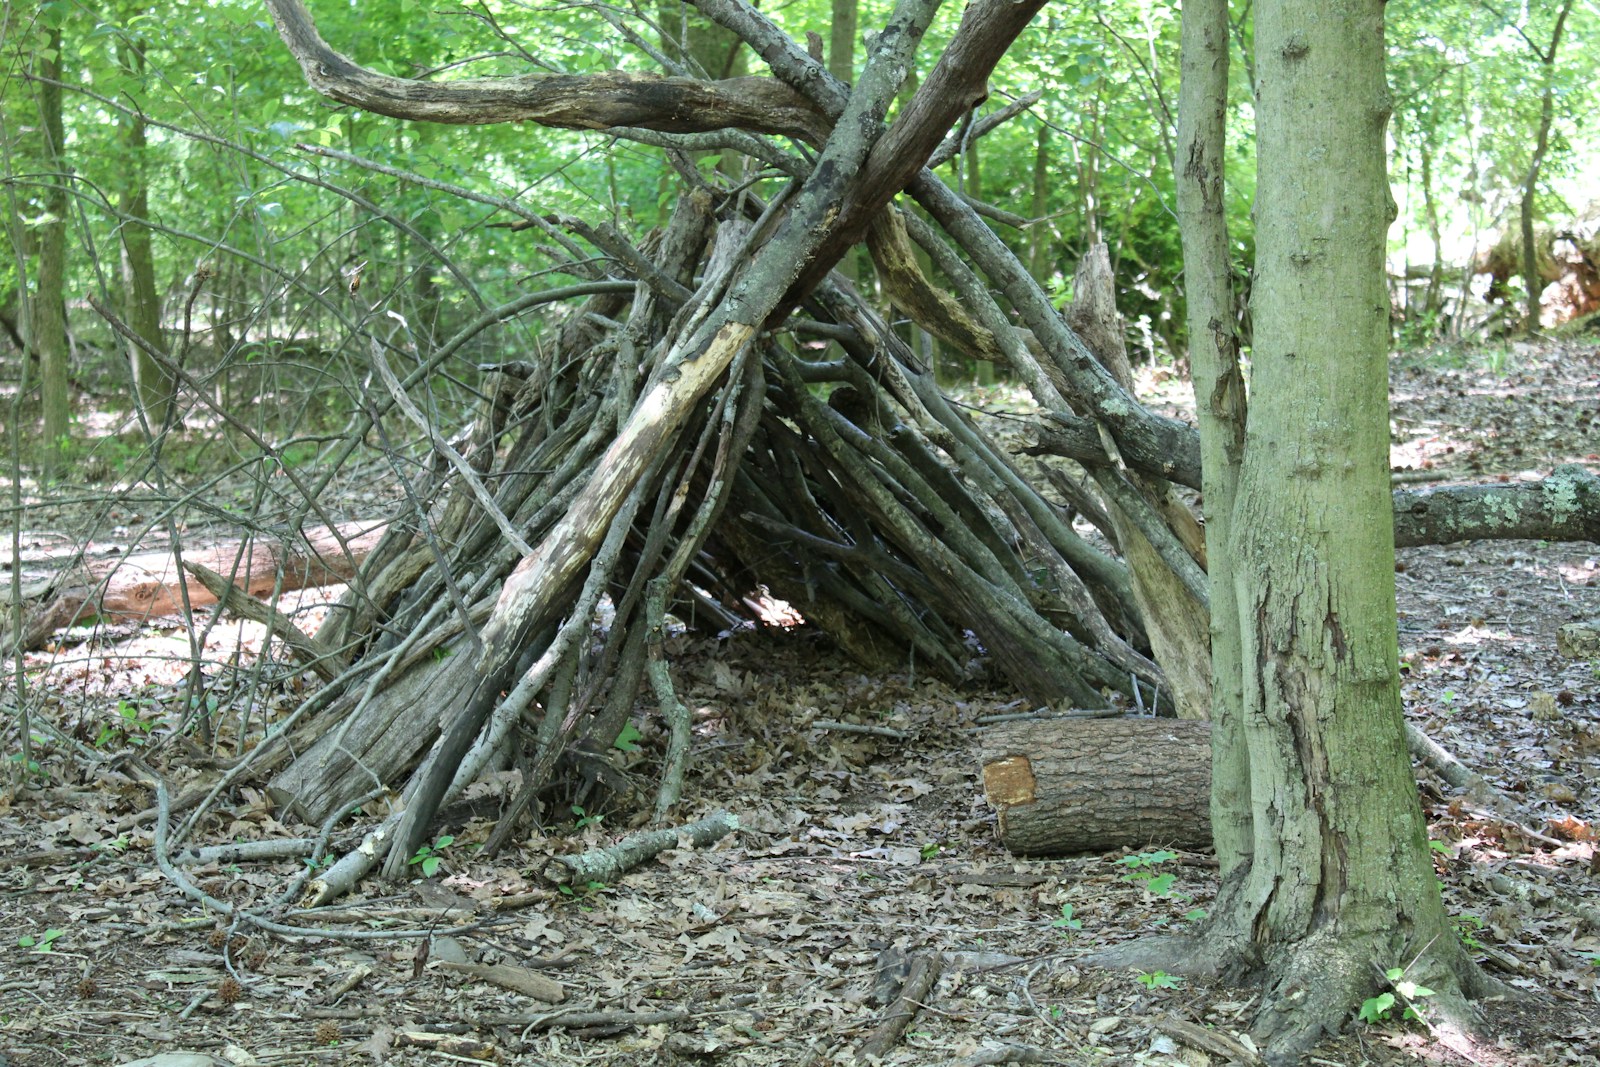
Use Natural Features
Nature often provides the best foundation for a shelter. Rocks, fallen trees, and thick vegetation can reduce construction time and offer stability. Positioning your structure against a natural barrier like a log or boulder adds extra insulation and wind protection. Using what’s available conserves energy and helps the shelter blend into the environment more naturally.
Insulate from the Ground
Cold and damp ground can drain body heat quickly, so insulation is key. Use leaves, pine needles, or dry grass to create a thick layer between you and the soil. This simple step improves comfort and prevents hypothermia in cooler conditions. A well-insulated floor keeps you warmer and more rested through the night.
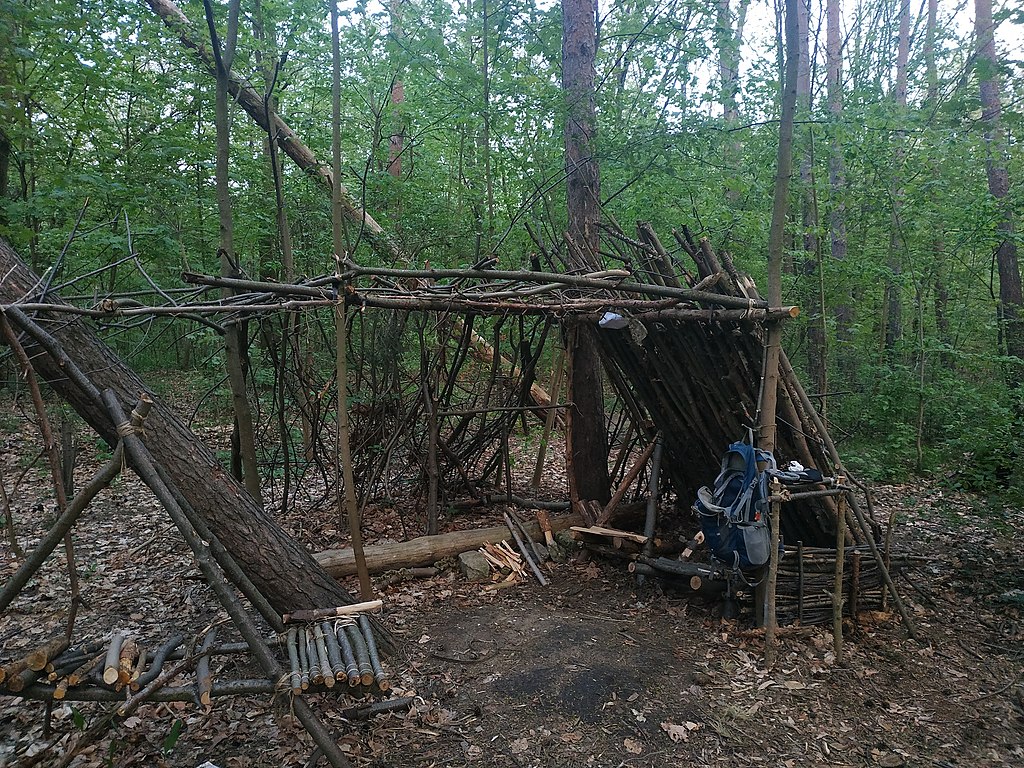
Build with a Solid Framework
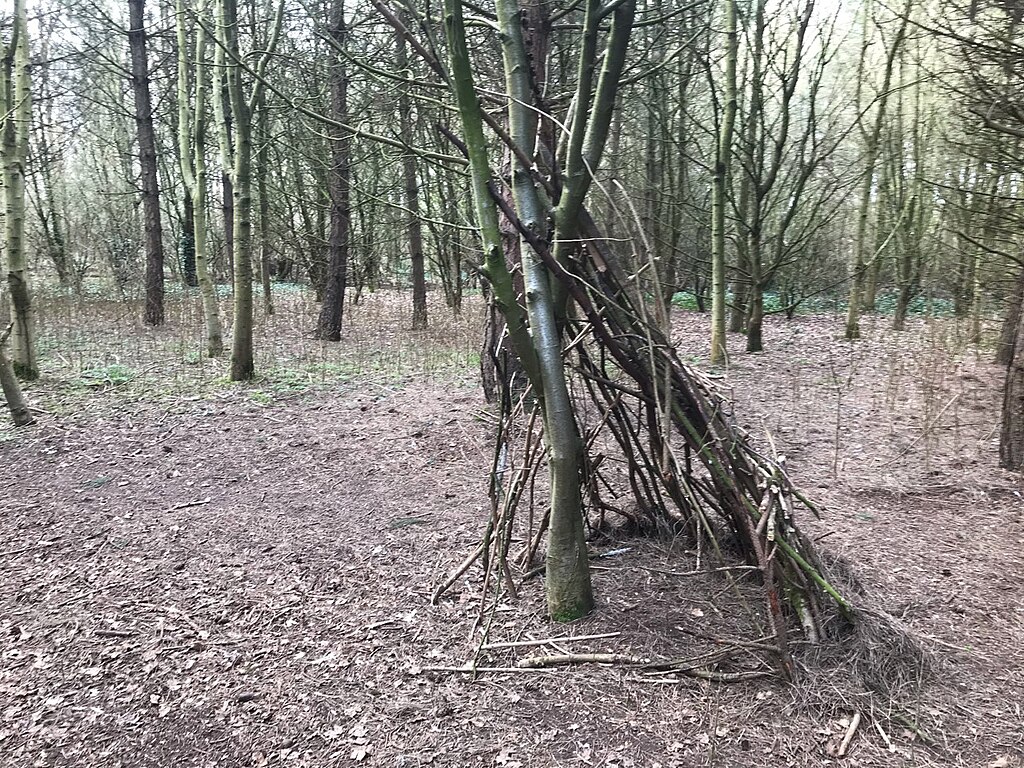
Every sturdy shelter starts with a strong frame. Use branches or saplings thick enough to support weight without bending. Lash them together securely with natural cordage or rope. A stable frame allows your walls and roof to hold up against weather, reducing the risk of collapse. Durability should always come before comfort.
Plan for Proper Ventilation
Airflow is essential, especially when using fires or closed coverings for warmth. Leave small gaps or openings to allow smoke and moisture to escape. Proper ventilation also keeps the inside dry and reduces condensation buildup. Fresh air circulation ensures safety and makes sleeping conditions much more pleasant.
Consider Weather and Wind Direction

Aligning your shelter correctly can make a huge difference in comfort. Face the entrance away from prevailing winds to prevent drafts and blowing rain. If storms are likely, reinforce one side with extra branches or foliage. Planning for the weather ahead of time helps your shelter withstand changing conditions more effectively.
Keep It Small and Efficient
A compact shelter retains body heat more effectively than a large one. Build just big enough for yourself and your gear, minimizing empty space that requires heating. Smaller designs are faster to build and easier to maintain. Efficiency in size keeps you warmer, saves materials, and reduces overall energy use.
Secure the Roof Properly
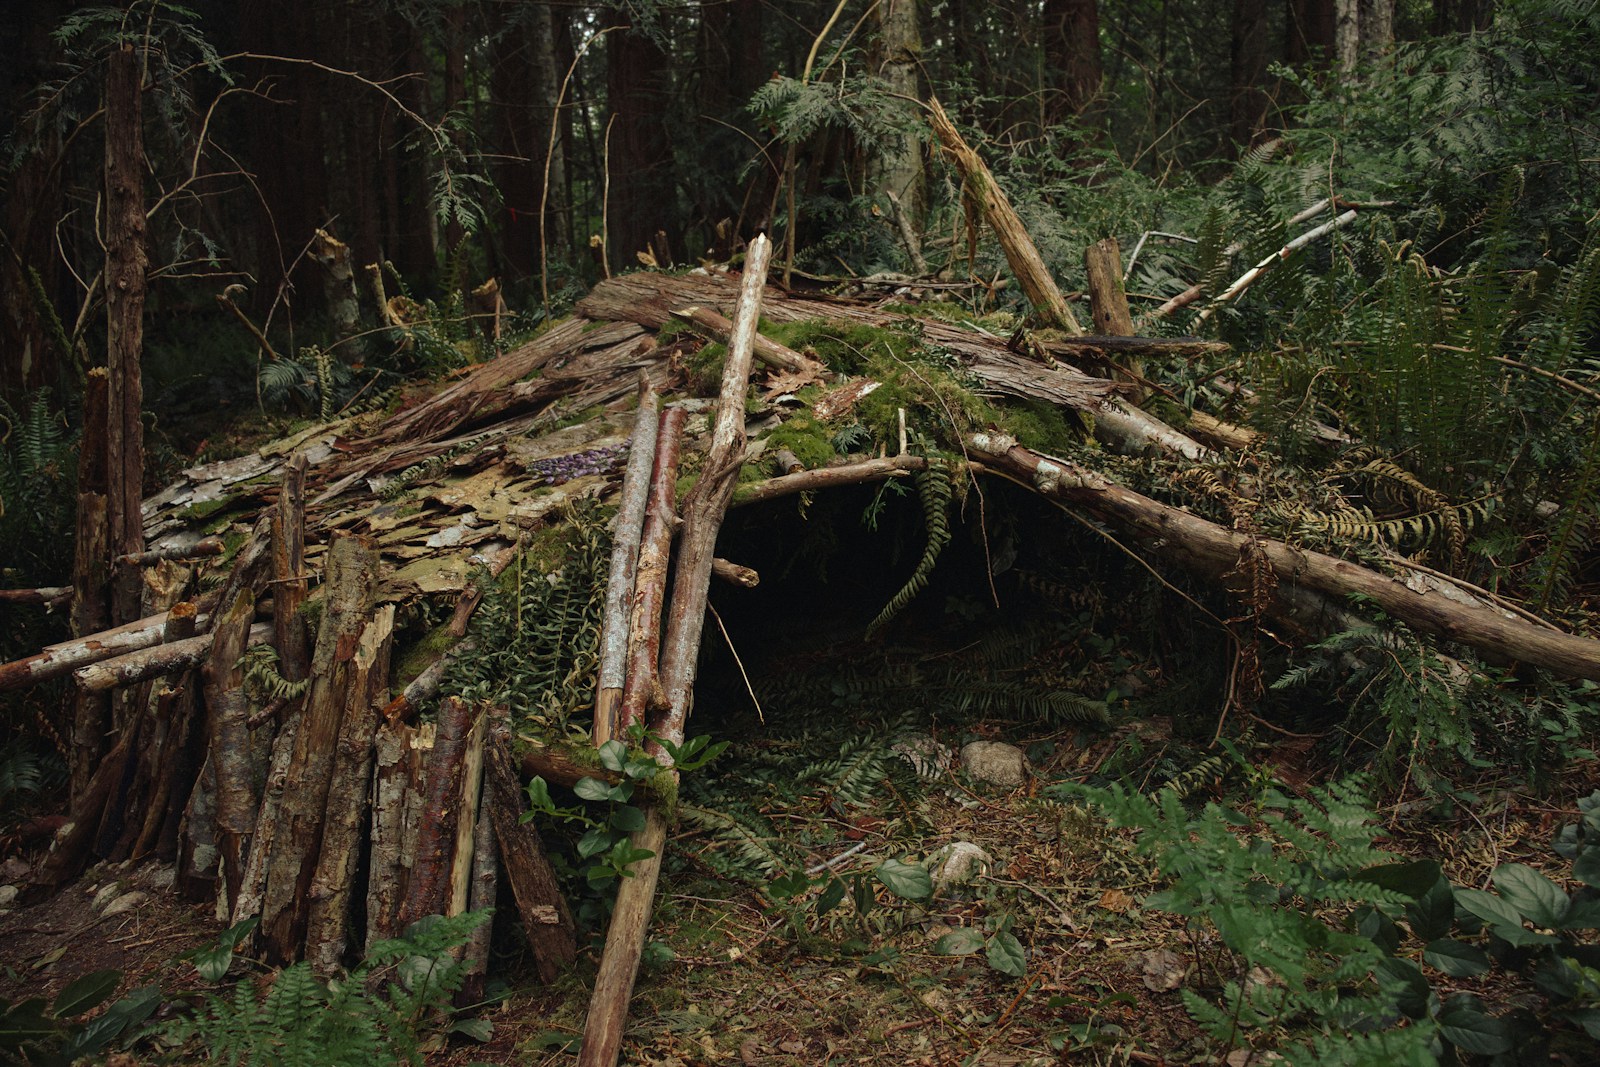
A poorly secured roof can quickly turn dangerous in heavy rain or wind. Overlap branches, bark, or leaves so water runs off easily. Use sturdy supports to hold the structure firmly in place. A good roof doesn’t just block elements, but it keeps your entire shelter stable, ensuring protection and peace of mind through the night.
Avoid Fire Hazards

When building near a fire, always maintain a safe distance to prevent accidental ignition. Clear debris from around the pit and keep flammable materials away from the flame. If the shelter uses a reflective wall, ensure it’s sturdy and nonflammable. Careful planning around fire keeps warmth close without risking safety.
Test and Adjust as Needed
Once built, take time to test your shelter before nightfall. Check for stability, leaks, or weak points that might fail under pressure. Adjust and reinforce wherever necessary using available materials. Continuous improvement not only strengthens your shelter but also builds confidence in your wilderness skills.


